#SFEtsy Meet & Make: Fiber Note Cards

I attended another SFEtsy group Meet & Make last night at the San Jose Museum of Quilting and Textiles.

This one was run by Armani Mondragón and our craft project was to make cute felt note cards. You take a plain note card and cut felt and decorative paper to size and shapes you want and then sew them together with thread or thin yarn. Super fun and simple enough for kids even.

FeltNoteCard1

FeltNoteCard2

I was deciding what to do with my cute note cards now that they are finished, and I thought they would make great decorative recipe cards. This project would be a great way to gift recipe cards to friends and family, for birthday gifts, shower gifts etc. I really liked the event and look forward to going to more of them!

#Mashup – Ocean Waves Scarf

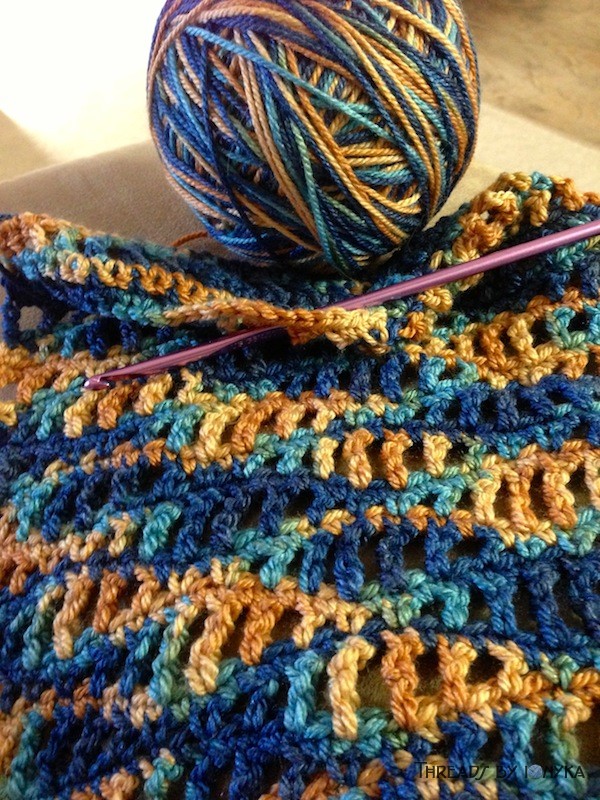
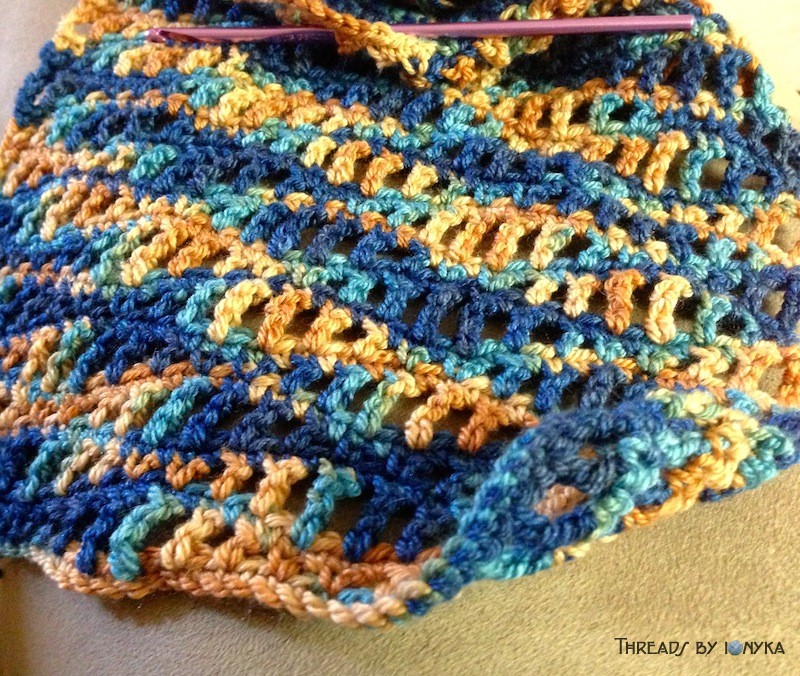
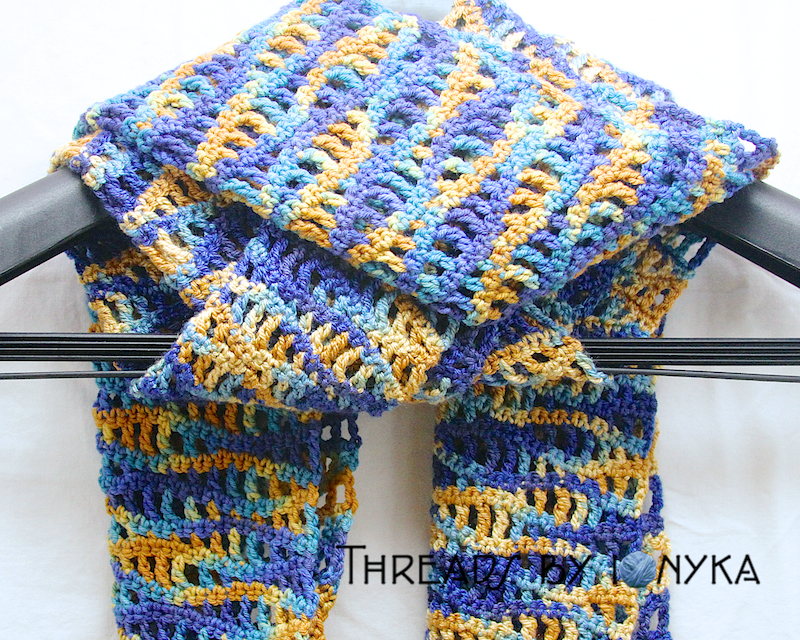
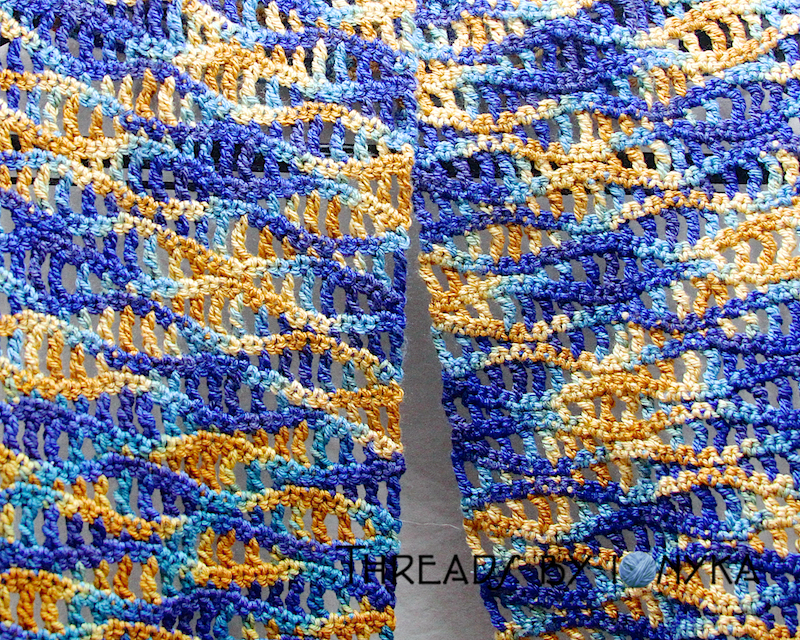
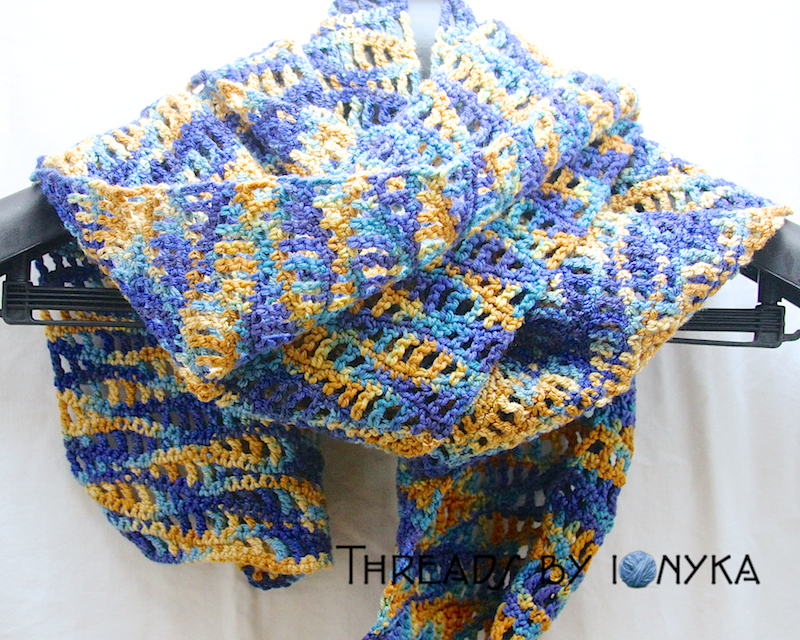
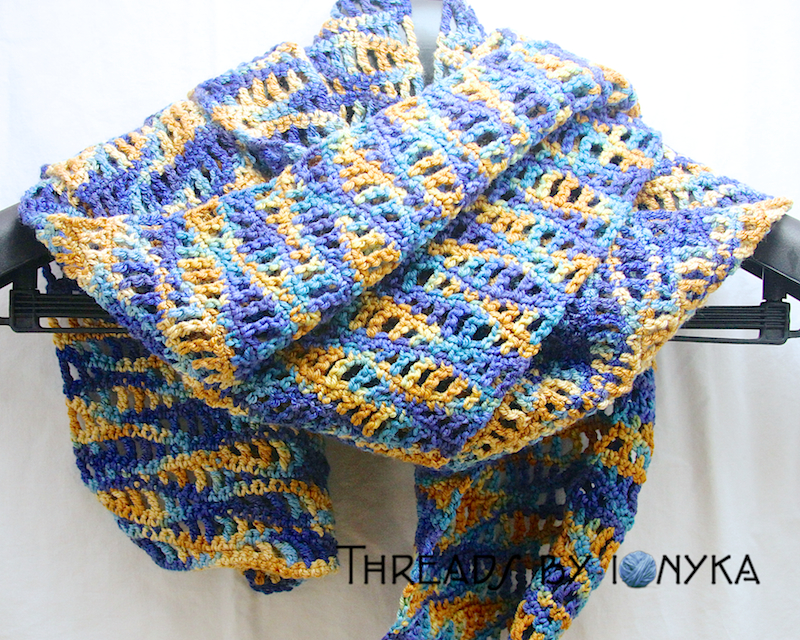
I wanted to share another scarf project I am working on currently. I call it the Ocean Waves scarf as the pattern with this yarn reminds me of ocean waves lapping up on the shores of a sunny beach. Another yarn/pattern combo that I am super glad to have found.

The Yarn:

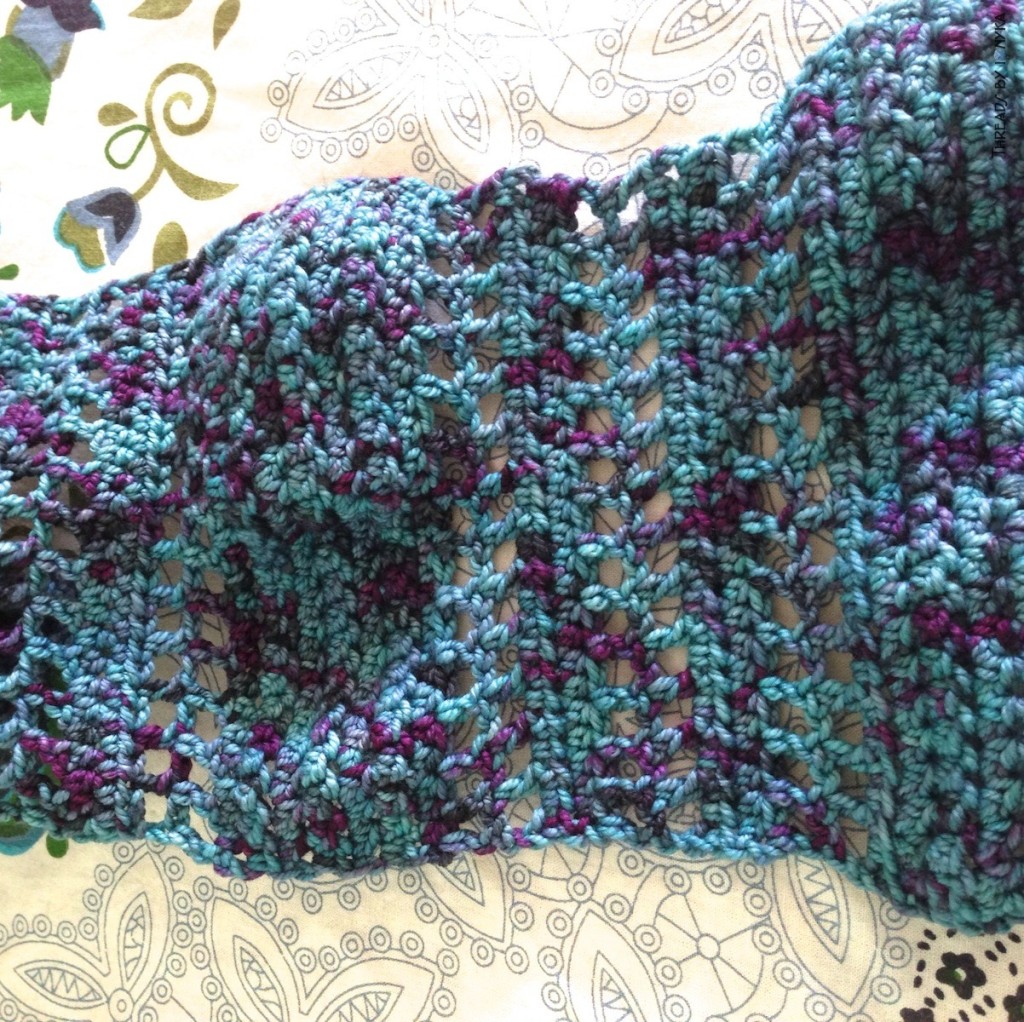
I found this beautiful Schaefer Yarn recently at a yarn shop called Imagine in Bemus Point, NY while visiting family for the 4th of July holiday. While there I learned that the owner of Schaefer Yarn retired and so the company went out of business in late 2012. However I snagged the last 2 skeins of yarn the store had and this was one of them. The color is noted as Julia Morgan however the photo better describes the colors, blues, aquas and sand colors.

OceanWaves1

The Pattern:

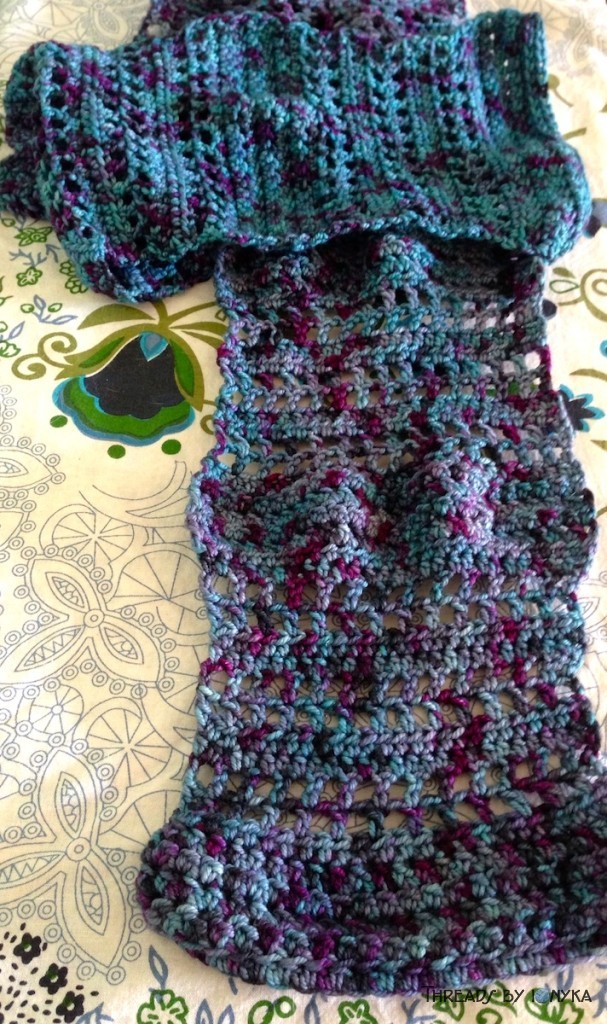
I am following the pattern called Modulation (Ravelry Link) and I think its turning out really cool. The yarn transitions colors in a neat way that makes these zigzags which after the first few rows started looking like waves.

OceanWaves2

Since the yarn is fingering its taking awhile to make but I have about 12 inches done so far and I am really liking how its going. So once  I am done I will post up a photo of the completed scarf! Hope you like it too!

Update 9/4/2013

My photo above has been featured on the Ravelry Page for this pattern! Super neat! Also I am still not finished but as soon as I am will post photos!

Update 11/4/2013

As I got near the end of the skein I had, I quickly realized that this scarf was not going to get too much longer than 40 inches, which I was originally very sad about, its about 34 inches long right now. By luck however I was browsing Ravelry’s stash pages for yarn and happened to find someone willing to sell 2 smaller skeins of this exact Schaefer yarn! What luck! I ordered them right away and they arrived this afternoon so this project is off the back burner and now something I hope to finish soon. I am so looking forward to finishing this as I love the colors. Here is an update shot with the additional yarn I got today.

IMG_0447

Final Stats

Size: 8 inches wide by 64 inches long
Yarn Used: 450 yards (all of original skein) + 250 approx of another skein totaling about 700 yards!

The first skein I bought was a full skein at 450 yards, I ran out of yarn around 40 inches in and was so sad that it might not get any longer! No fear! Ravelry to the rescue! I found someone who had 2 smaller skeins (320 yards each) of this exact yarn being sold as a pair and I snatched them up quick. I used almost all of another of the smaller skeins so I have 1 smaller skein left plus about 60 to 70 yards.

By far the longest it has ever taken me to finish a scarf (about 5 months) however I worked on it off and on, it was a great travel project, and factoring in having to get more yarn played a part too. However it is done and I cannot be more thrilled with how it looks!

I do admit the newer skeins I bought have a deeper aqua color than the original skein I bought so it does shift in color a tad a little over halfway through but I consider it more of a blend and it is not so drastic it looks off, so I am still super happy with it, below are finished pics!

This item is For Sale! Link to Etsy Product Listing!

IMG_5977

IMG_5978

IMG_5979

IMG_5980

Thanks for stopping by!

BlueberryPie Scarf Pattern!

So this is kinda a big deal for me and I am super excited to list my very first homemade pattern!

It is for my BlueberryPie Scarf that I originally posted about here.

I have created a Free Patterns section to my site here so as I add more they will all be collected there.

*Drum roll please* …. I am proud to announce my BlueberryPie Scarf Pattern! *Clapping* *Chearing* Woohoo!

BlueberryPiePattern1

BlueberryPie Scarf Pattern

For those that prefer downloadable PDFs you can use your favorite crafty site here:


Please Note: There are no restrictions on the use of my patterns however the patterns themselves are not for sale, resale or duplication. Please give credit by linking to the pattern if used, I enjoy seeing what others make with it!

#Mashup – Blueberry Pie Scarf

I am very excited about this scarf for a few reasons. 1 – I learned a new stitch 2 – I did not follow a pattern and came up with the pattern myself and 3 – I got to use this super cute blueberry colored yarn.

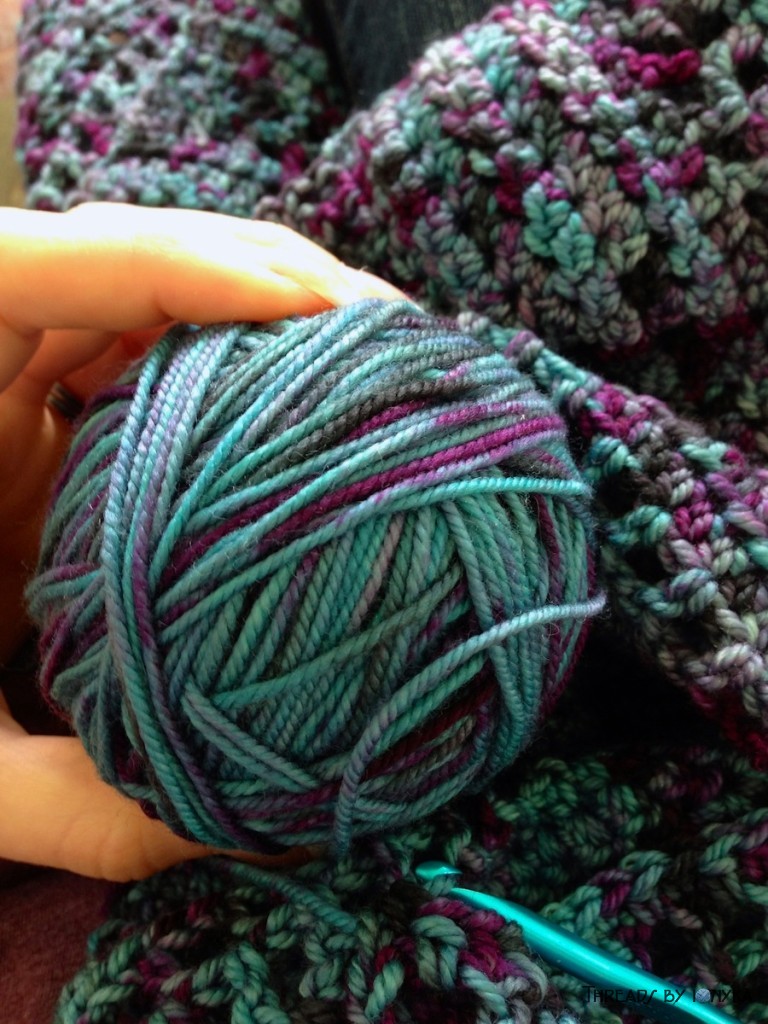
Ok so first we will start with yarn. It is made by Ella Rae (link to yarn.com to see examples) and since the label simply says the color is #13 I have decided to call it Blueberry Pie. It is a worsted lace merino yarn and looked like this when I got it balled up:

BlueberryPie2

BlueberryPie2

BlueberryPie1

BlueberryPie1

After I got the yarn I was searching around for something to make with it and came across this little video tutorial for this crazy stitch called the Odd Forked Cluster stitch. It sounds hard, but it’s actually super easy and turns out really cool, check out the video for it:

I did about 5 rows of this stitch and thought the scarf needed something else and not just row after row of this stitch even though its super cool. Wanting to do something different on my own I decided on 2 rows of 1 dc ch1 rows (to create the boxes effect) and then 2 rows of just sc across. I did this 3 times. See progress here:

BlueberryPie4

BlueberryPie4

I then went back to 5 rows of the Odd Forked Cluster Stitch, when I did this, because of the way the cluster stitch works in the same stitch 2 times it made those rows wider then the other rows of just the dc and sc (you can see the edge gets skinnier and then wider again in the photo) and it made the rows of the Cluster Stitch bumpy. At first I did not think I liked it but then it reminded me of Blueberry Pie bubbling over the pie pan when baking and thats when I decided that is what I would name this yarn and thus this scarf the Blueberry Pie Scarf.

Half way through making this I thought about writing up the pattern I ended up doing. I may still, which would make this my very first pattern!!! So hopefully I can remember what I did!

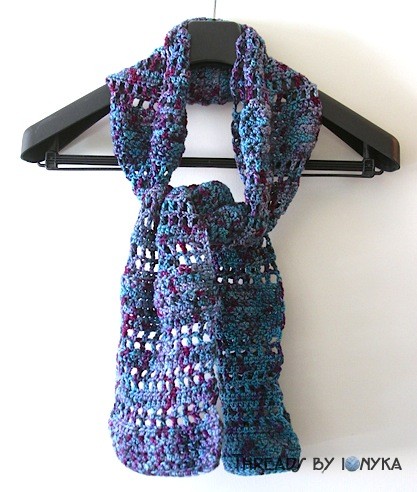
Here are some photos of the finished scarf. If I do write up the pattern soon I will update this post with a link to it! I think it turned out cute what do you think?

BlueberryPie3

BlueberryPie3

Update 7/21/2013:

Pattern for this scarf available here!

This item is For Sale! Link to Etsy Product Page!

Slant Stitch Scarf

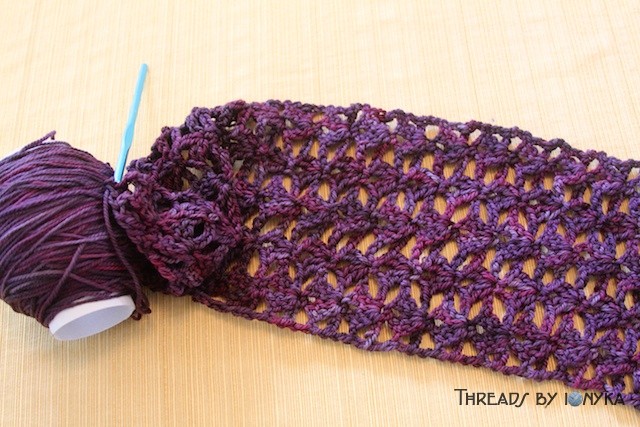
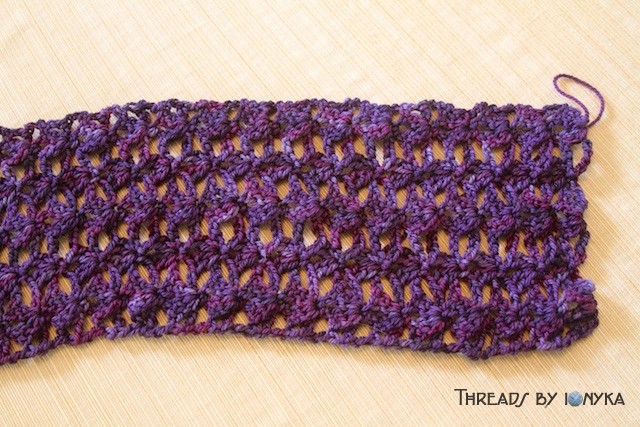
I had pinned this pattern when I first began to learn how to crochet and I finally got back to it just last week. It is a pretty basic pattern using a slant stitch. See photo of the example used with a link to the pattern here:

Slant Stitch Scarf

Slant Stitch Scarf

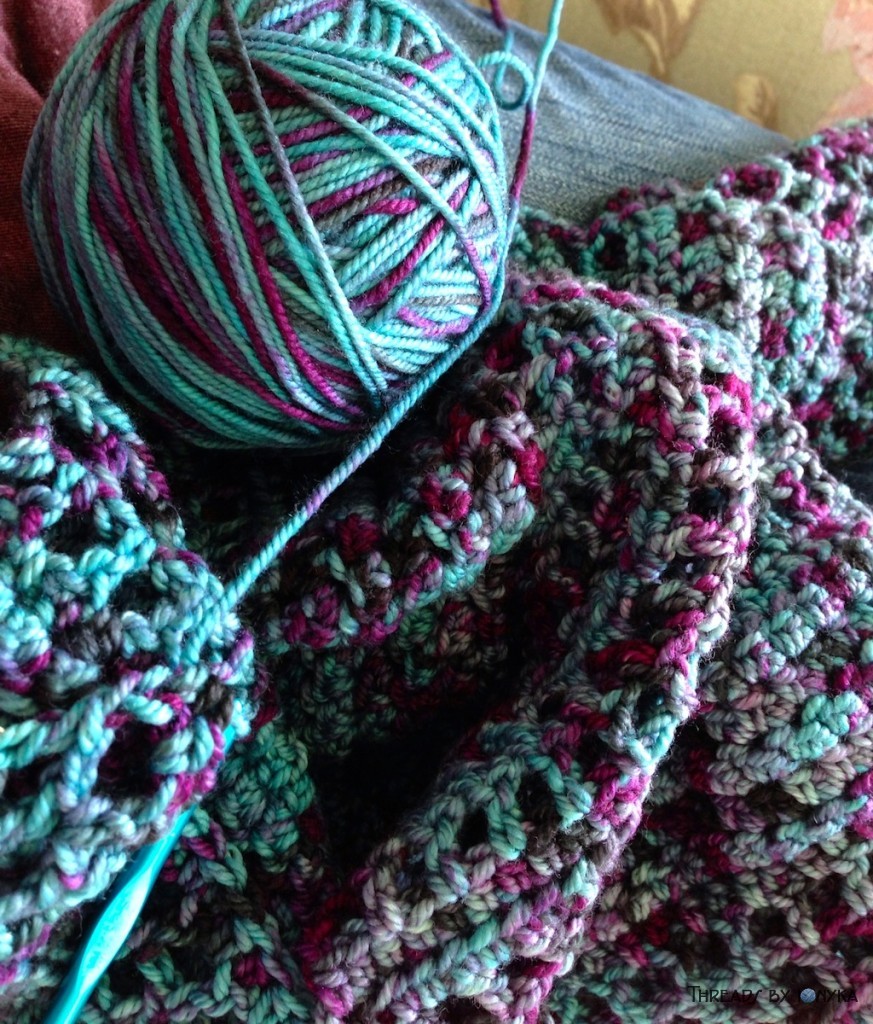
I had a few colors of Red Heart – With Love yarn so I thought I would use them with this pattern. I wanted to change colors every few rows but not just simply one color to the next so I alternated colors, first with the SC row, then with the Slant Stitch row to create a type of gradient transition between the colors. See my example work in progress:

Slant Stitch 1

Slant Stitch 1

Here is another photo I am using 3 colors, the purple will be the main color for awhile and once I get close to the end I will transition back to blue, then back to the magenta color at the other end.

Slant Stitch 2

Slant Stitch 2

I followed the pattern exactly like it describes, I will just keep repeating row 2 & 3 (as noted in the pattern) for however long I need the scarf. This yarn is a bit thicker (or I think fluffy) than regular worsted weight yarn but I think it will make a great winter scarf once its done. I will update this post again with photos once its completed!

Vending Event! – Triton Midsummer Art Fair!

My first outdoor fair was yesterday at the Triton Museum for their Midsummer Art Fair.

Midsummer Fair

Midsummer Fair

In addition to crafters, there was live music, food trucks, a book sale and the Friends of Silicon Valley Animal Control Authority were there with information about pet adoption. So many things going on!

I got to be neighbors with jewelry maker Juliette who runs a shop called Art in the Redwoods. She and I were neighbors at the Spring Fair too and she makes wonderfully unique copper jewelry:

Art in the Redwoods

Art in the Redwoods

There were also some fellow SFEtsy members there too (if I missed anyone please let me know I did not get much chance to run around and visit this time) Jen from Mama’s Magic Studio and an SFEtsy Team Leader was there too getting photos of each shop so glad she stopped by!

Laughing Devil Designs

Laughing Devil Designs

Devika's Art

Devika’s Art

Retablos

Retablos


Fairs are a great way to get feedback about your crafts and I learned this time I need to get a hand mirror for people trying on hats, and that if I do another outdoor show I should really get a canopy. Also, lots of people really like Zebras. I was thrilled to see that my CroCreations Scarf I posted about recently found a good home too. I very much need to find more of that yarn, it got so many compliments!

I hope everyone who participated and/or attended the fair had a good time, the weather was awesome and I sold things from both shops, so I could not be happier!