My Tree Ornament #SFEtsy #MeetandMake Event Recap!

This past Friday I hosted the December SFEtsy Team Meet and Make at the San Jose Museum of Quilts and Textiles!

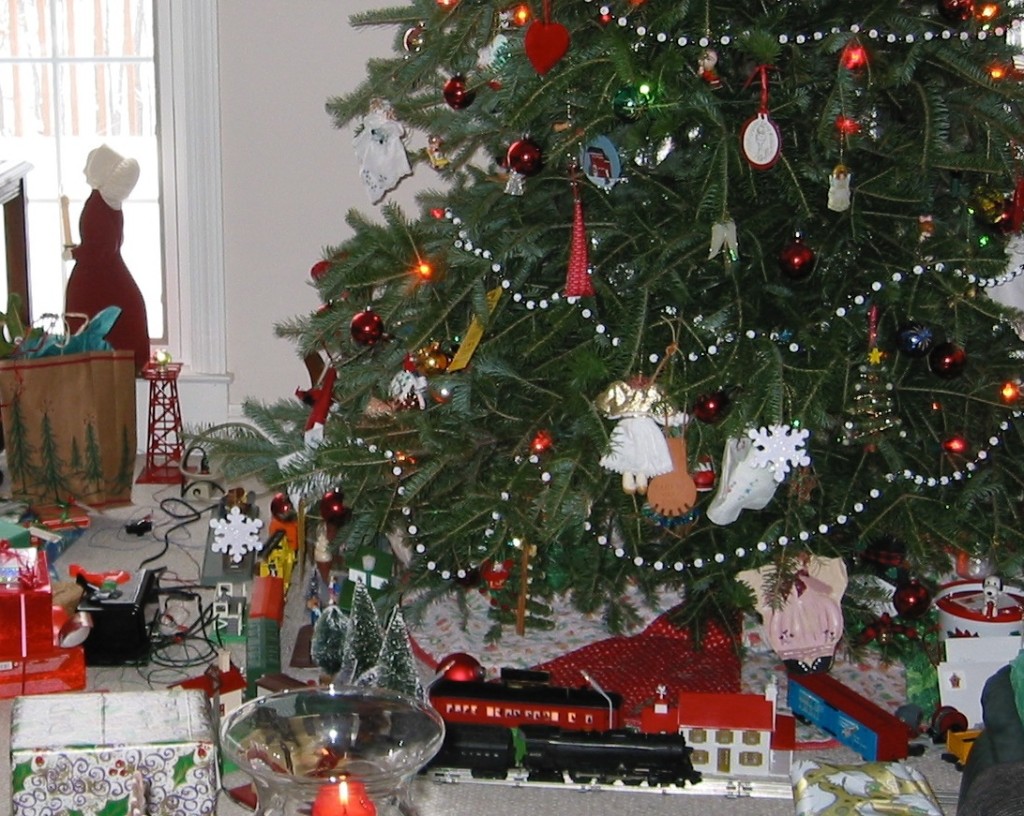
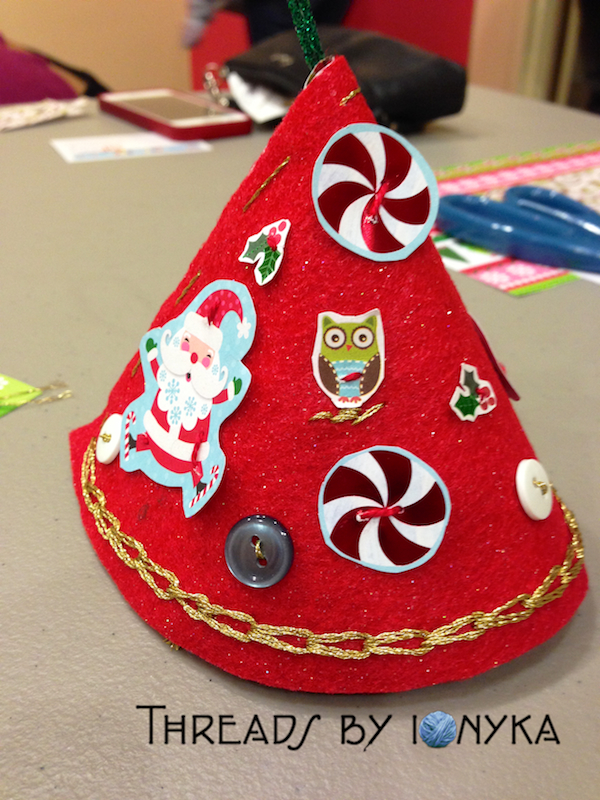
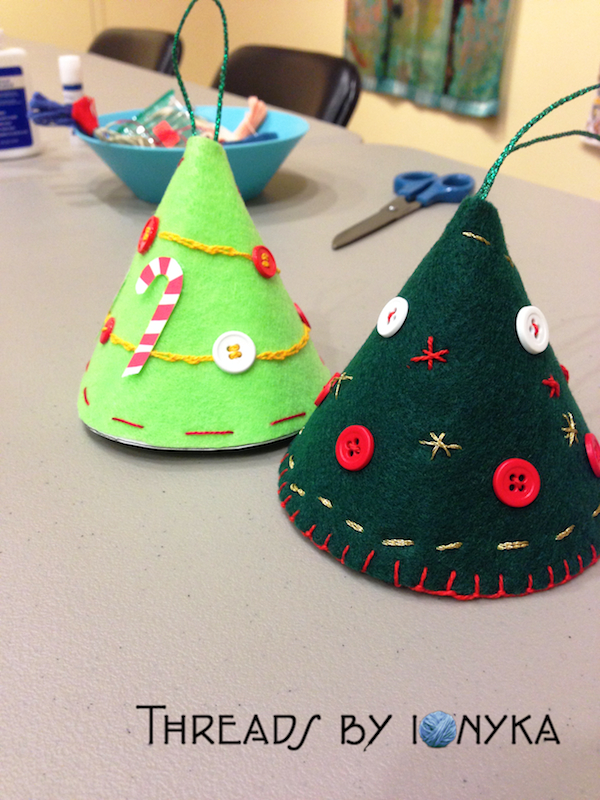
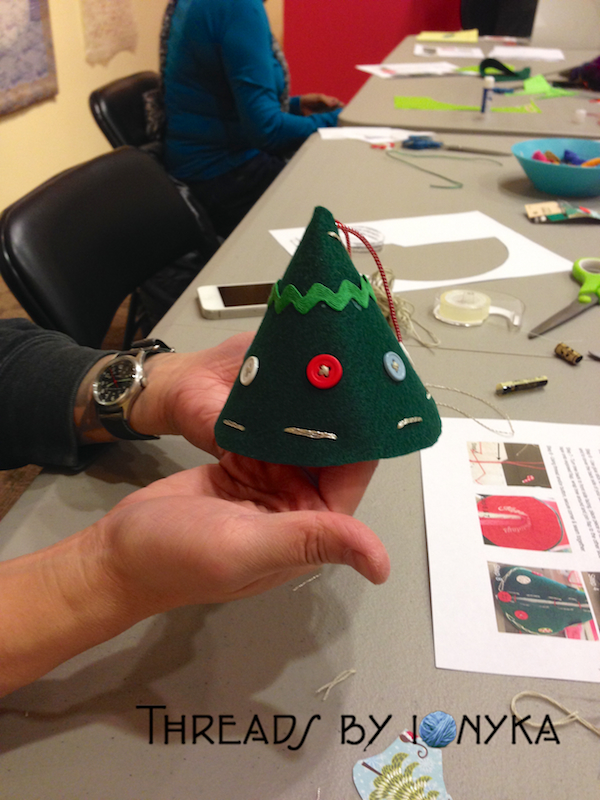
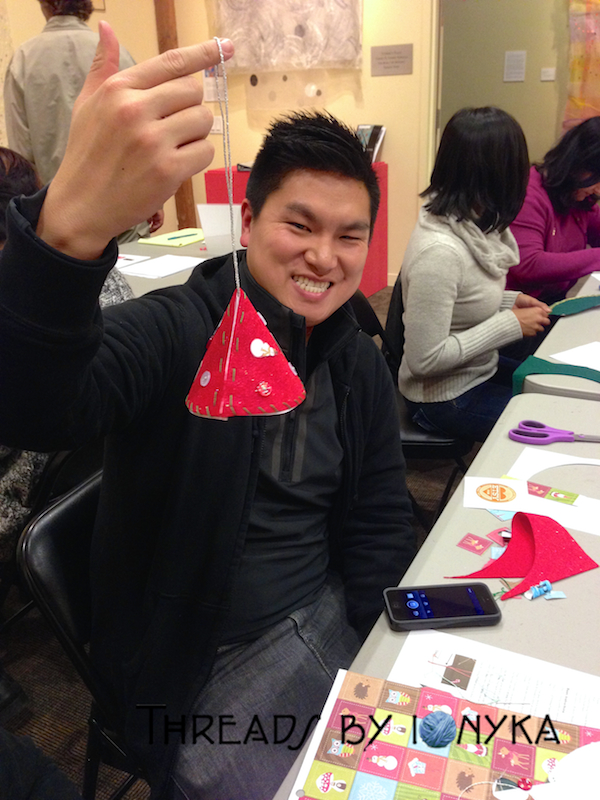
The craft design I chose was a little cone shaped Christmas Tree, check out the promo photo for my example below.

meetnmake

I got the initial idea because one thing I always enjoyed doing going up was decorating our Christmas tree at home with all of the ornaments we made as kids over the years. We always opted for the homemade ornaments over store bought ones, they always were more interesting and sentimental.

IMG_0097

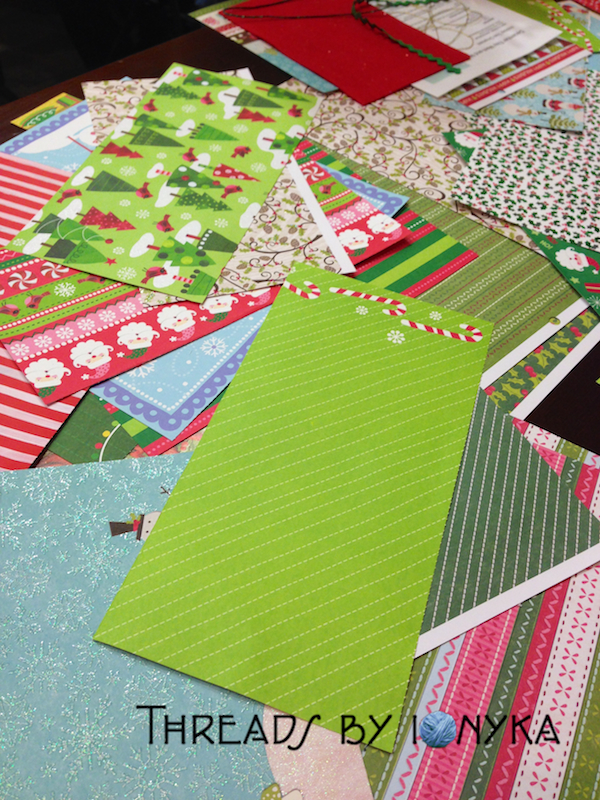
I drew up the shape, got some felt and cut out a bunch of shapes from a magazine while I was designing my prototype. After a few different attempts I was successful with the way it came together and wrote up instructions and the cutout shape I used.  (Links to files at the bottom so you can make your very own ornament!)

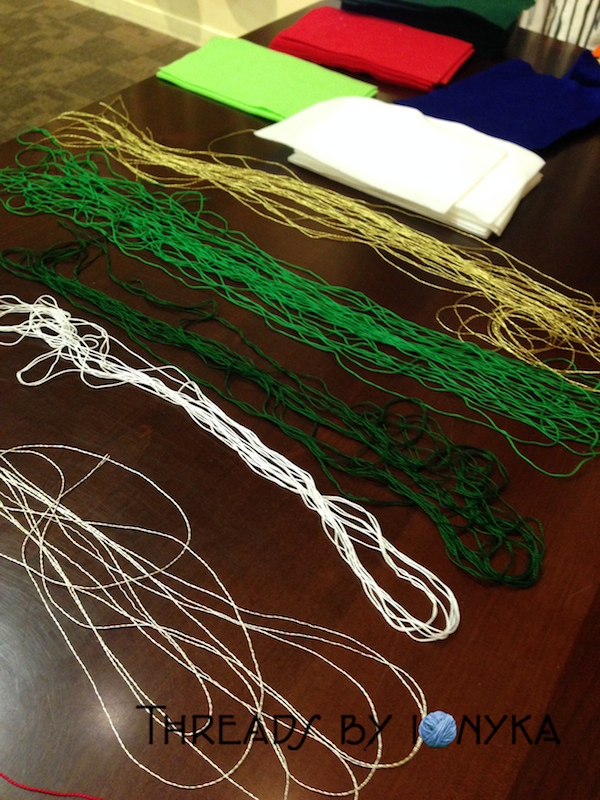
The museum gave me a budget to get supplies so I was able to get many colors of felt, holiday paper, threads and other decorations. Check out the supply table we had set up for everyone to use.

IMG_2587

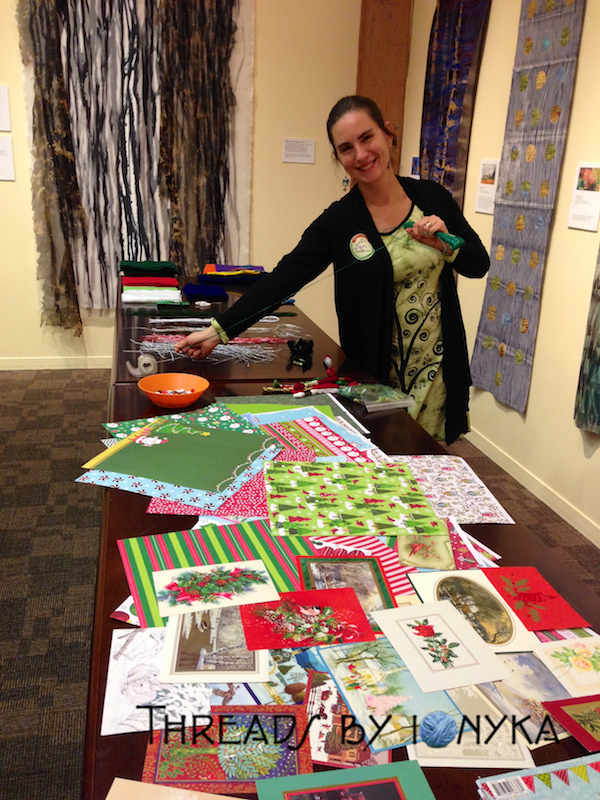
South Bay SFEtsy Team Leader Jen (Mama’s Magic Studio) was there to help!

IMG_2588

IMG_2589

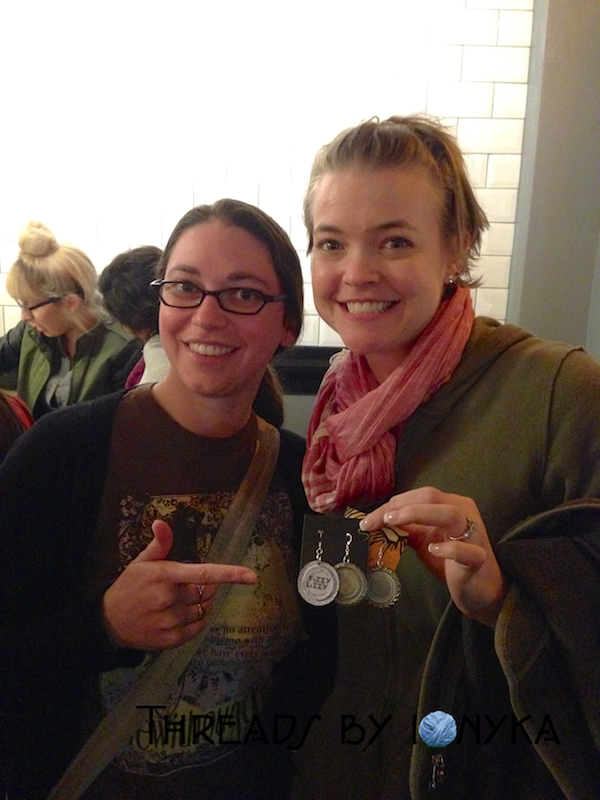
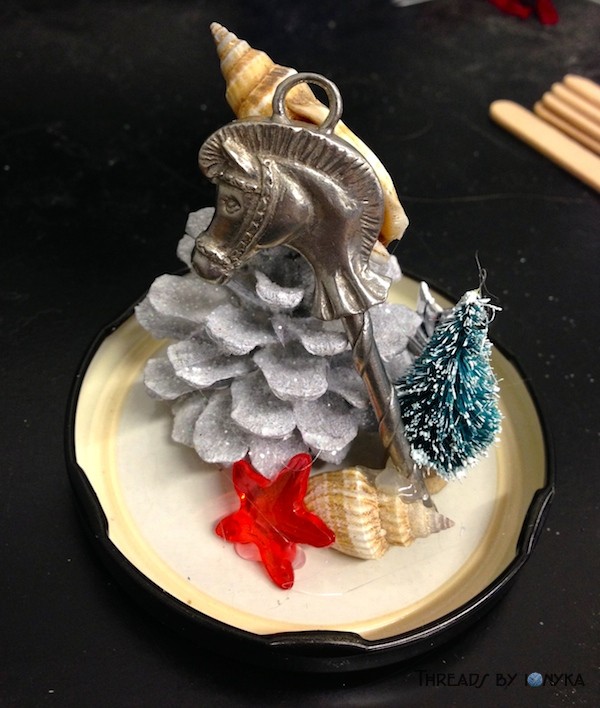
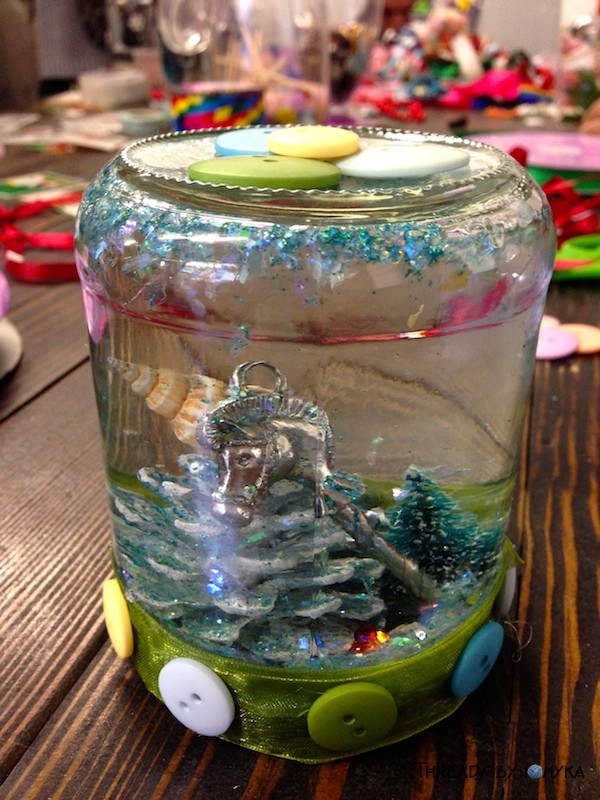
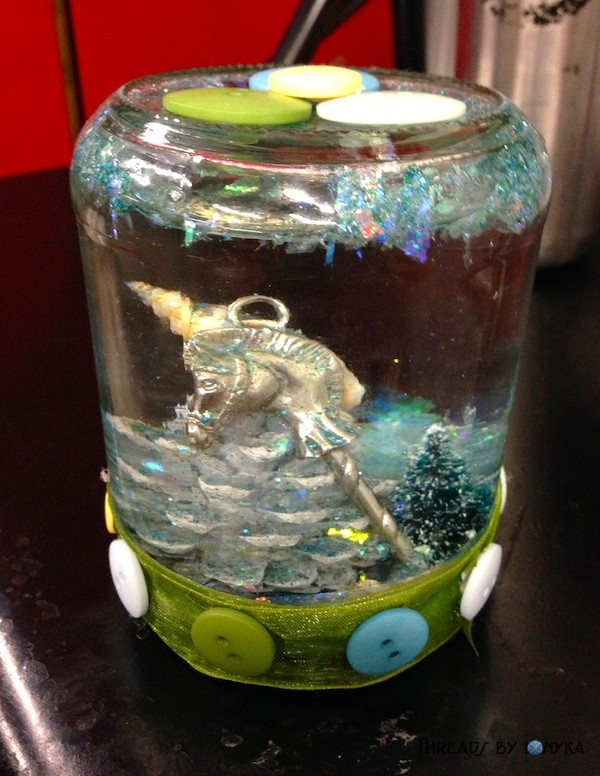
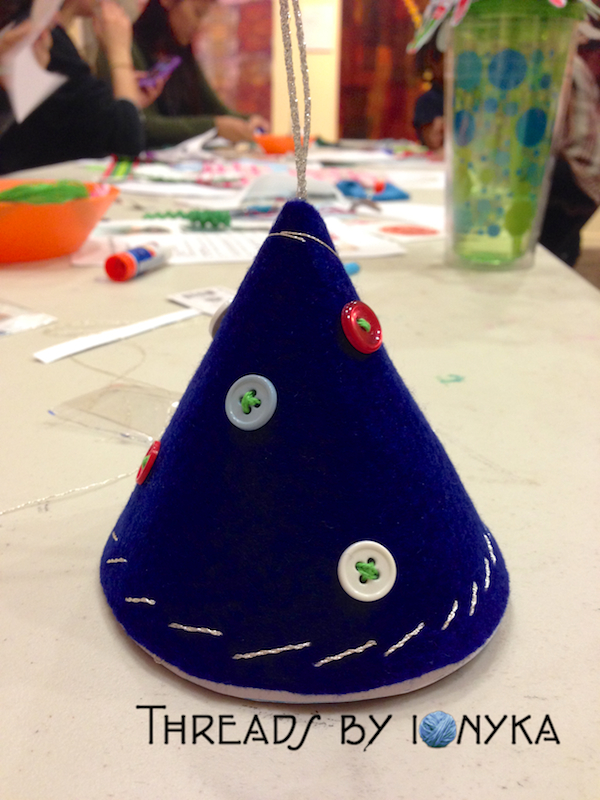
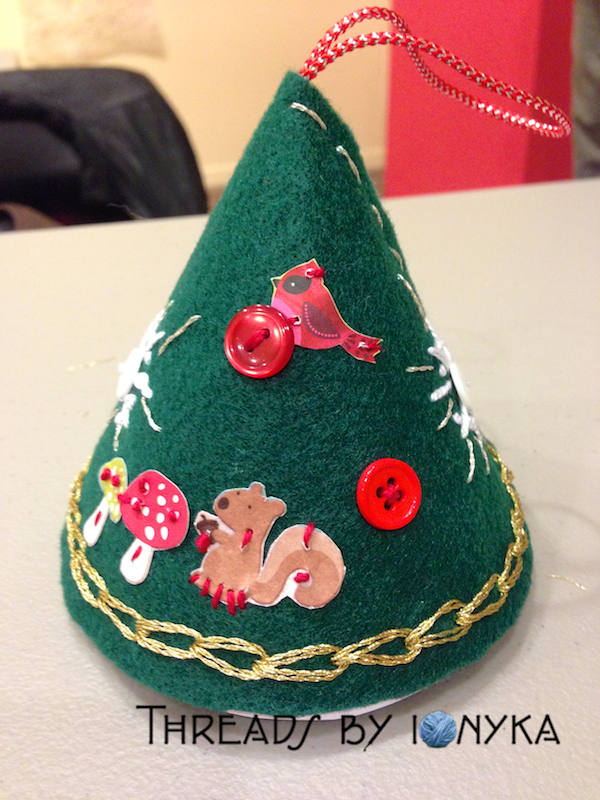
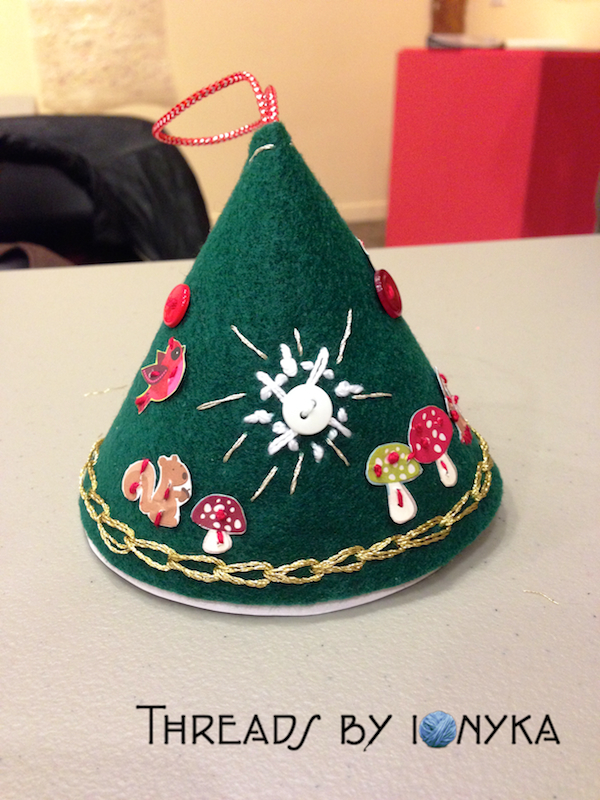
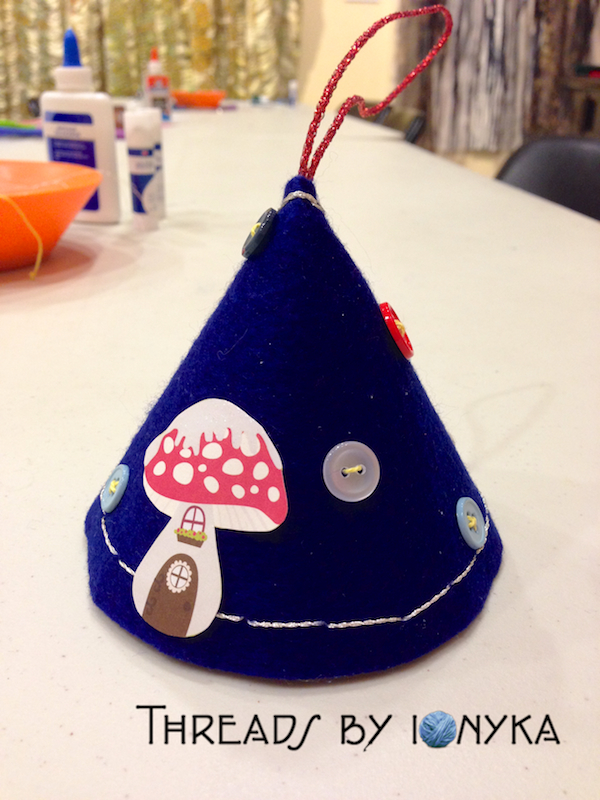
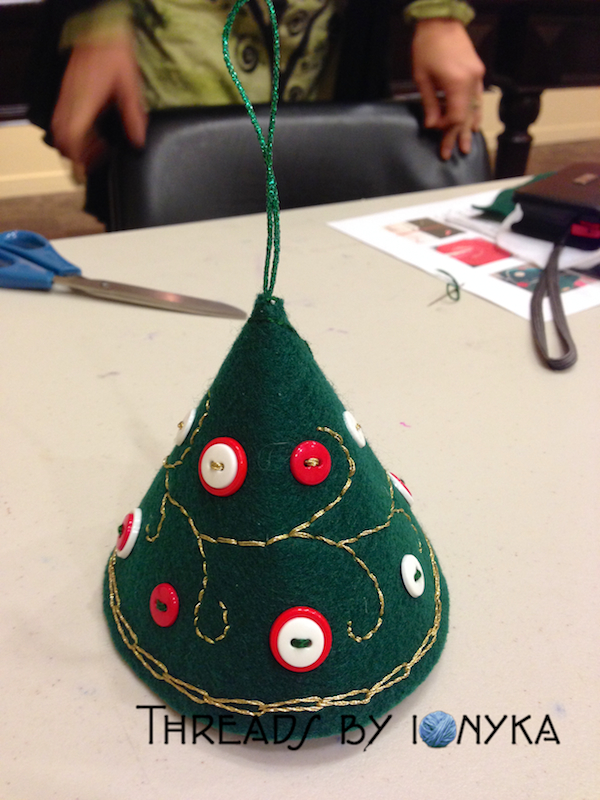
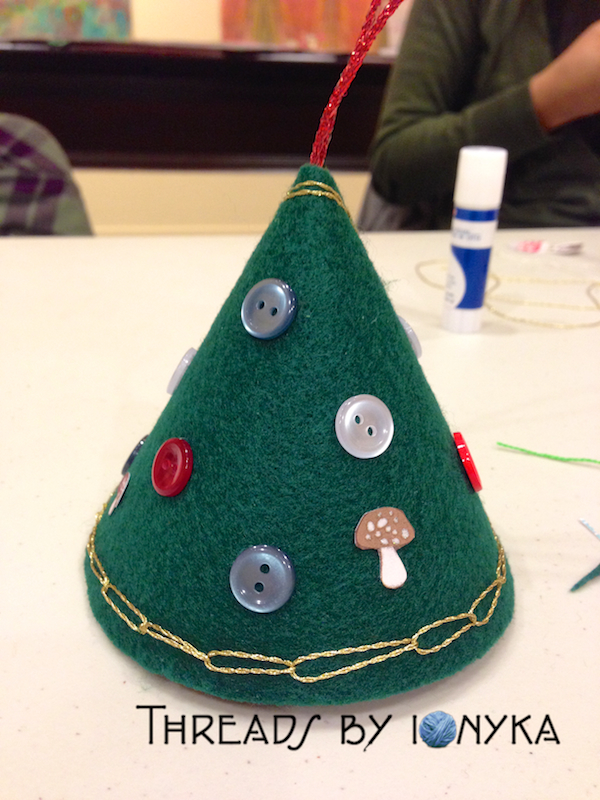
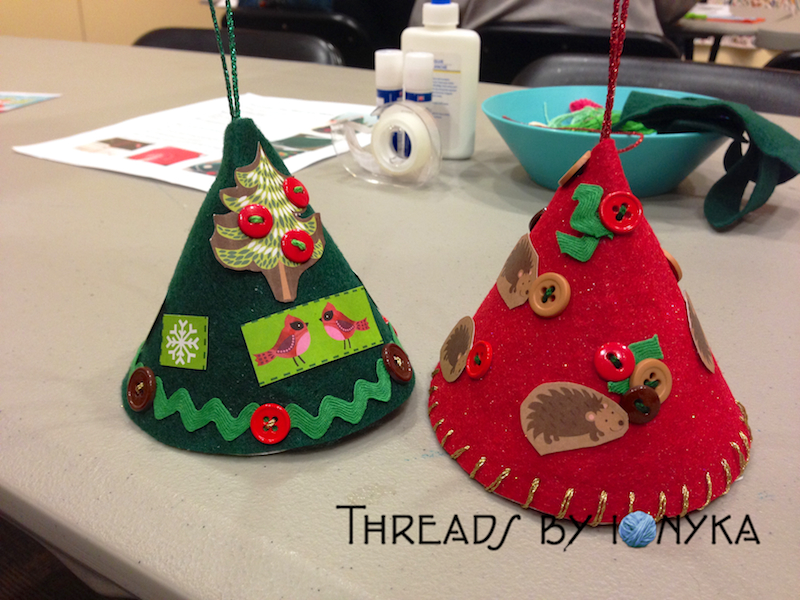
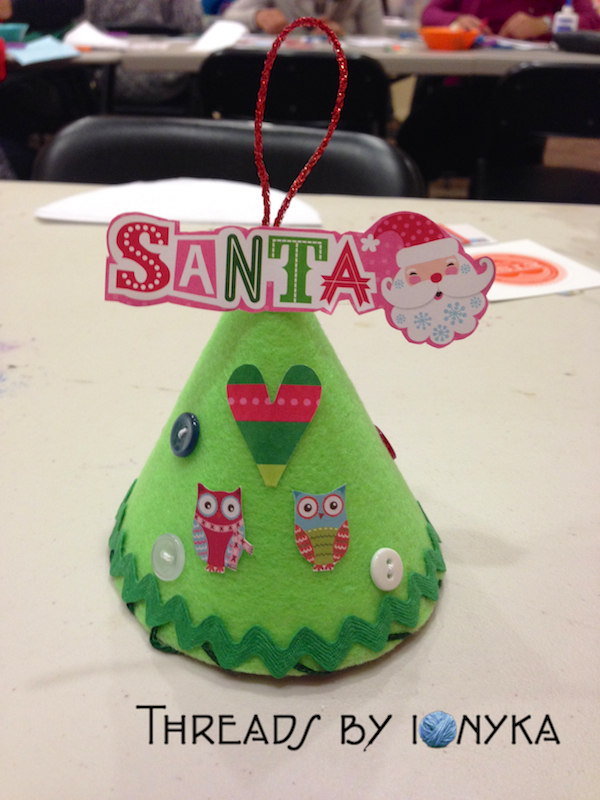
We had a great group of crafters show up and they made some amazingly creative trees, here is a gallery of trees that were all made at this event. I am so impressed with what they came up with and so proud they shared their Friday evening with me!

IMG_2590

IMG_2593

IMG_2614

IMG_2613

IMG_2612

IMG_2611

IMG_2610

IMG_2608

IMG_2607

IMG_2606

IMG_2605

IMG_2604

IMG_2602

IMG_2601

IMG_2600

IMG_2599

IMG_2598

IMG_2597

IMG_2596

IMG_2595

IMG_2594

IMG_2592

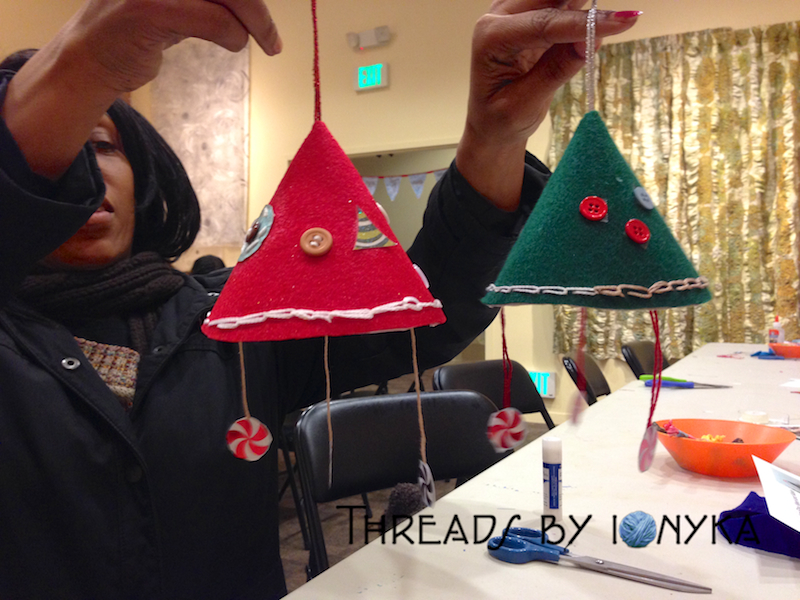
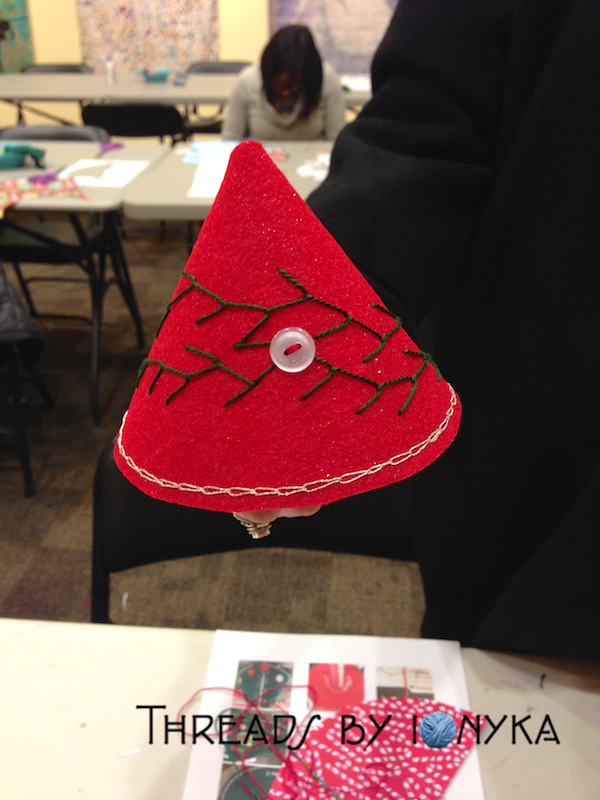
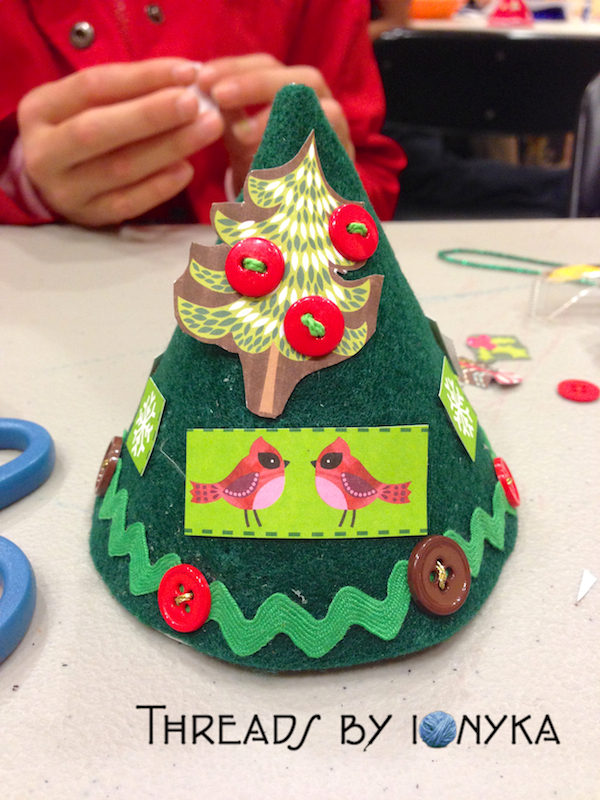
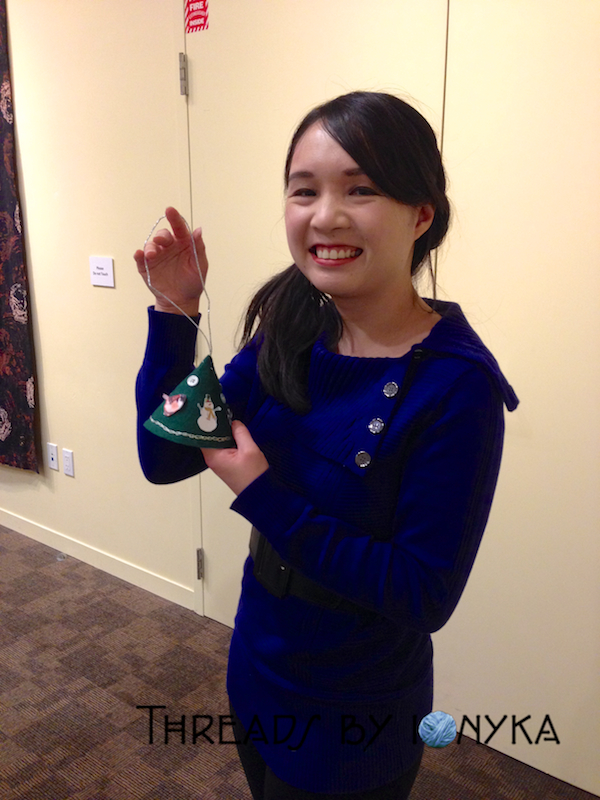
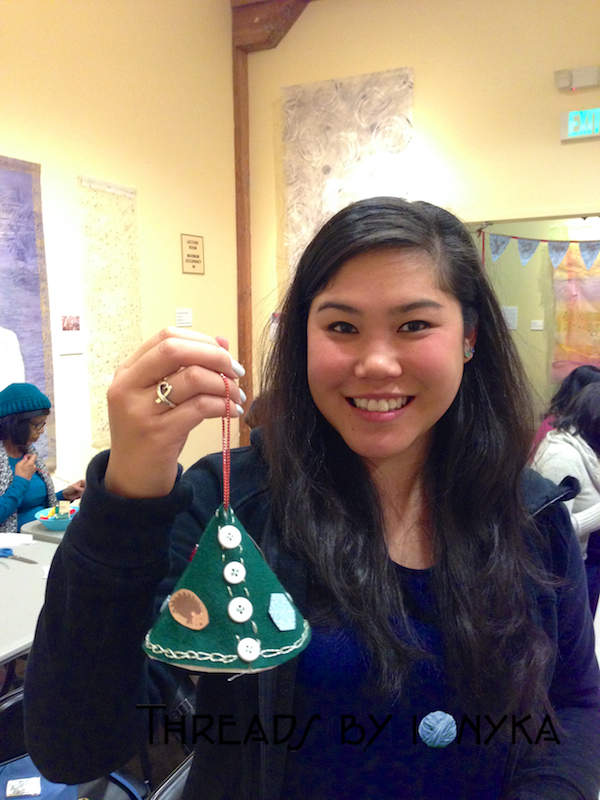
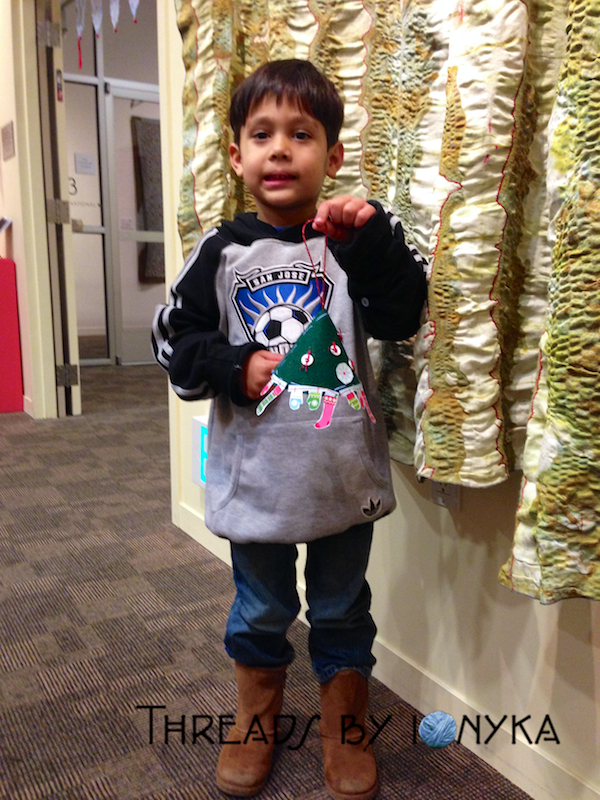
Thank you so much for those that came out, I had a great time seeing all the cute ornaments you made!

Want to get the instructions to make your own tree ornament? You can download the PDF’s for yourself:

Written Instructions: Craftsbyionyka-HolidayTreeOrnament1

Tree Shape Cutout: Craftsbyionyka-HolidayTreeOrnament2

Thanks so much for stopping by!

Holiday Accessories: Tree Skirt

Another memorable holiday traditions at our house growing up was taking a drive out to Hozak Farm (I grew up in Pittsburgh, PA) the weekend after Thanksgiving to hunt and cut down our perfect Christmas Tree. *queue opening scene from Christmas Vacation* ok so it wasn’t totally like that, but at times it was really cold and snowy, others chilly with no snow, just depended on the year. The event included a wagon ride into the tree farm to spend what seemed like forever trying to decide as a family which type of tree we wanted and which one of that type we were going to select.

Eventually we would decide and my dad would saw it down and would get it trucked back, wrapped in twine and put on the top of the car. After that we were pretty hungry so luckily the barn there is set up for great sandwiches and soups along with hot cocoa. We would bring the tree home and put it straight into the tree stand and wrap my moms quilted tree skirt around it. I found a rather old photo but you can see the skirt in it fairly well.

IMG_0097

So again, I knew another fun holiday accessory I wanted to crochet was a new tree skirt for us to use. Since I moved out I have not always been able to have a real tree, most apartments did not allow them and I initially did not approve of fake ones. This year we may end up going the way of artificial but either way our tree will have an authentic homemade tree skirt at the very least!

I browsed a bunch of options and decided on this one called SmoothFox’s Christmas Tree Skirt. I liked it for the versatility of the stripes and the basic shape.

I used a random stripe generator I found thanks to a tip in a comment because I had 4 colors to use and wanted to mix up the colors a bit. Here is what I came up with.

IMG_5415

IMG_5414

I used 4 colors of Red Heart Super Save yarn so it can be easily washed if needed, and since I had a bunch left over from the stockings, it made sense to make them all match a little too.

IMG_5411

IMG_5406

I purposely did not make it super large yet to see how it fits with the tree we get, I can always add a few rows if I need to. Once we have a tree I will get a few pictures of it when the new skirt on. I am very pleased with how it came out, the patter was easy to follow and takes shape nicely.

Post Update: 12/21/13

We finally got our new tree up and decorated last weekend so here is a photo of the tree skirt.

When I get time, likely after the holidays, I need to add about 5 or 6 more rows to it so it is a bit wider, it barely covers the tree base right now. I did add 3 buttons to the closures so it stays closed better. I attached a chain 5 to the edge of 2 rows like a button hole and attached the button on the other side. I will get close up pictures of that once I finish adding some rows later on. I do like how it looks though!

IMG_2670

IMG_2671

Thanks for stopping by and Happy Holidays!

Getting crafty with CraftBrewlry!

Last night at Spread in Campbell, CA our host and local SFEtsy team member Gretchen from CraftBrewlry taught us how to make her super cute bottle cap earrings.

Our first task was to dig through the massive amounts of bottle caps she brought to find a pair we wanted to use to turn into earrings. My husband and I thought we have a hefty collection but I believe we got beat! Her collection included unique brands and styles, as well as some soda caps too.

IMG_2526

Then we got to work pounding out our caps using some metal hammers and any current frustrations we needed to expel, sure was fun! After hammering them as flat as possible, you attached the earring pieces using pliers. This took me seconds to complete for 1 but minutes for another as the tiny metal rings can be super easy to fling across the room by accident if you are not careful. Maybe it was just my lack of jewelry making skills but luckily Gretchen happily showed me great tips and suggestions along the way, she was a great teacher!

IMG_2521

I was super excited to find 2 soda caps that said “Fizzy Lizzy” on them, how could I resist right?!?! I also saw this neat pair of orange caps with suns on them that looked fun so I made another set with those as well. Not only did you get to make the earring set, she also provided a really cool eco friendly board to post them onto made out of cardboard cut out from 6-packs, how creative!

IMG_2528

What a fun and great way to reuse things that generally get tossed away without a second thought. Thanks to Yelp for sponsoring the event, thanks Spread for providing the location (they have amazing sandwiches and mac n cheese btw!!!) and to Gretchen for sharing your craft with us and showing us how fun and creative we can be! Please check out her shop, its full of fantastic items and would make great gifts this holiday!

IMG_2524

Thanks for stopping by!

@EcoMonster Snow Globe Yelp Event

This past Sunday I got the chance to check out EcoMonsters new store space and participate in their Yelp Event. There are many of these events going on around the area through mid December, including another I will be going to where you can make your own bottle cap earrings! At the EcoMonster event we got to make cute snow globes out of mason jars and a bunch of little trinkets including trees, bells, sea creatures, angels, elves and all sorts of other things.

You select a jar, then pick out your decorations and hot glue them to the inside of the lid, see my work in progress photos:

snowglobe1

snowglobe2

Then you fill your empty jar with ‘snow’, water and a few drops of glycerin. Carefully turn your lid upside down and tighten the lid to the jar then hot glue gun the edge to prevent leaking. The last step is to decorate the outside of your jar and you are finished!

Check out my finished snow globe, it ended up having an ocean seahorse theme to it.

snowglobe3

snowglobe4

I really had fun, these events are great for anyone who likes to get crafty but does not want to buy all the supplies each time for what you want to do. Also great for kids and adults alike, a fun way to spend a Sunday afternoon.

Be sure to see if there are any Yelp Events in your area and try one out! Thanks for stopping by!

#SFEtsy Meet & Make: Fiber Note Cards

I attended another SFEtsy group Meet & Make last night at the San Jose Museum of Quilting and Textiles.

This one was run by Armani Mondragón and our craft project was to make cute felt note cards. You take a plain note card and cut felt and decorative paper to size and shapes you want and then sew them together with thread or thin yarn. Super fun and simple enough for kids even.

FeltNoteCard1

FeltNoteCard2

I was deciding what to do with my cute note cards now that they are finished, and I thought they would make great decorative recipe cards. This project would be a great way to gift recipe cards to friends and family, for birthday gifts, shower gifts etc. I really liked the event and look forward to going to more of them!

Etsy #CraftParty at @EcoMonster

I signed up for this year’s Etsy Craft Party that was hosted by a cute shop in downtown San Jose called EcoMonster.

If you are unfamiliar with Etsy Craft Parties check out their site for details. There were a bunch going on in the Bay Area last night.

While I was there I got handy with some string thread again and made myself this cute little Apple fabric/felt pin:

EcoMonster Craft Party

EcoMonster Craft Party

If you also went to a Craft Party yesterday, where did you go and what make? Or maybe it was a supply swap, find any hidden gems?

Hope everyone local to the Santa Clara, CA area will stop by the MidSummer Art Fair, I will be there with a booth!