New Shawls

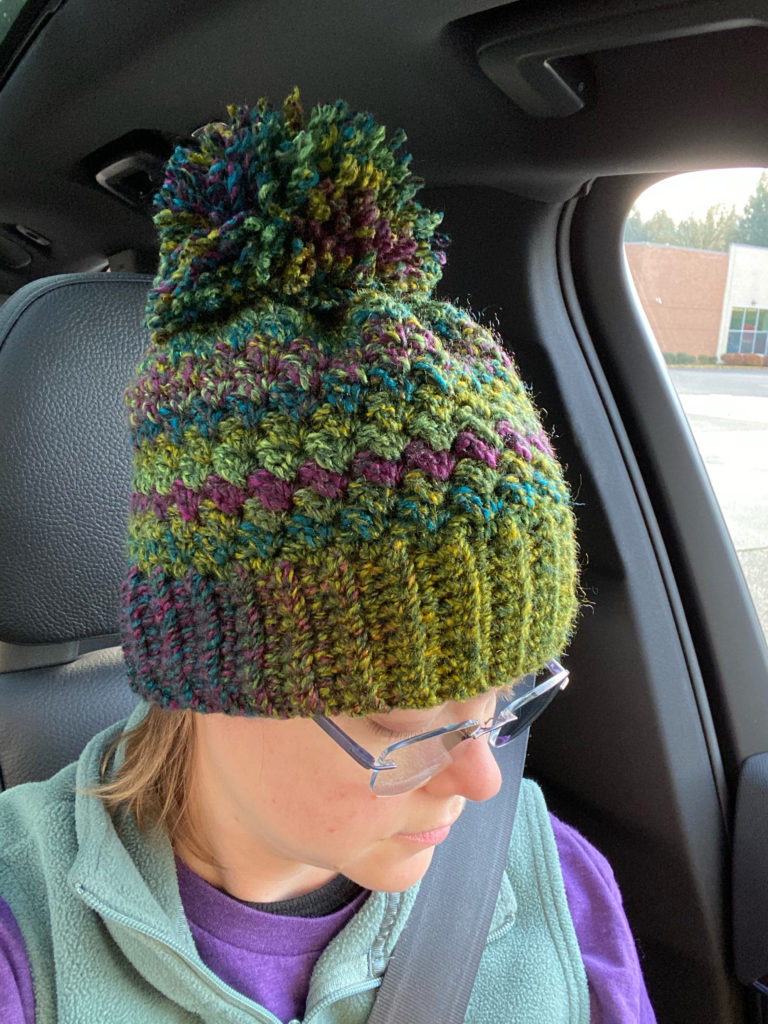
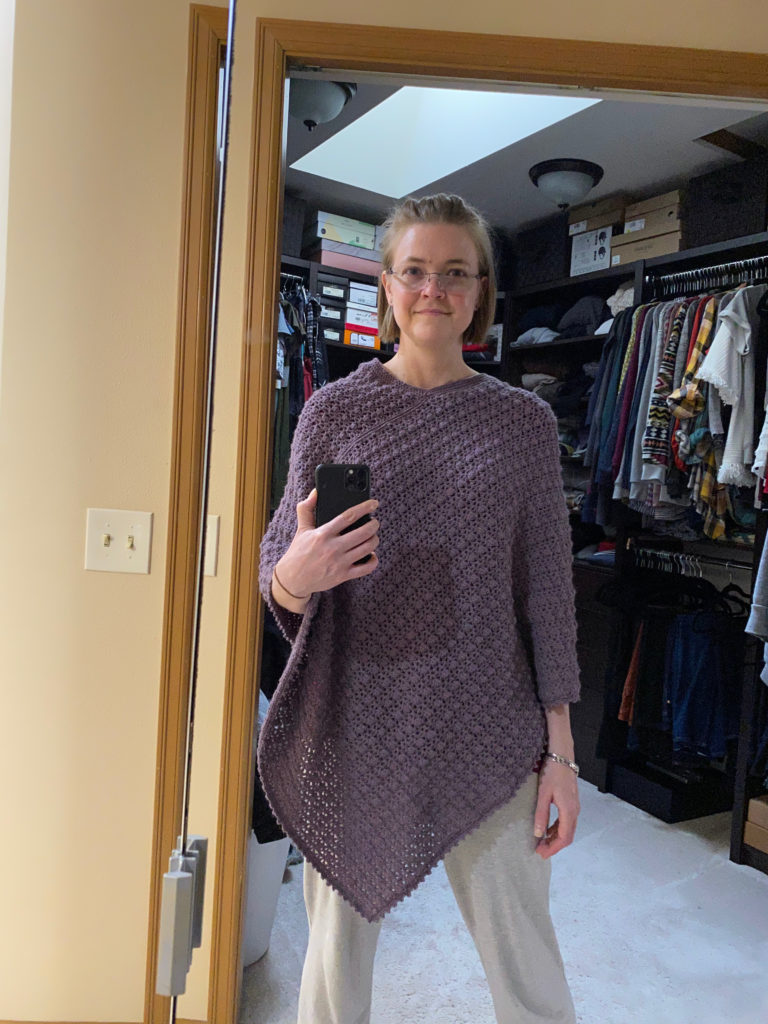
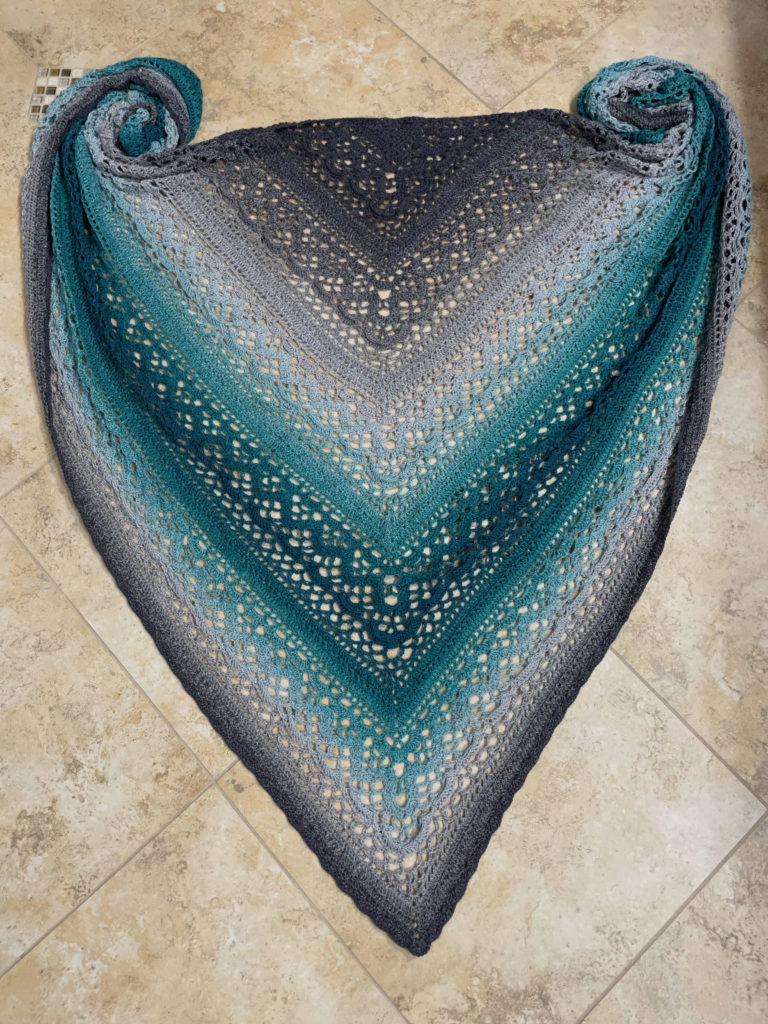
I found a new shawl pattern that is currently my favorite personal project. I have completed 2 so far and I started a third one recently. Here are the juicy details:

Pattern: Klaziena Shawl
Yarn: 2 skeins = 1 shawl. For the teal/grey I used Scheepjes Whirl and for the brown/tan/white I used YarnArt Flowers.

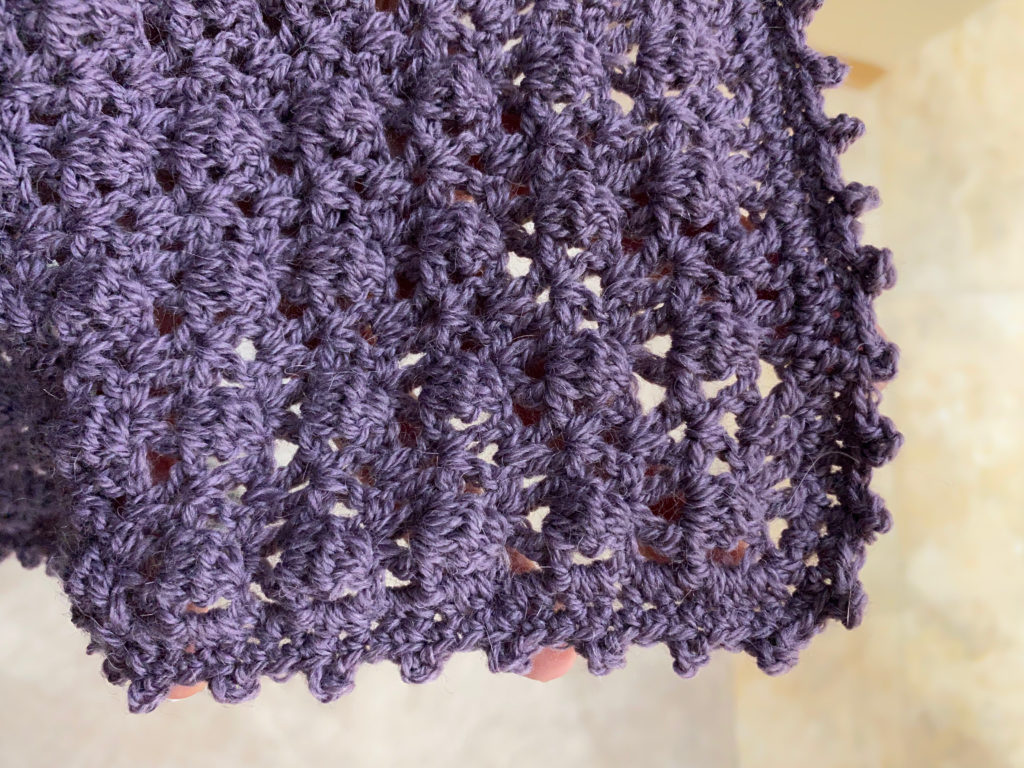
I followed the pattern as written until I got low on yarn and here is the border I came up with:

Ended on a pattern row 5

Next Row:
Ch 3, 1dc, skip 2, sc, skip 2,5dc, skip 2, sc
Repeat: [5dc, skip 2, sc, skip 2]

at the point do 7dc in ch2 sp

continue repeat, end with 2dc in last stitch.

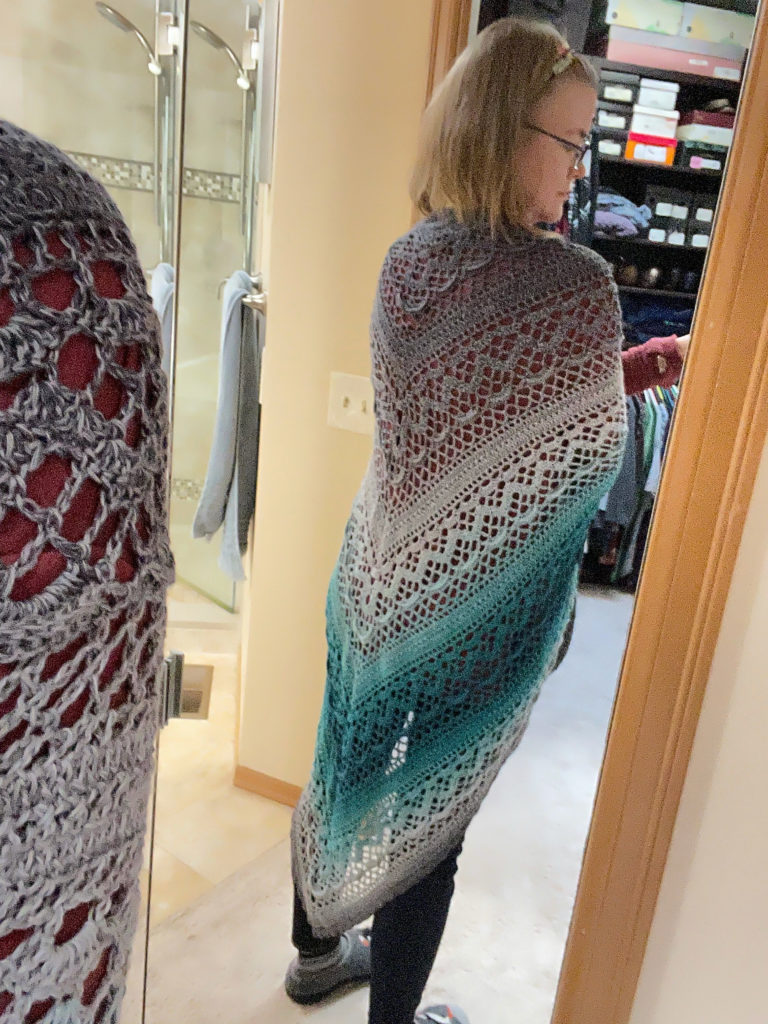
After I finished the grey/teal one, still being home a lot due to the pandemic, I started a 2nd one in a brown/tan/white color way. Same border as the first one.

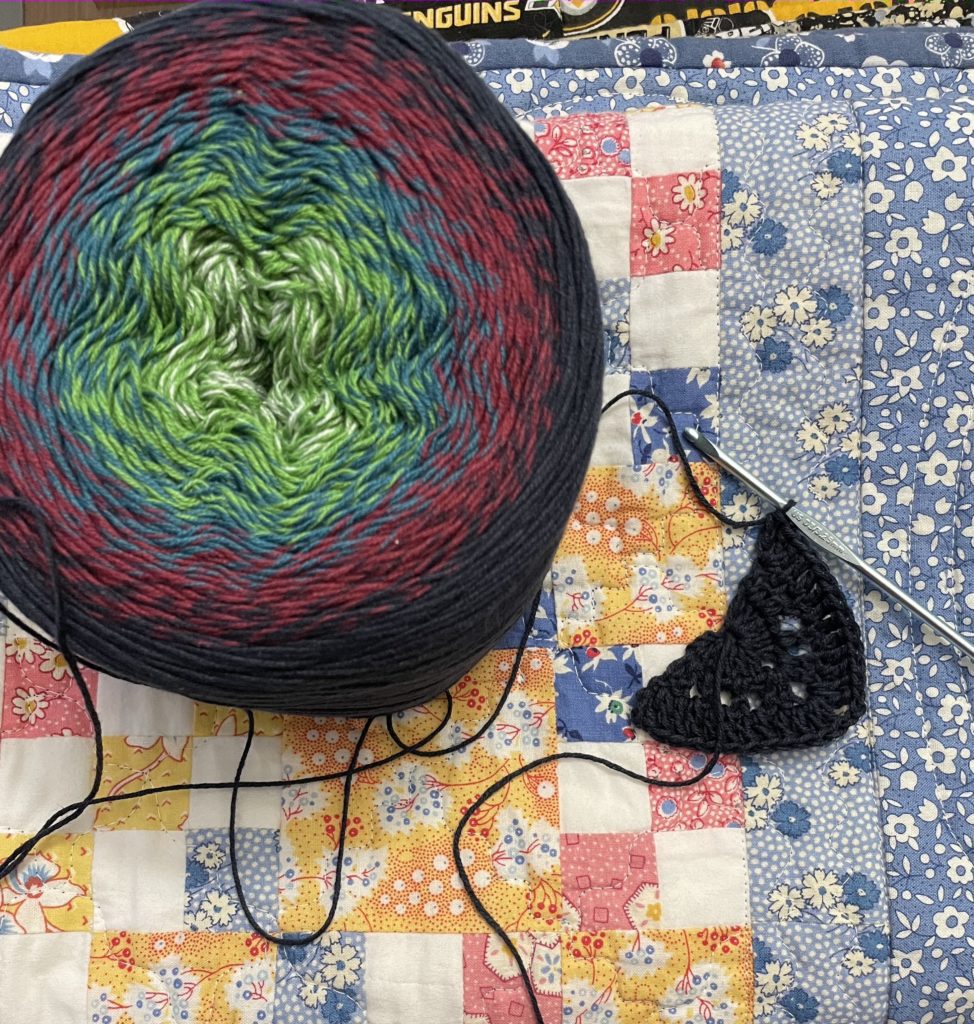
I have just started my 3rd one using YarnArt yarn for a friend who picked out the color she wanted. Excited to see how the colors turn out on this one as it goes :)

Thanks for stopping by!

Personal Projects Update

In and around all the baby blankets I have been doing I wanted to share some personal projects that I completed and have photos of :)

First up, a hat, with a pom pom! I had not made myself a hat in quite some time. And I just love this yarn and hadn’t made anything for myself with it yet so I gave this pattern a try. I will admit I made the band a little too big, but it still fits well enough. I should have done about 6 or so rows less than I did because it stretched a bit more than I thought it would with wear, but I still like it :)

I used this pattern. I will admit, I am usually not a “brim to crown” hat pattern person. I usually like starting at the crown and working my way down to the brim, but I am pleased I used this because I really wanted it to have a stitch like this with the color changes the yarn had. The pom pom was made the standard way you typically make pom poms, I won’t link to anything because I would say it came out ok but not amazing :) There are tons of videos/resources out there to help with them so I will leave you to find your own path with them.

Next up is a poncho style coverup. I documented this one actually already in my Ravelry account with additional work up details. But here are the basics:

Pattern: poncho with two rectangles
Yarn: Garnstudio DROPS Flora in Amethyst – I bought 8 skeins for the project

The biggest change I made was I used bobble stitches instead of popcorn stitches and I added some extra rows to make it a bit wider. I also used the suggestion to do a foundation hdc instead of chains and hdc because it let the panels stretch a bit better.

Here are details about the borders:

Outer edging:
[sc, sc, sc (ch 3 picot)] all the way around

Inner edging:
1 row hdc (3 stitch decrease hdc in 2 corners)
1 row hdc (also decrease every 5th stitch in longer side)
1 row hdc (also decrease every 5th stitch all the way around)

Thanks for stopping by!

Other Recent Gift Projects

Here are a few other projects I have done recently that I have pictures from to share :)

I made this blanket and hat set using the Loopy Love Blanket pattern from Moogly. I used 3 different colors of Inca Eco cotton yarn by Galler Yarns that I have had for awhile. The border was mostly made up as I went. I think I did 1 row of sc’s all around in each of the colors. Then a row of dc’s with the green. Then with the yellow I did shells with corners that were regular dc’s to make the corners feel a little more decorative.

This next project is my most recent new baby gift. My friends were going with a “moon and stars” theme so I decided instead of a typical rectangle blanket I would make a star shaped play blanket and attach some stars on it, keeping the nursery room color theme in mind.

I used CARON Jumbo Ombre in the color Faded Jeans. I started with the beginning rows of the star from a pattern, but quickly just opted for regular rows of dc and increasing every other row. So I would not say I followed an actual pattern except to get me started. For the border I finished with a row of [sc, picot, sc].

Then I added some small stars and based mine from this pattern. I wanted the stars to be a bit bigger than the pattern called for, so I did another round of dc’s and thus was able to get 6 points for my stars instead of 5 since I had more stitches. Then I just secured them to the blanket with the tail which I left extra long since I knew I needed some for this purpose. I really like how it turned out :)

Here is the blanket in its new home!

Up next will be some personal projects I have completed. Thanks for reading!

Finally an update!

In the handful of years it has been since I last updated, I have continued to make tons of baby blankets for friends & family. While I did not get a photo of each one, here are a handful I did manage to grab a photo of before gifting them :) All these ones used a standard C2C pattern. For the border, I would do a round of [sc, ch3] all the way around. Then I would do 3 dc’s into each ch3. You can get close up photos of this and a longer explanation in this post.

I will do another post next of some of the other projects I have done using other patterns. Enjoy the colorful gallery :)