
Happy 2014!
Shop in both my stores all through January and save 15% on any order $20 and over!
Use code: POSTHOLIDAY15
Coupon code is good Jan 1st – 31st on orders of $20 or more, including items already on sale!
Thanks for stopping by!
Crochet, Crafts, and Creativity!

Happy 2014!
Shop in both my stores all through January and save 15% on any order $20 and over!
Use code: POSTHOLIDAY15
Coupon code is good Jan 1st – 31st on orders of $20 or more, including items already on sale!
Thanks for stopping by!
The Yarn
Company/Store: Malabrigo Finito
Colorway: #870 Candombe
Weight/Length: Sport Weight/200 yards per skein (I have 4 skeins)
Material: 100% Superfine Merino Wool
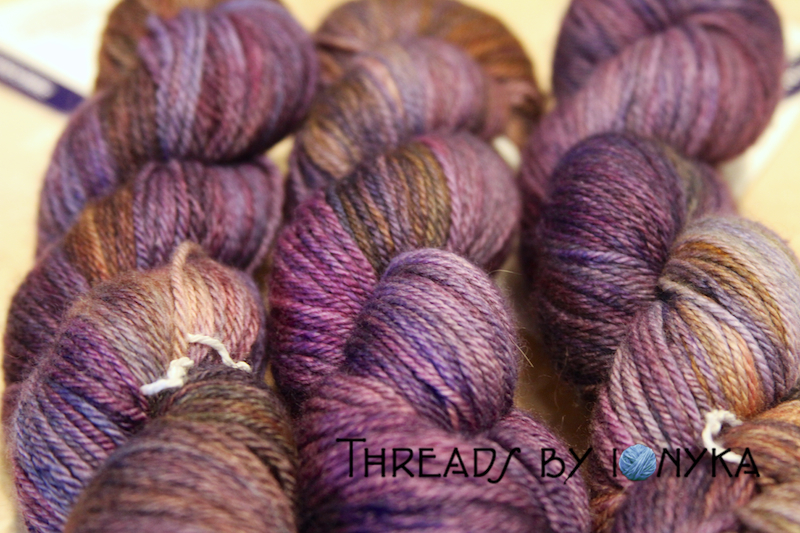
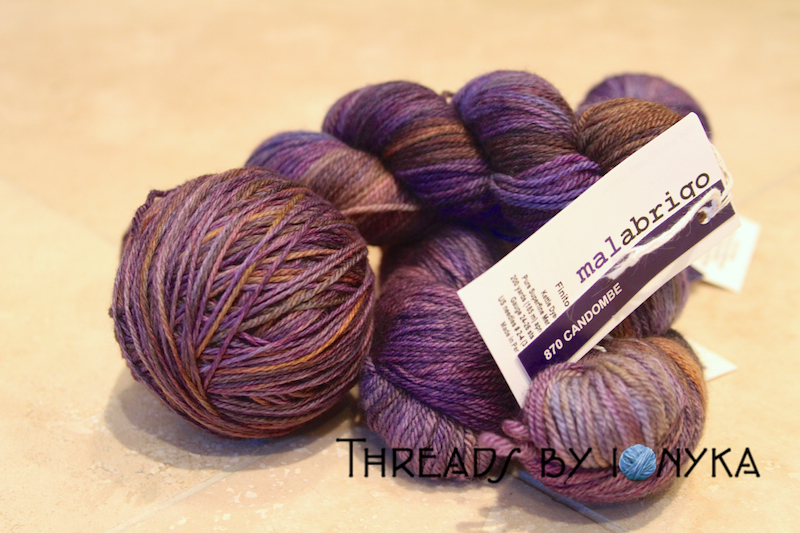
I saw this yarn at Uncommon Threads during a sale and had to get the last 4 they had, I knew I was going to make something for myself with this yarn so I kept it until I came across a neat pattern. It is soft and colorful, the colors go from soft to deep but not too much. Just lovely!
The Pattern
Name: Nuts and Spice Shrug – Ravelry Link
Author: Kim Driggs
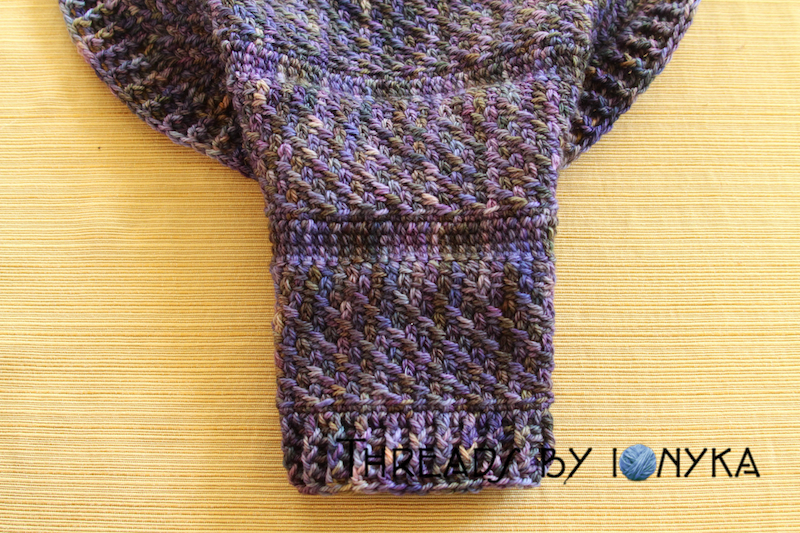
I found this pattern while I was browsing Ravelry one night and thought it would be a perfect project for this yarn. I had enough yarn plus extra so I thought I would give my first garment a try. I had learned the basic Tunisian Simple Stitch awhile back from a YouTube video so I felt confident I could figure this out. Here is a picture of the first arm I did.
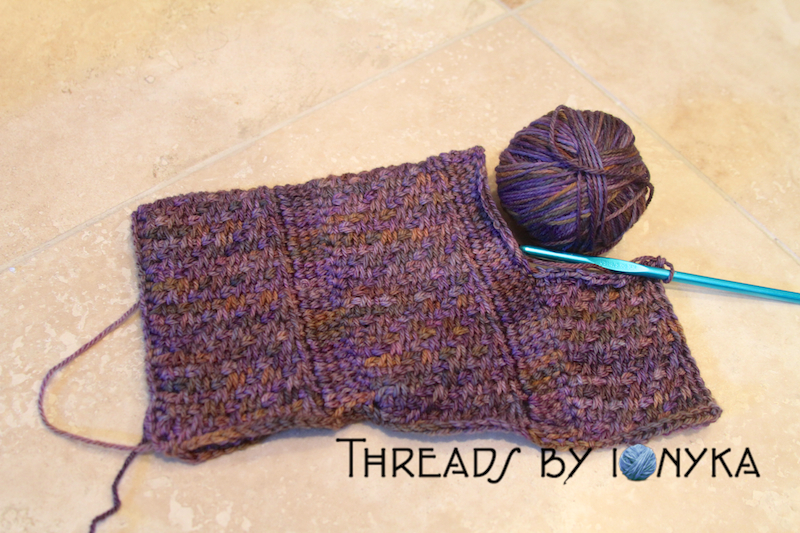
Once I got the basic pattern down it was easy going for the arms and back sections using a 2 section repeat. I was feeling pretty confident at this point, checking the size as I went to make sure it was going to fit me. It worked up pretty quick and in a few days of off and on work I completed it already! Of course it helped that it was over the holiday so I had some extra time.
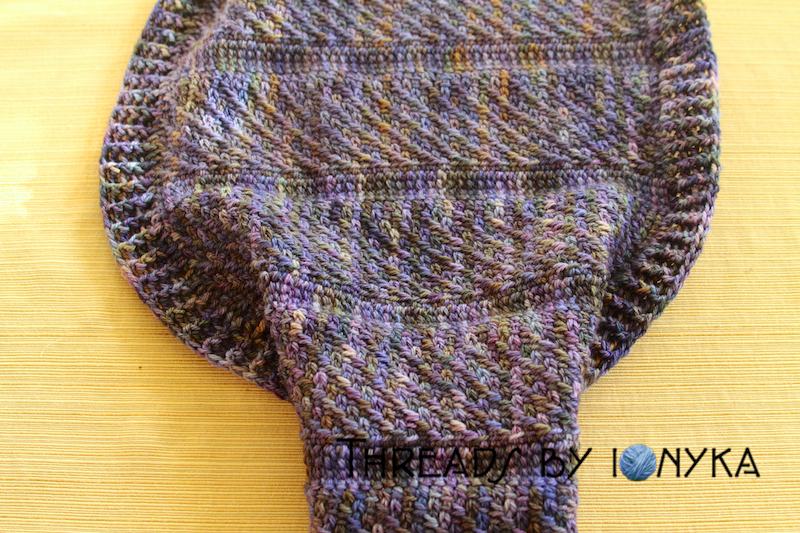
Final Stats
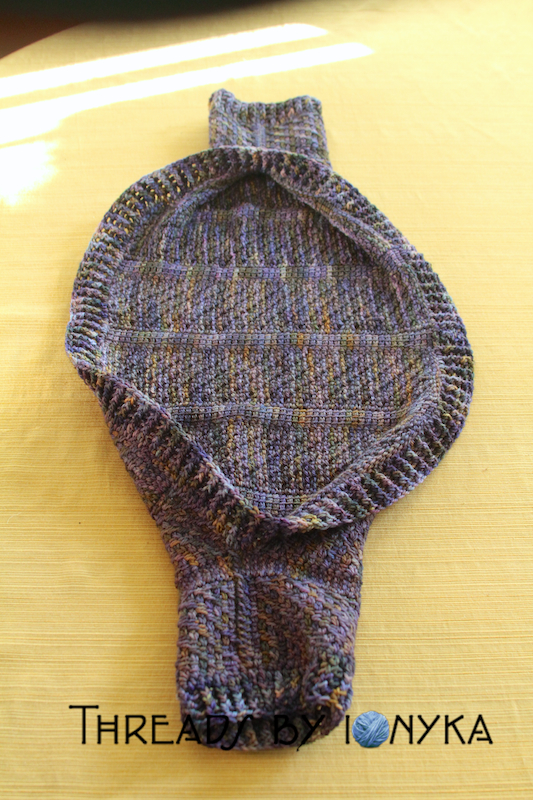
Size: Based on the pattern I would call this Medium, I upped the initial size to the next larger size recommended because I wanted it to be a bit wider in the arms, which I am glad I did and would likely go up a size again if I made another one just so it is a bit more roomy. It fits though and will be great to use during warmer months to cover my shoulders.
Yarn Used: I used about 2.5 skeins so about 500 yards total for this shrug.
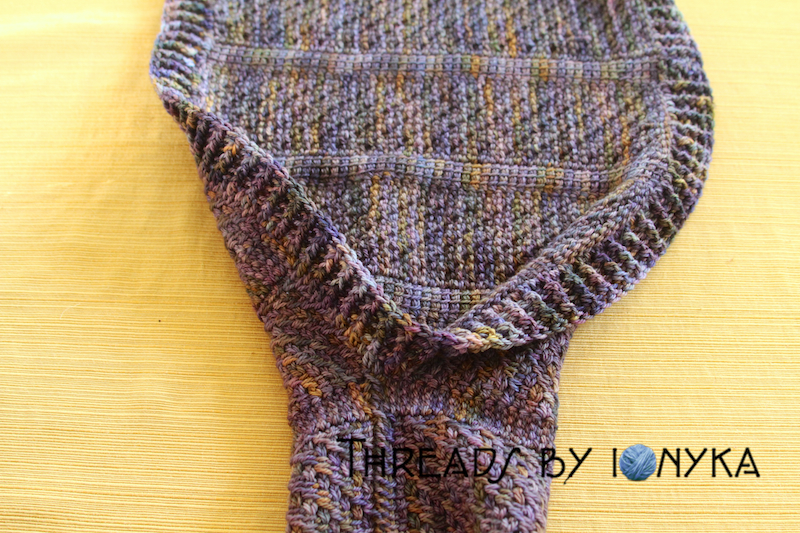
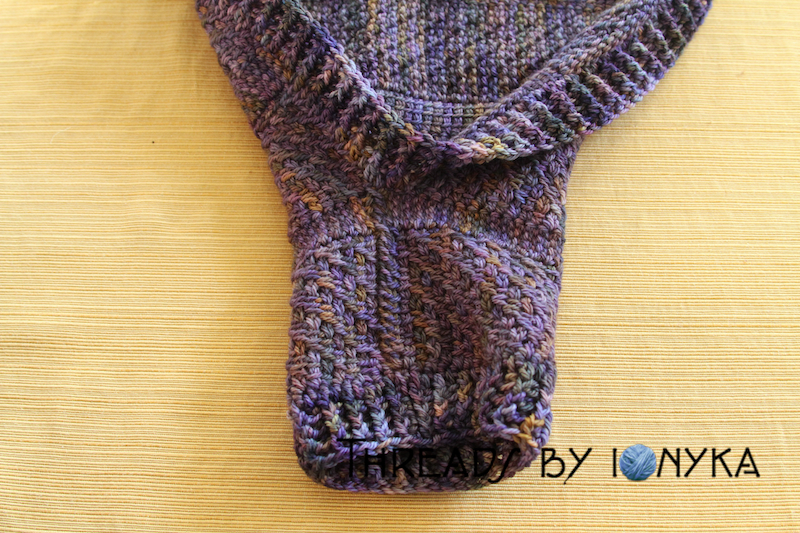
I only made 1 change to the pattern. Instead of following the instructions for the border I opted to do 4 rows of fpdc, bpdc. I tried the border a few times and it was just not looking right for some reason, the instructions were not hard to understand, I just didn’t like how mine was looking. The pattern is nicely written and easy to follow however I do recommend getting some experience with basic Tunisian crochet first before diving into this pattern, it will be easier to follow if you do.
I will get a photo of me wearing it soon too I just missed the light today to get one in before I posted this.

Thanks for stopping by!
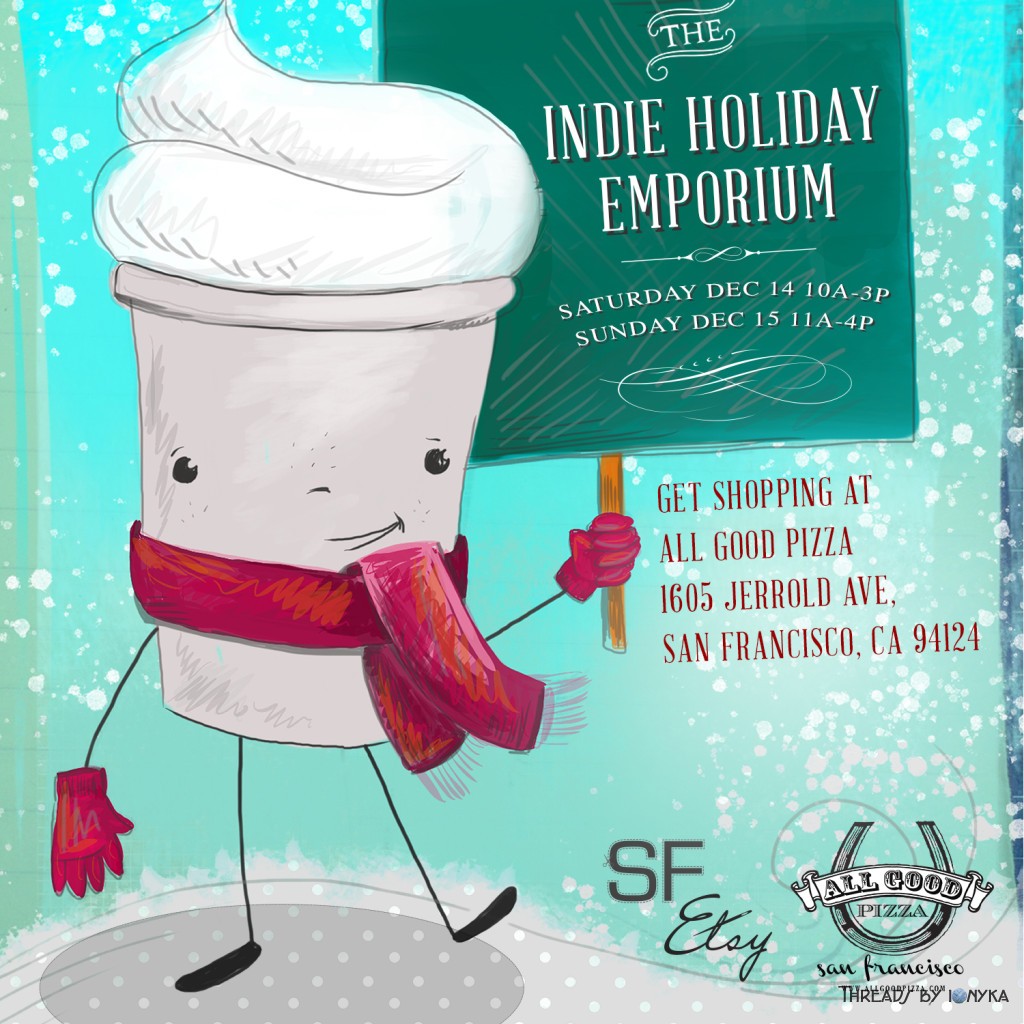
Join me on Sunday, December 15th for the Indie Holiday Emporium, over 25 vendors and yours truly will be there! The event is both days but I will be vending only on Sunday. Click the photo to be taken to the Facebook Event page with all the details! Hope you see you there!
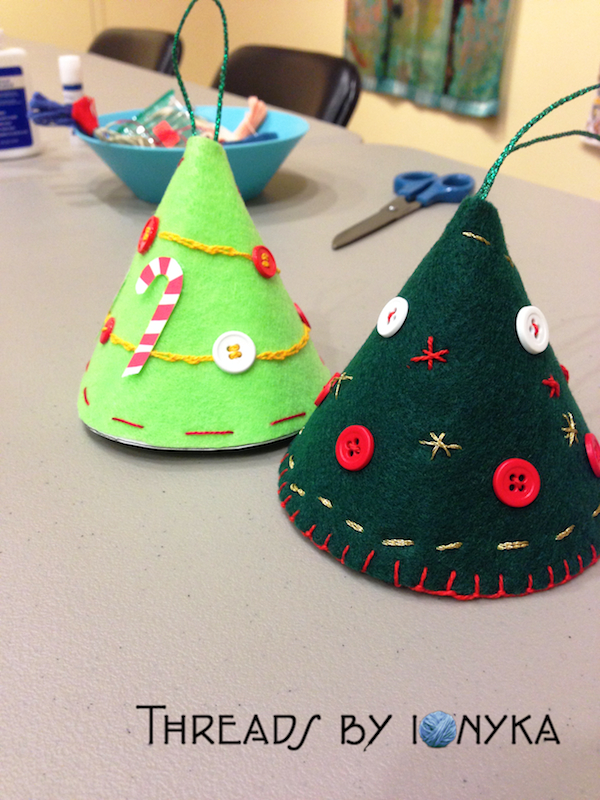
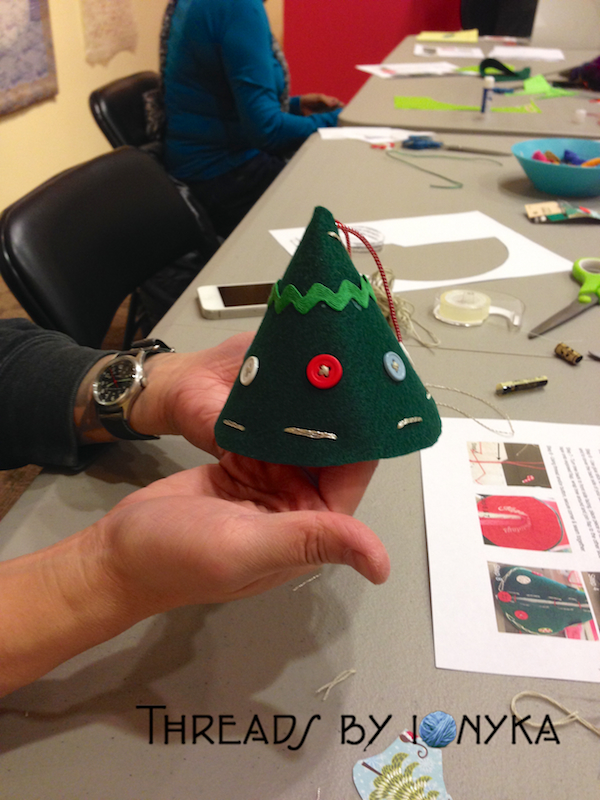
This past Friday I hosted the December SFEtsy Team Meet and Make at the San Jose Museum of Quilts and Textiles!
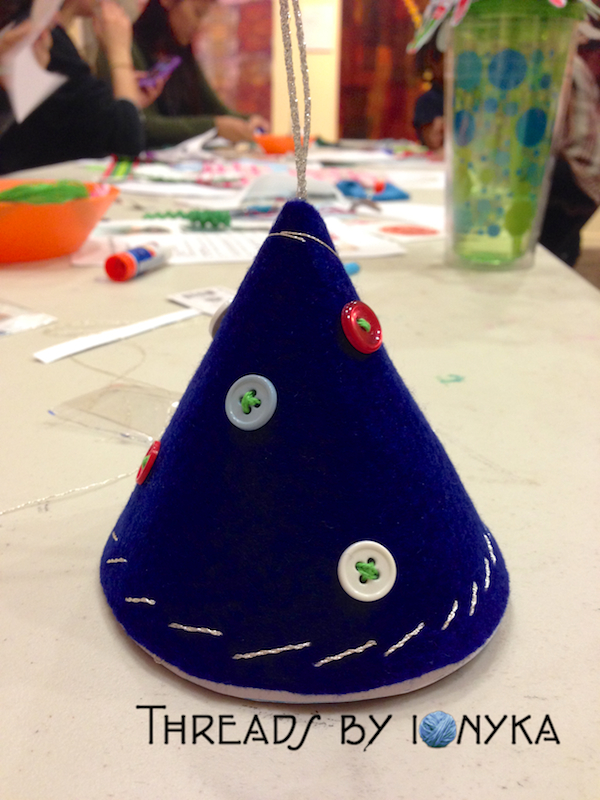
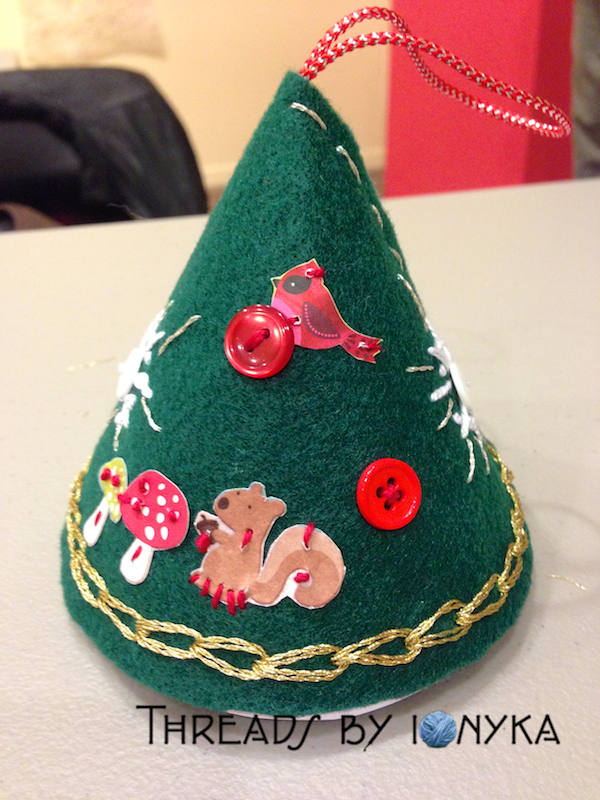
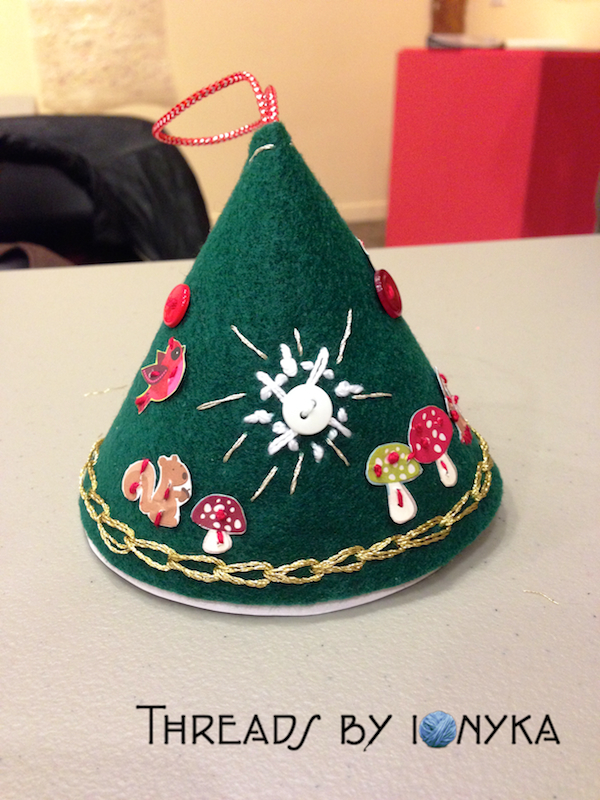
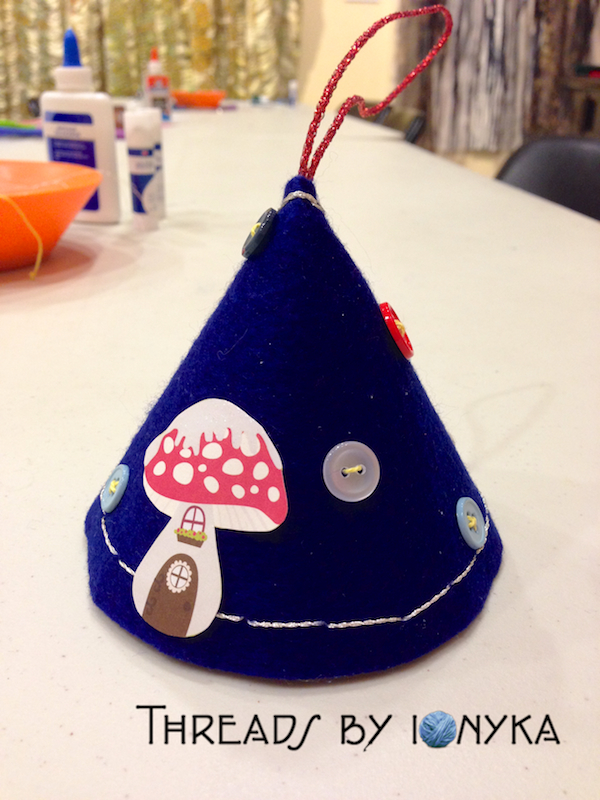
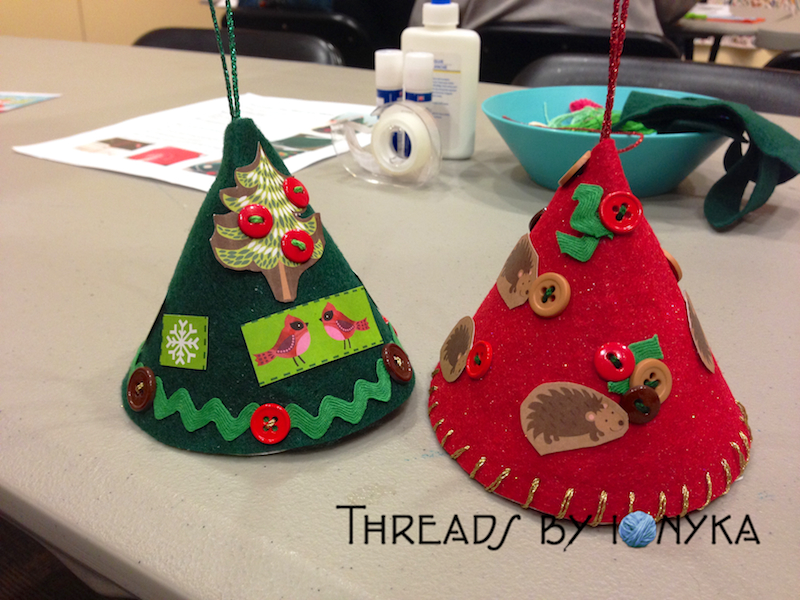
The craft design I chose was a little cone shaped Christmas Tree, check out the promo photo for my example below.

I got the initial idea because one thing I always enjoyed doing going up was decorating our Christmas tree at home with all of the ornaments we made as kids over the years. We always opted for the homemade ornaments over store bought ones, they always were more interesting and sentimental.
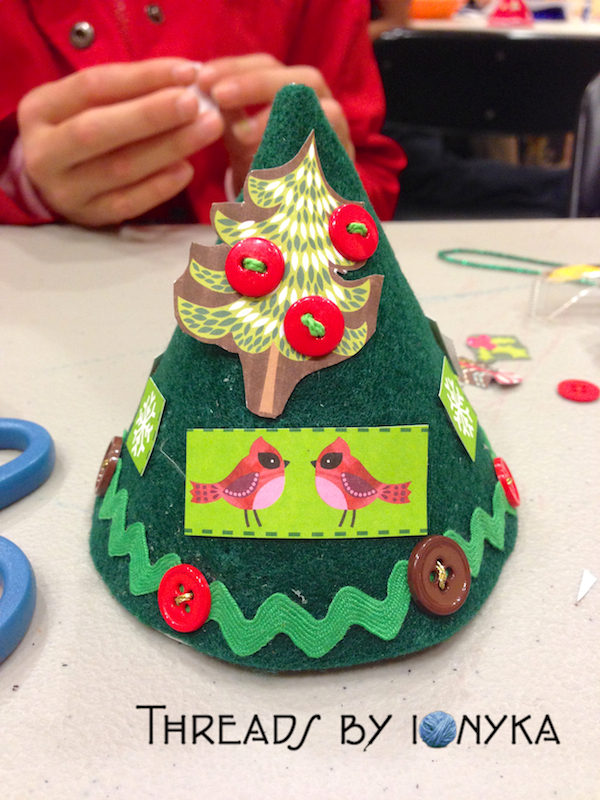
I drew up the shape, got some felt and cut out a bunch of shapes from a magazine while I was designing my prototype. After a few different attempts I was successful with the way it came together and wrote up instructions and the cutout shape I used. (Links to files at the bottom so you can make your very own ornament!)
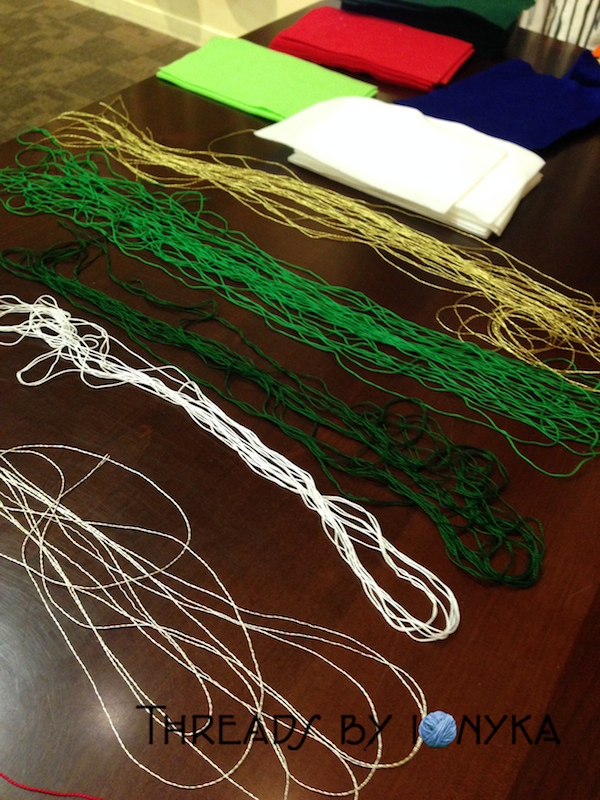
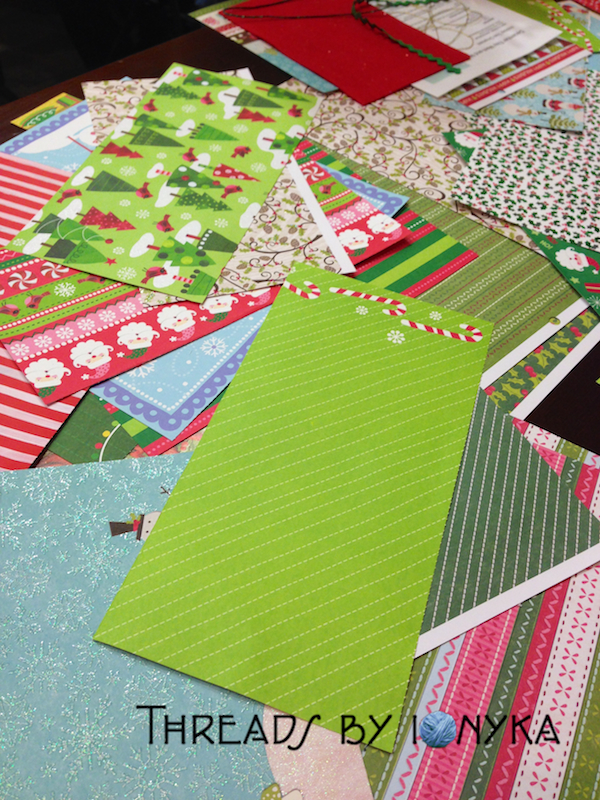
The museum gave me a budget to get supplies so I was able to get many colors of felt, holiday paper, threads and other decorations. Check out the supply table we had set up for everyone to use.
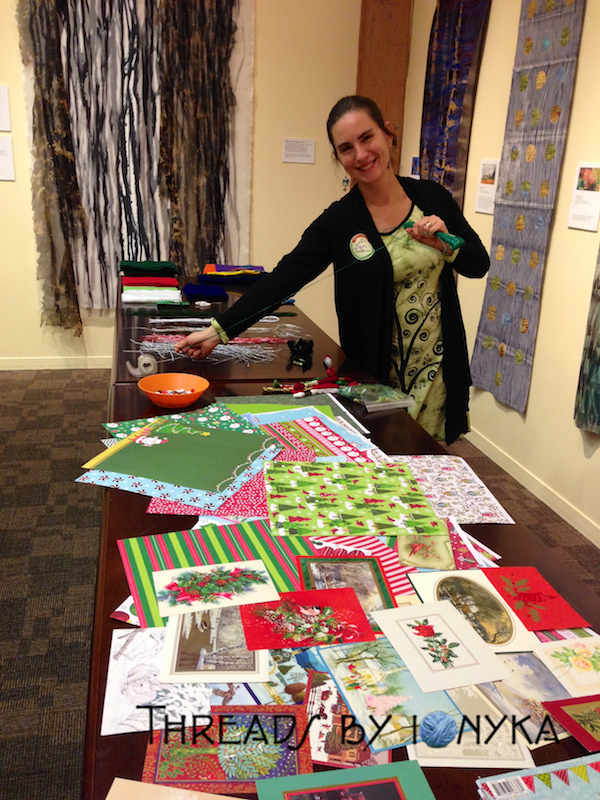
South Bay SFEtsy Team Leader Jen (Mama’s Magic Studio) was there to help!
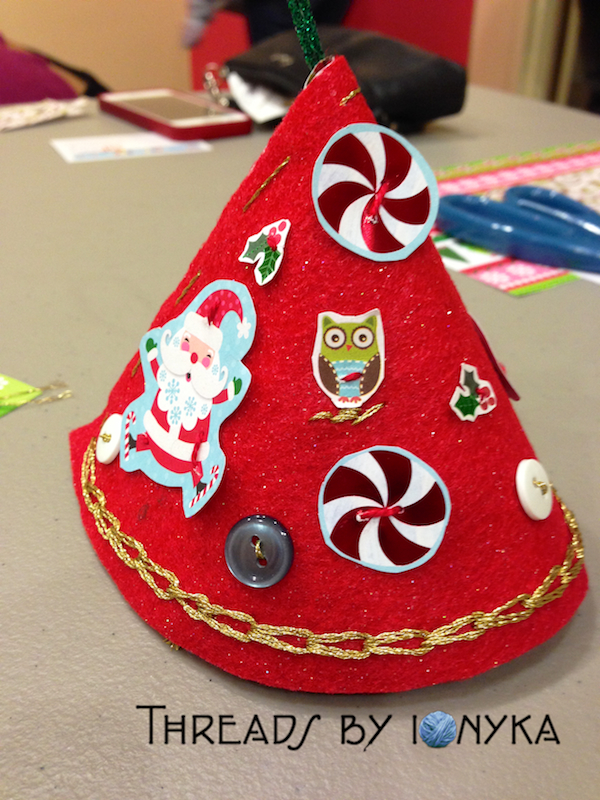
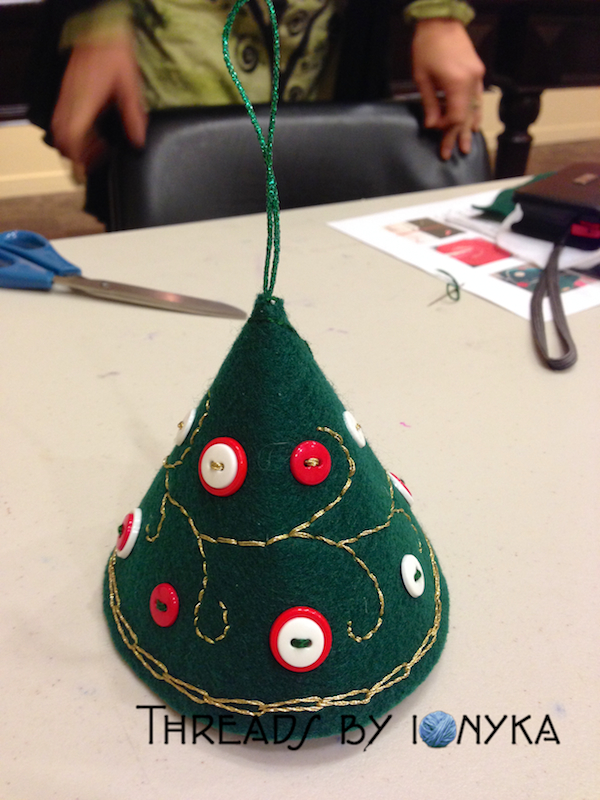
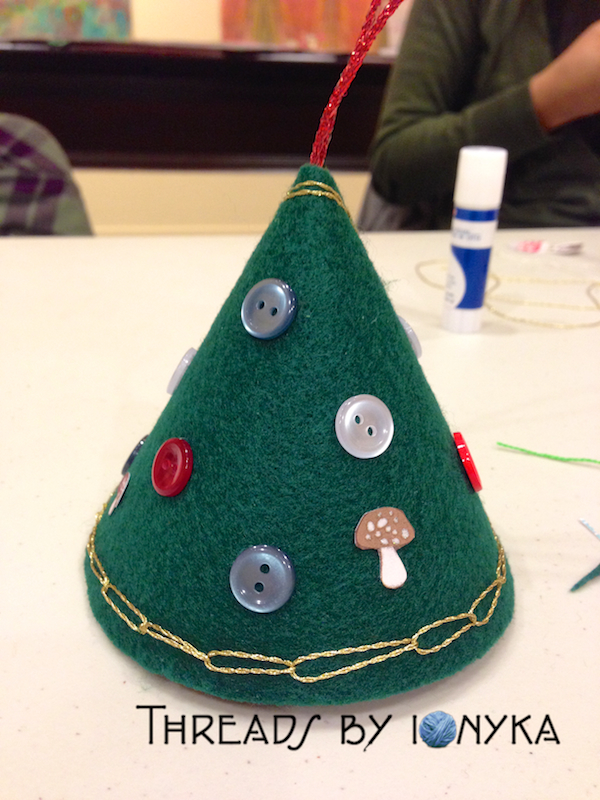
We had a great group of crafters show up and they made some amazingly creative trees, here is a gallery of trees that were all made at this event. I am so impressed with what they came up with and so proud they shared their Friday evening with me!

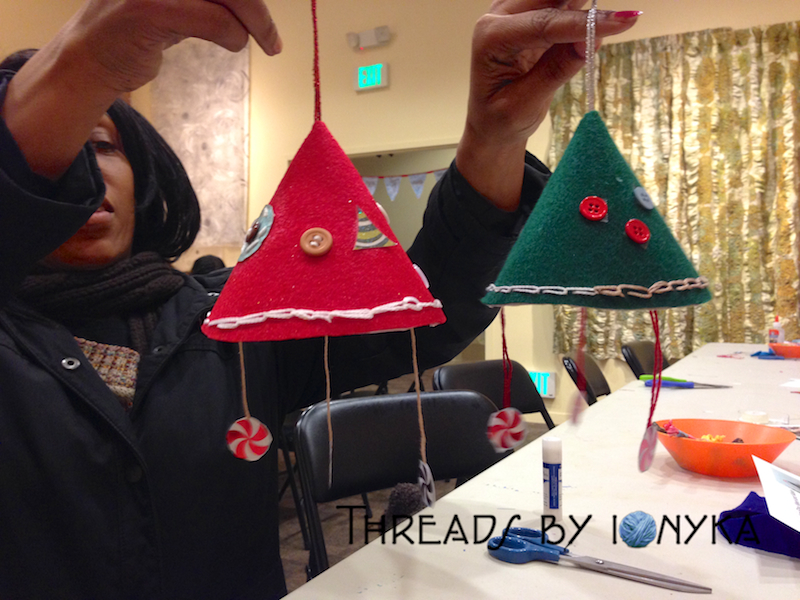
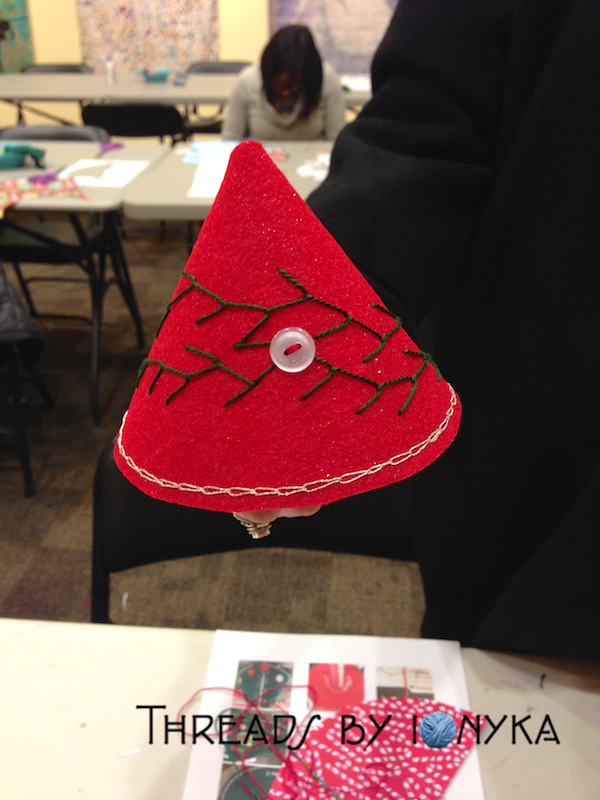

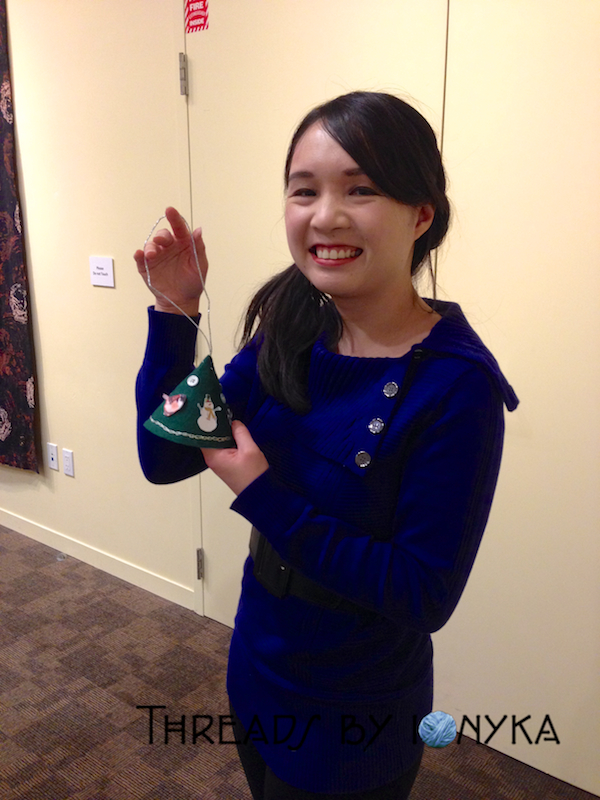

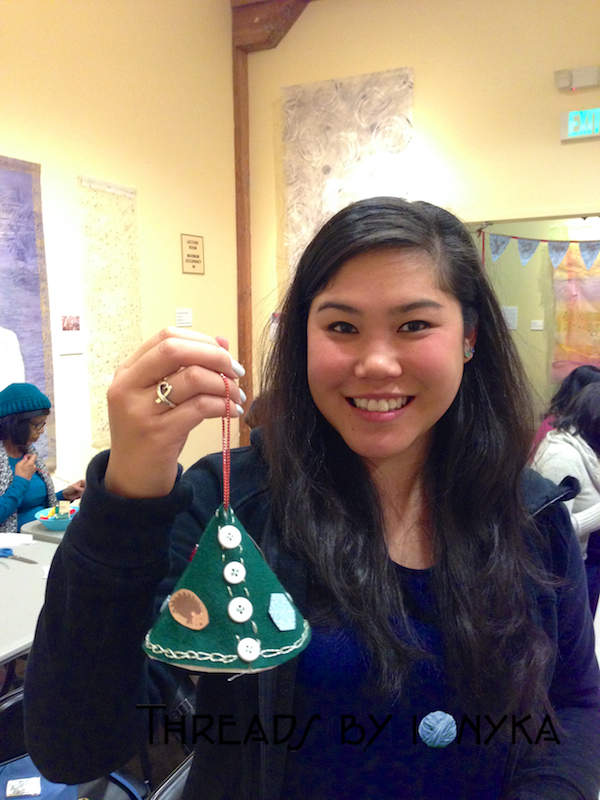
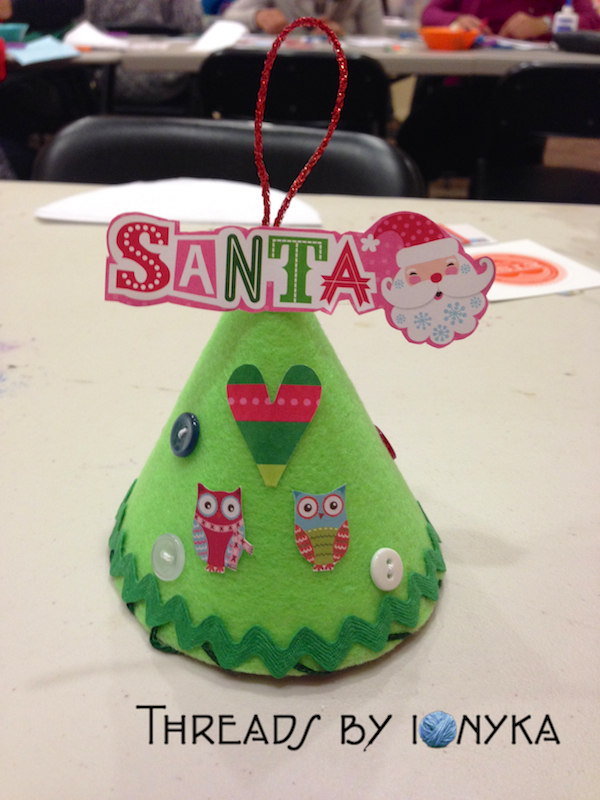

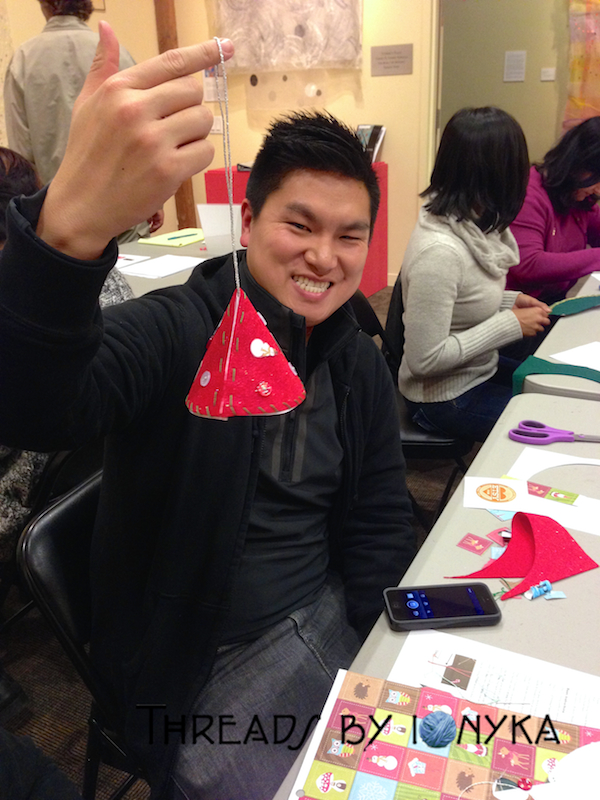
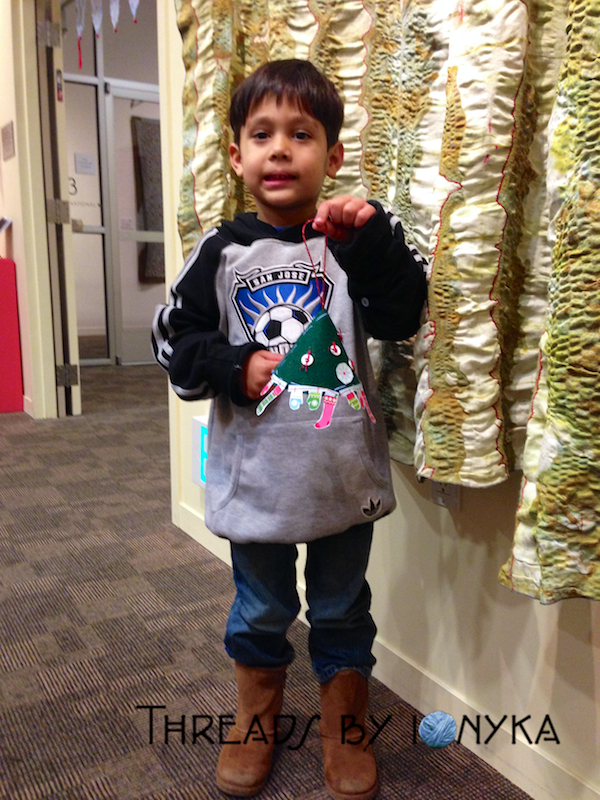
Thank you so much for those that came out, I had a great time seeing all the cute ornaments you made!
Want to get the instructions to make your own tree ornament? You can download the PDF’s for yourself:
Written Instructions: Craftsbyionyka-HolidayTreeOrnament1
Tree Shape Cutout: Craftsbyionyka-HolidayTreeOrnament2
Thanks so much for stopping by!
Company/Store: Tess Yarns (bought at the Feb 2013 Stitches West yarn show)
Colorway: Variegated white to light gray to medium grey (the label does not specify a name or #)
Weight/Length: Superwash Merino/570 yds
Material: 100% Wool
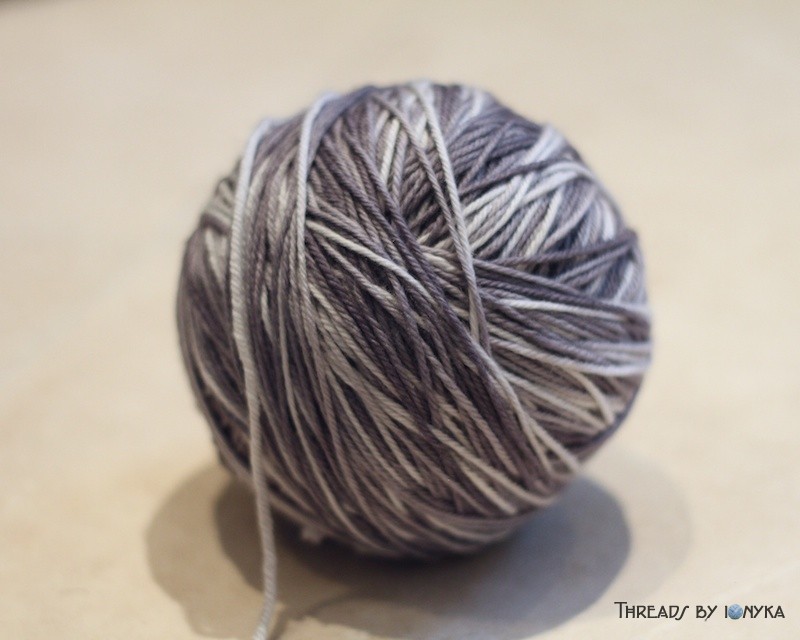
I wish I had taken a photo of the yarn before I balled it up, it was beautiful, but I forgot so you will have to imagine these whites and grays looking like this prior to me winding it up.

Now I want this color too….
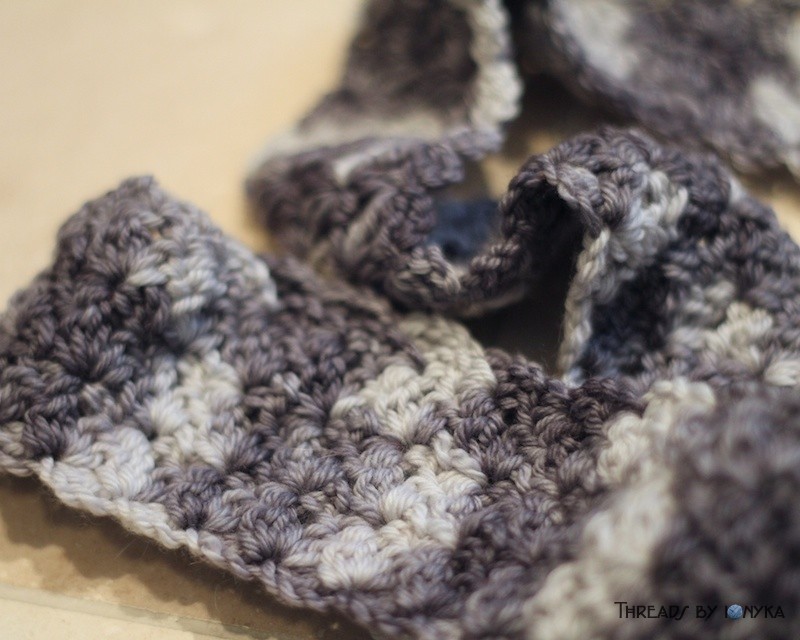
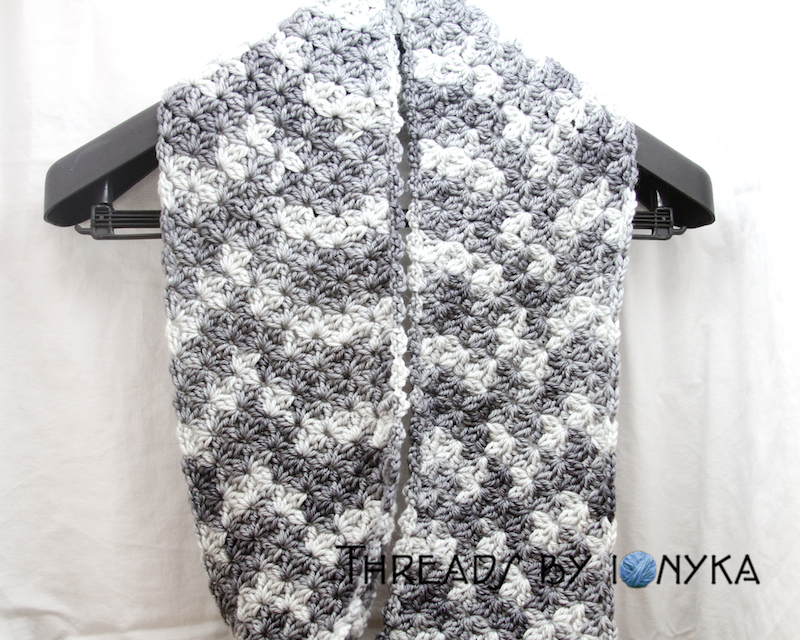
I tried about 6 or 7 different patterns before I opted to try something similar to the pattern I used for a few of my scarves already. I used the Aquatic Blossom pattern as my base and altered a few key elements.
First, instead of the foundation chain being [ch5, then tr in first ch, repeat] I shortened it to [ch3, then dc in first ch, repeat], this created a shorter star pattern that I like better for this yarn. I wanted it to not be too airy or be able to see through the stitches. For the rest of the pattern I followed it like normal but instead of triple crochets I used double crochets. It created this really neat ripple pattern with the stars and the color changing in parts also looks like wide stripes.
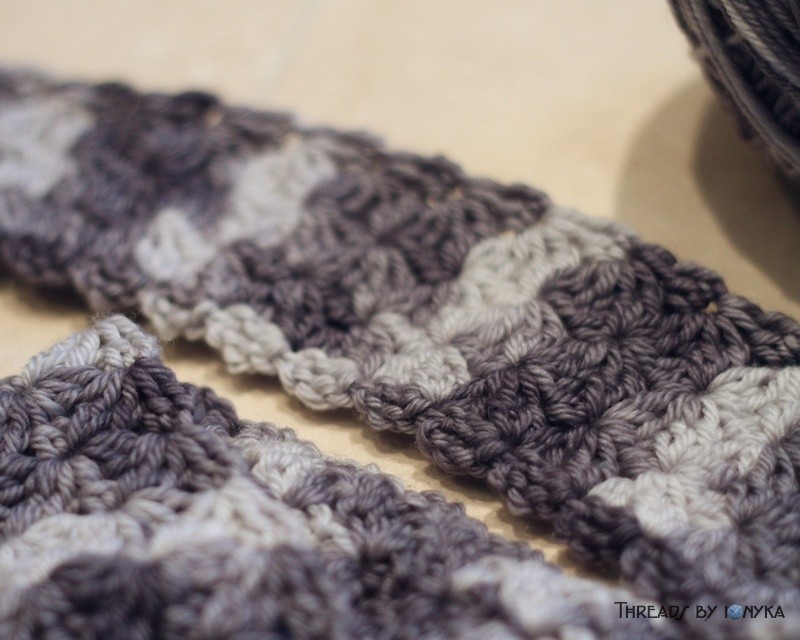
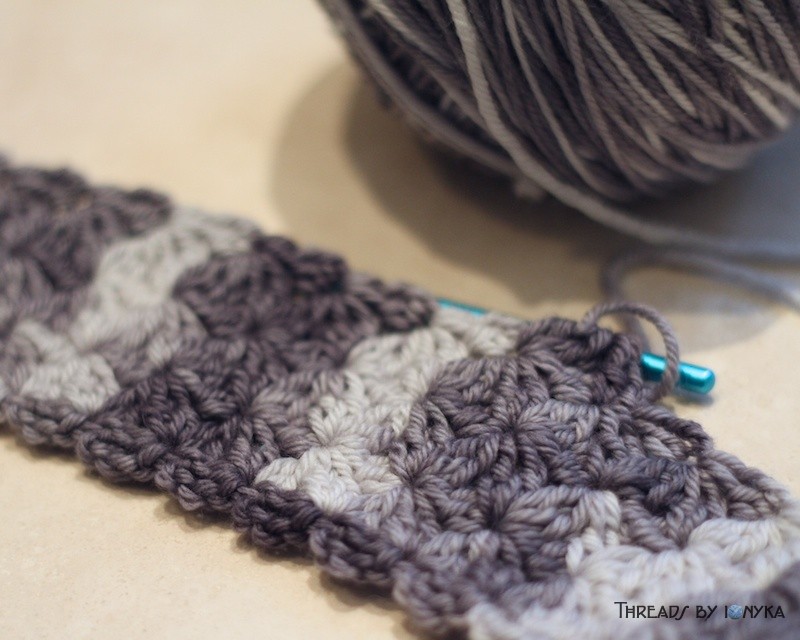
So far I am liking this pattern, I have done 3 full rounds, it will be a circle scarf. 570 yards is a lot so I will see how thick I end up making this and maybe I will have some left over for a few bracelets or a headband hopefully. Either way I love this yarn and the monochrome colors, hence its name! More photos once its finished!
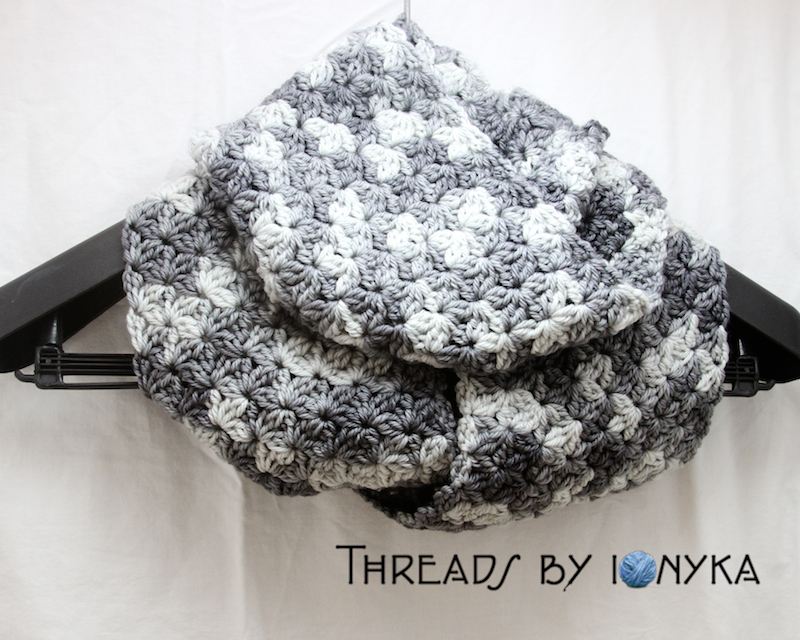
Final Stats
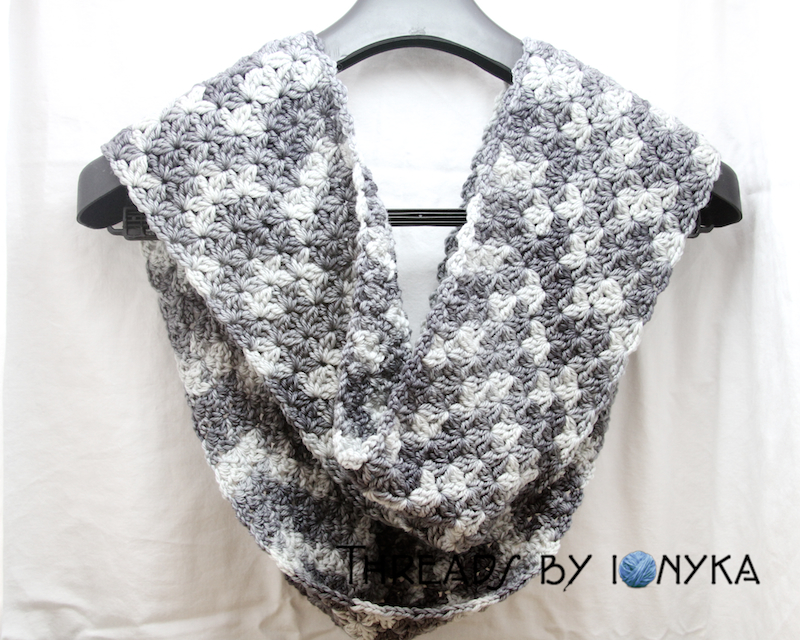
Size: 6 inches wide by 57 inches in total length, 8 total rows were made with this 1 row repeat pattern.
Yarn Used: I had a lot of yarn left over from this project so I also made a hat to go with it! So I can estimate that I used approximately 300 yards for the scarf. I love how it started to zig zag the colors as the rows were built. Very happy with how it came out, its light but warm!
This item is For Sale! Link to Etsy Product Listing!
Thanks for stopping by!
Another memorable holiday traditions at our house growing up was taking a drive out to Hozak Farm (I grew up in Pittsburgh, PA) the weekend after Thanksgiving to hunt and cut down our perfect Christmas Tree. *queue opening scene from Christmas Vacation* ok so it wasn’t totally like that, but at times it was really cold and snowy, others chilly with no snow, just depended on the year. The event included a wagon ride into the tree farm to spend what seemed like forever trying to decide as a family which type of tree we wanted and which one of that type we were going to select.
Eventually we would decide and my dad would saw it down and would get it trucked back, wrapped in twine and put on the top of the car. After that we were pretty hungry so luckily the barn there is set up for great sandwiches and soups along with hot cocoa. We would bring the tree home and put it straight into the tree stand and wrap my moms quilted tree skirt around it. I found a rather old photo but you can see the skirt in it fairly well.
So again, I knew another fun holiday accessory I wanted to crochet was a new tree skirt for us to use. Since I moved out I have not always been able to have a real tree, most apartments did not allow them and I initially did not approve of fake ones. This year we may end up going the way of artificial but either way our tree will have an authentic homemade tree skirt at the very least!
I browsed a bunch of options and decided on this one called SmoothFox’s Christmas Tree Skirt. I liked it for the versatility of the stripes and the basic shape.
I used a random stripe generator I found thanks to a tip in a comment because I had 4 colors to use and wanted to mix up the colors a bit. Here is what I came up with.

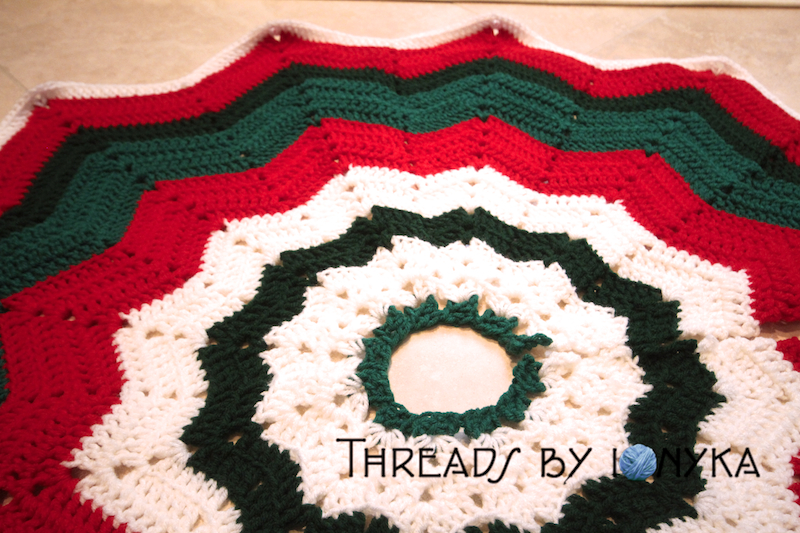
I used 4 colors of Red Heart Super Save yarn so it can be easily washed if needed, and since I had a bunch left over from the stockings, it made sense to make them all match a little too.
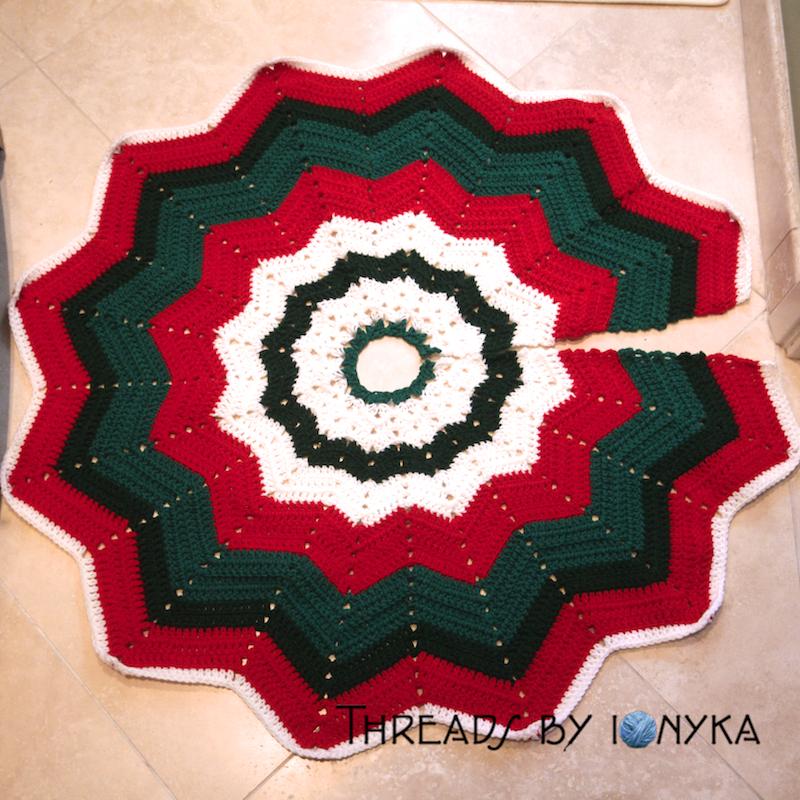
I purposely did not make it super large yet to see how it fits with the tree we get, I can always add a few rows if I need to. Once we have a tree I will get a few pictures of it when the new skirt on. I am very pleased with how it came out, the patter was easy to follow and takes shape nicely.
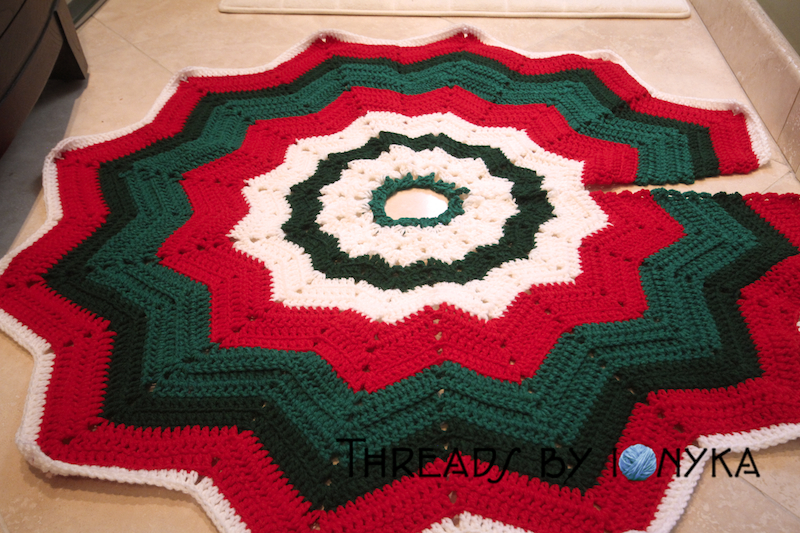
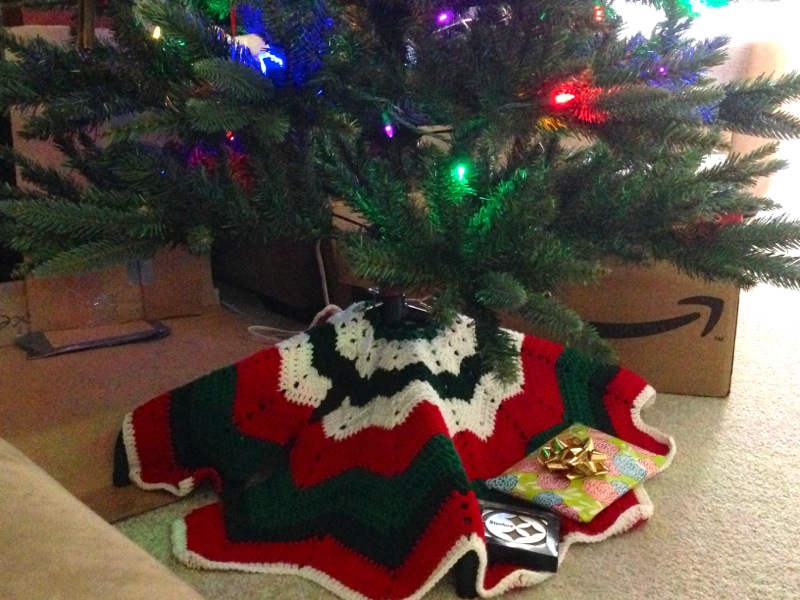
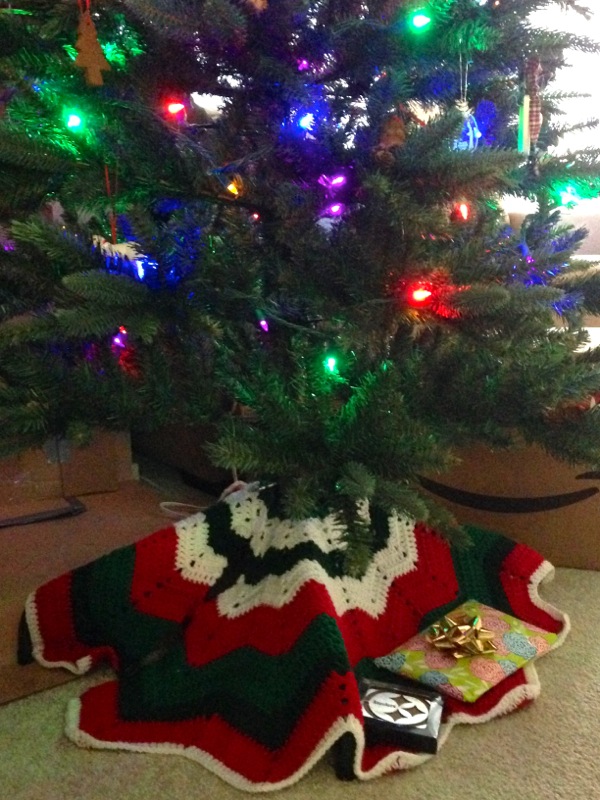
Post Update: 12/21/13
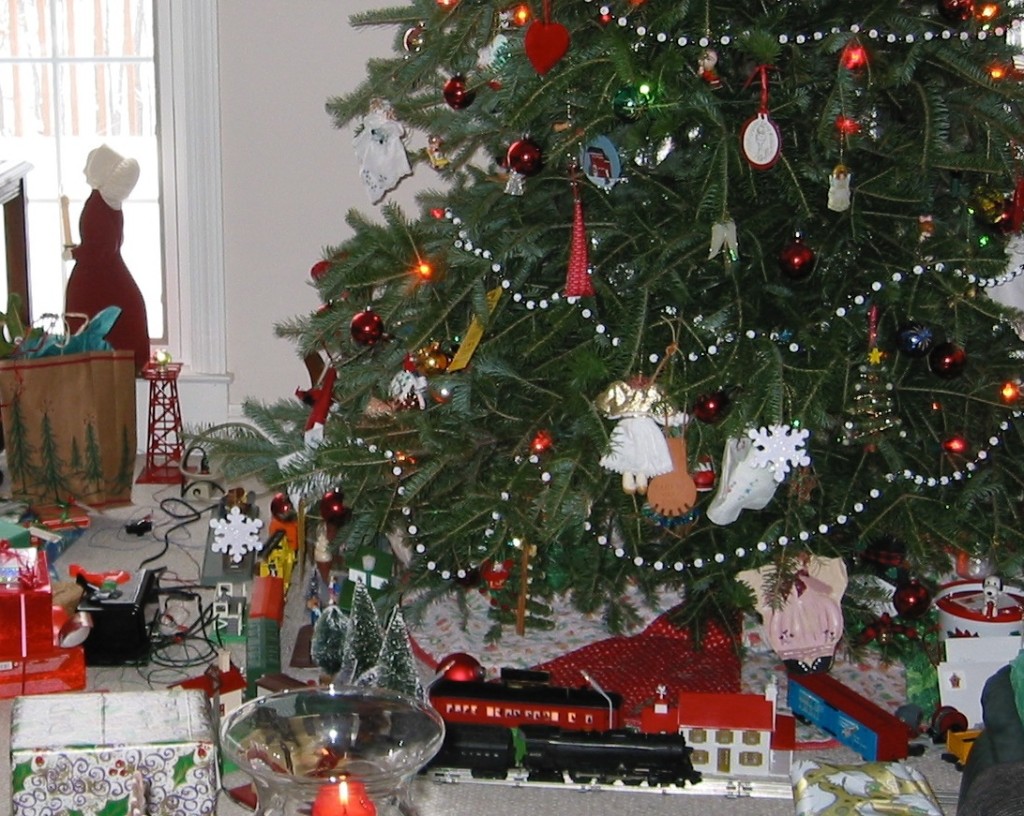
We finally got our new tree up and decorated last weekend so here is a photo of the tree skirt.
When I get time, likely after the holidays, I need to add about 5 or 6 more rows to it so it is a bit wider, it barely covers the tree base right now. I did add 3 buttons to the closures so it stays closed better. I attached a chain 5 to the edge of 2 rows like a button hole and attached the button on the other side. I will get close up pictures of that once I finish adding some rows later on. I do like how it looks though!
Thanks for stopping by and Happy Holidays!
Shop in my Etsy Store December 2nd & 3rd (aka Cyber Monday + 1) and save 25% off all available shop items!
Use code: CYBERSFETSY during checkout to instantly save 25%!
Are you or someone you know a huge sports fan? Show off your favorite team colors with cute and stylish bubble hats! Don’t see your teams colors? Convo me about a custom order!
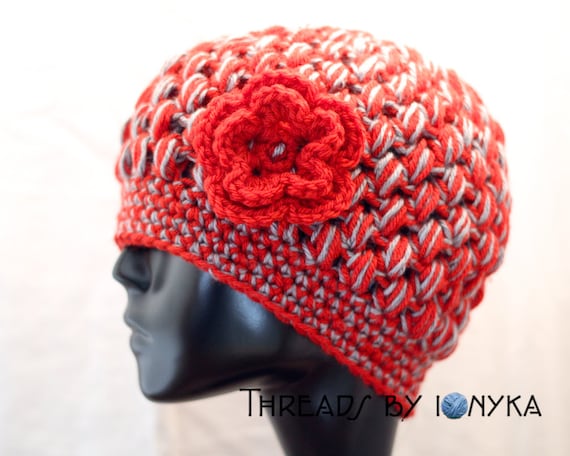
Go Team!
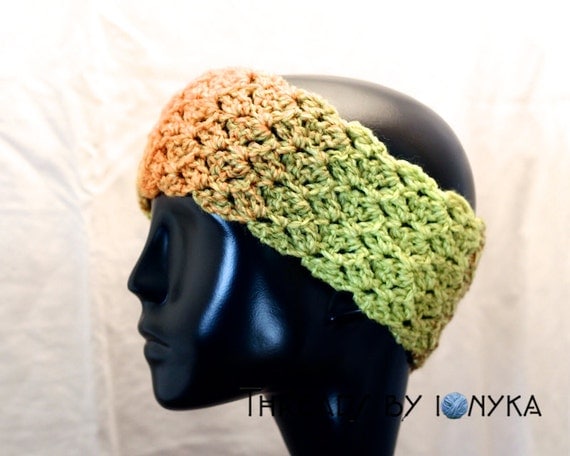
Or maybe you or someone you know is in need a warm headband to wear to the gym, under a ski helmet or as a fun warm accessory for a day or night out.
Great gifts under $20
Got a friend or family member who ‘has everything’? Get them a handmade scarf that is sure to accent their winter outfits with style, plus keep them warm!
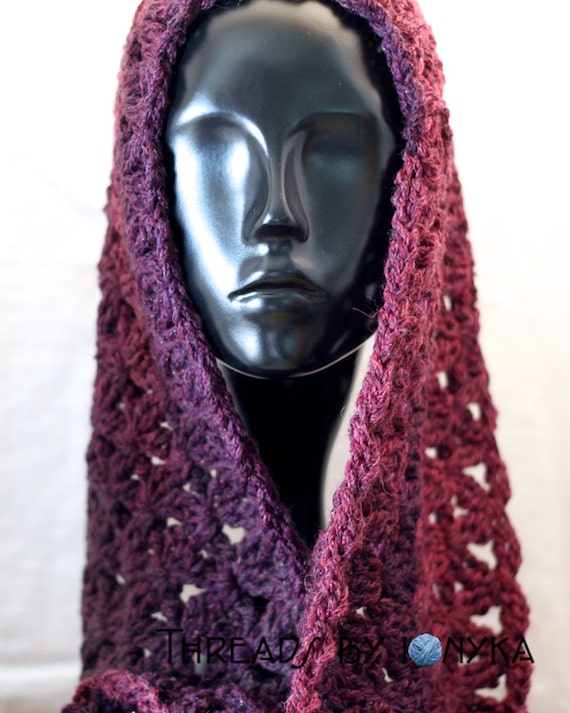
Warm and One of a Kind!
Can’t for get the oh-so-essential Stocking Stuffer! Cute cuff bracelets will do the trick and can be worn all year round!
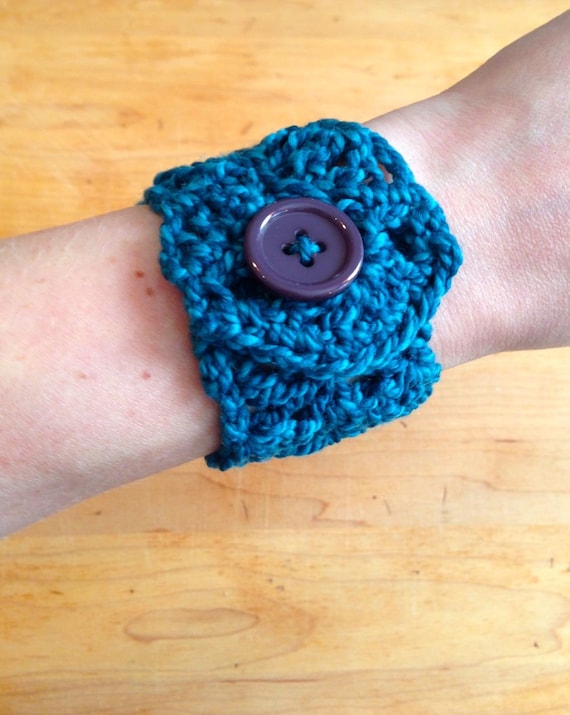
Great stocking stuffer ideas all under $10!
Whatever gift needs you have be sure to check out my shop on Cyber Monday for great savings on unique handmade items!
Thanks for stopping by!
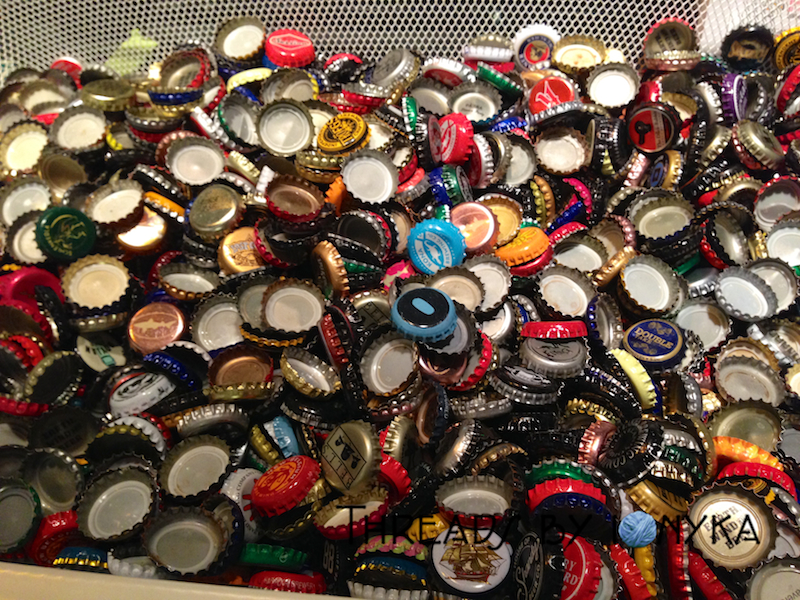
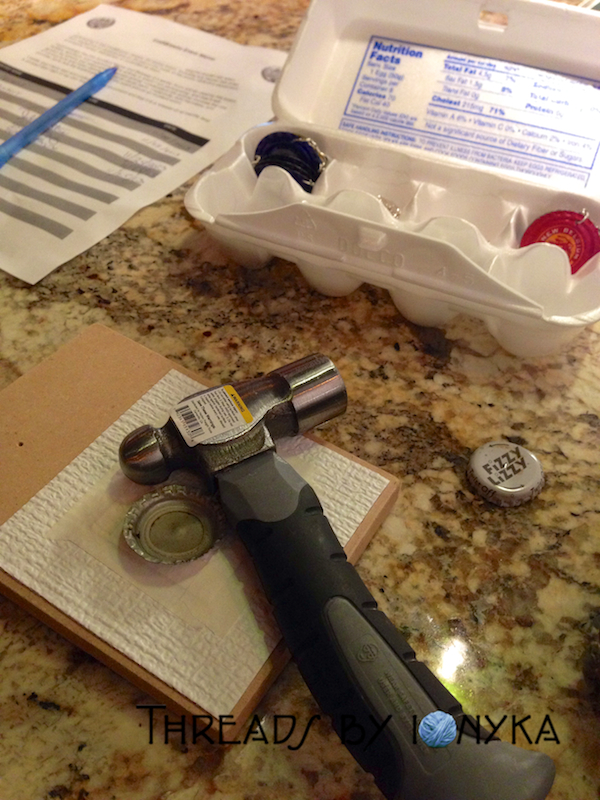
Last night at Spread in Campbell, CA our host and local SFEtsy team member Gretchen from CraftBrewlry taught us how to make her super cute bottle cap earrings.
Our first task was to dig through the massive amounts of bottle caps she brought to find a pair we wanted to use to turn into earrings. My husband and I thought we have a hefty collection but I believe we got beat! Her collection included unique brands and styles, as well as some soda caps too.
Then we got to work pounding out our caps using some metal hammers and any current frustrations we needed to expel, sure was fun! After hammering them as flat as possible, you attached the earring pieces using pliers. This took me seconds to complete for 1 but minutes for another as the tiny metal rings can be super easy to fling across the room by accident if you are not careful. Maybe it was just my lack of jewelry making skills but luckily Gretchen happily showed me great tips and suggestions along the way, she was a great teacher!
I was super excited to find 2 soda caps that said “Fizzy Lizzy” on them, how could I resist right?!?! I also saw this neat pair of orange caps with suns on them that looked fun so I made another set with those as well. Not only did you get to make the earring set, she also provided a really cool eco friendly board to post them onto made out of cardboard cut out from 6-packs, how creative!
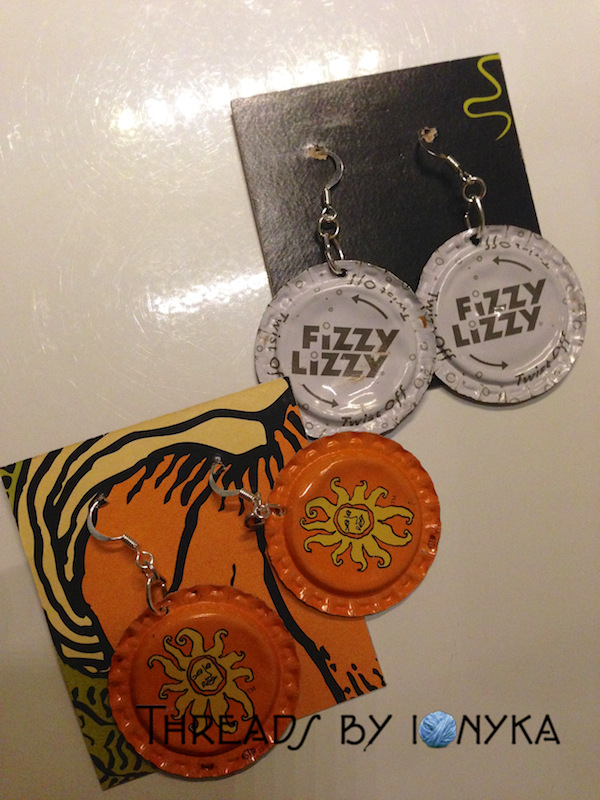
What a fun and great way to reuse things that generally get tossed away without a second thought. Thanks to Yelp for sponsoring the event, thanks Spread for providing the location (they have amazing sandwiches and mac n cheese btw!!!) and to Gretchen for sharing your craft with us and showing us how fun and creative we can be! Please check out her shop, its full of fantastic items and would make great gifts this holiday!
Thanks for stopping by!
This past Sunday I got the chance to check out EcoMonsters new store space and participate in their Yelp Event. There are many of these events going on around the area through mid December, including another I will be going to where you can make your own bottle cap earrings! At the EcoMonster event we got to make cute snow globes out of mason jars and a bunch of little trinkets including trees, bells, sea creatures, angels, elves and all sorts of other things.
You select a jar, then pick out your decorations and hot glue them to the inside of the lid, see my work in progress photos:

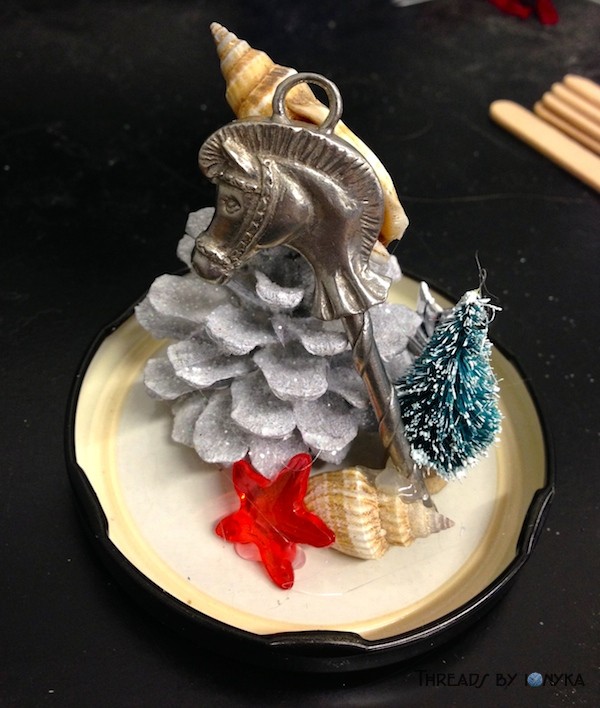
Then you fill your empty jar with ‘snow’, water and a few drops of glycerin. Carefully turn your lid upside down and tighten the lid to the jar then hot glue gun the edge to prevent leaking. The last step is to decorate the outside of your jar and you are finished!
Check out my finished snow globe, it ended up having an ocean seahorse theme to it.
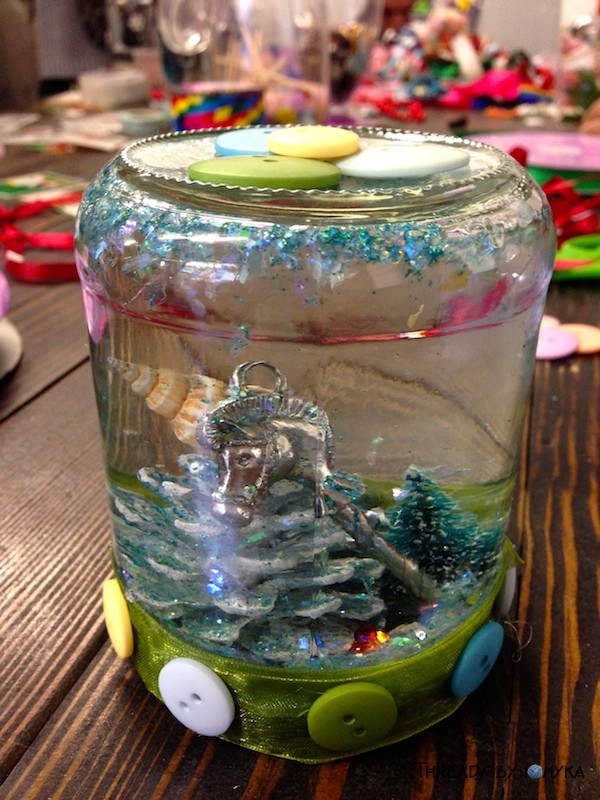
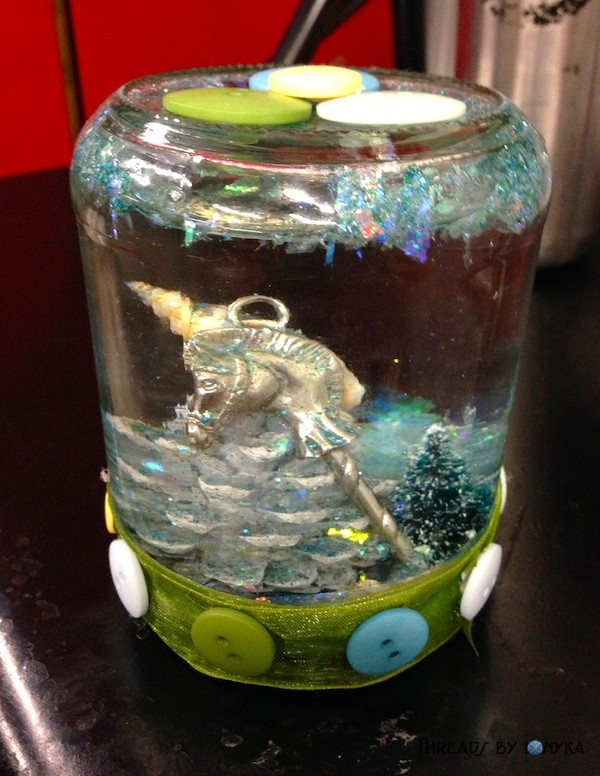
I really had fun, these events are great for anyone who likes to get crafty but does not want to buy all the supplies each time for what you want to do. Also great for kids and adults alike, a fun way to spend a Sunday afternoon.
Be sure to see if there are any Yelp Events in your area and try one out! Thanks for stopping by!
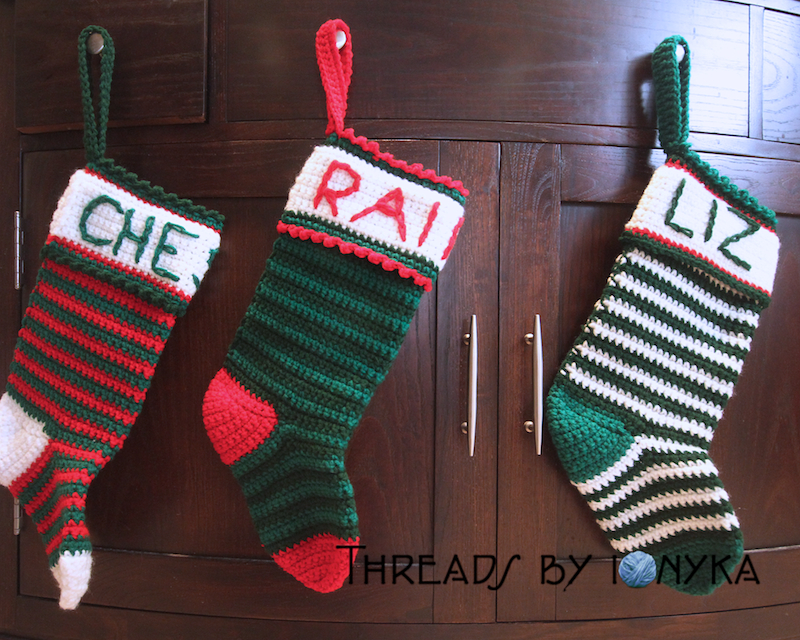
One of my favorite times during the holidays was decorating the house with snowmen (my mom had a huge collection of them), putting up the tree, and hanging our stockings on the banister of the stairs. My mom had sewn up one for each of the four of us in the family, and even 1 for our dog and cat. Mine had my name embroidered on it with an angel. The stockings were felt and fabric sewn together with thread. Each Christmas morning my sister and I would get up and run down to grab our stockings while we ate breakfast before opening presents. Oranges, nuts and other small trinkets were always customary for stocking stuffers are our house.
When I moved away to go to college and subsequently to Atlanta, and presently California, I did not get to enjoy my stocking unless I happen to be visiting my parents for the holiday (which was not every year unfortunately). So one of my goals when I began to learn how to crochet about a year ago was to become efficient enough to make new stockings for myself and my husband, to use as a new family, and one for Chester Cat of course too!
I decided to give this pattern by Red Heart called Holly & Berry Stockings a try because I liked the cuff part because I wanted to put our names on them. I also wanted to use the Red Heart Super Saver yarn because it will always be available if/when I need to make another one.
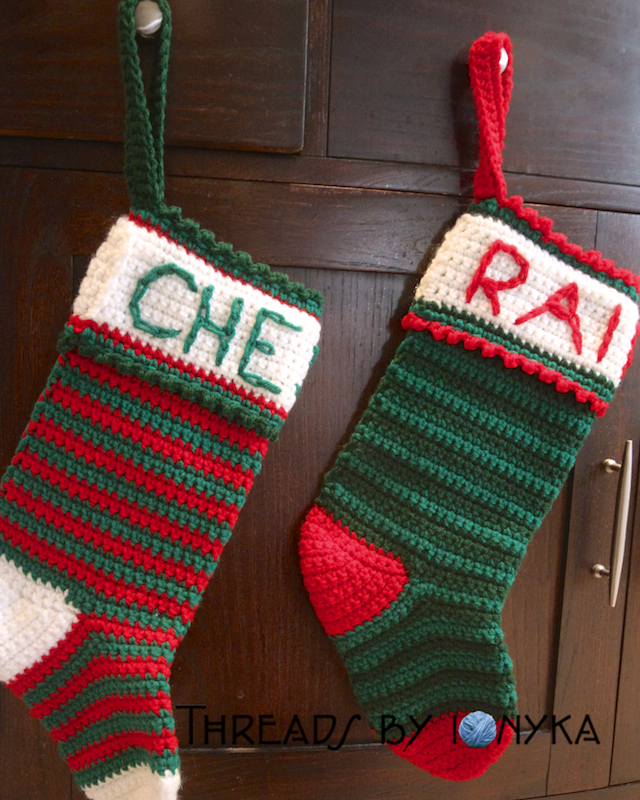
The pattern is easy to work up and I followed it as described except for 1 part. When I was putting together the first stocking I made, I felt that after I made the cuff and was stitching it together that the cuff part was a tad too small and I did not want a seam to show at the back of the stocking where you join the sides together. So for the remaining 2 stockings I added 2 stitches to the noted 44 they put down in the pattern. This gave me enough to work with at the back so the cuff fit snug but not too tight. Just me maybe, but I liked it with the extra stitches better.
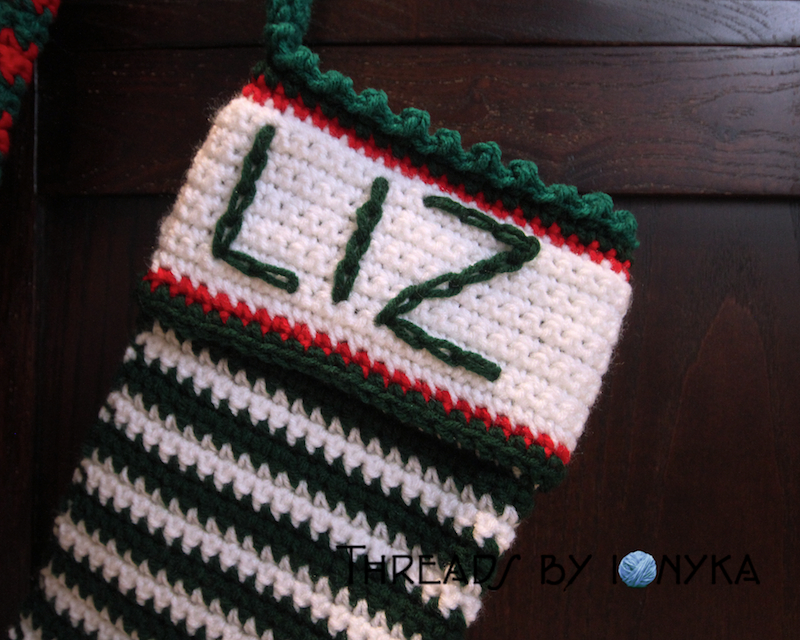
Before I put them all together I had to learn how to stitch letters into the cuff. I had not done this before so I turned to my trusty YouTube search to find a helpful video and this is the one I used:
From that video I was able to figure out the basics and started to put the letters of our names onto the cuffs, my husbands name and the cats name are both 7 letters so I started with the middle letter and worked my way out, I did not remember to take a photo of them prior to putting them together so I took some close ups of the finished ones instead to get the idea. My name is short so I put it all on one side since that seemed to make more sense. Here is a closeup of mine to see the letters stitching.
I am thrilled with how they turned out, I hope to get many many years of holiday fun out of these stockings. Here are some more photos of the finished stockings below.
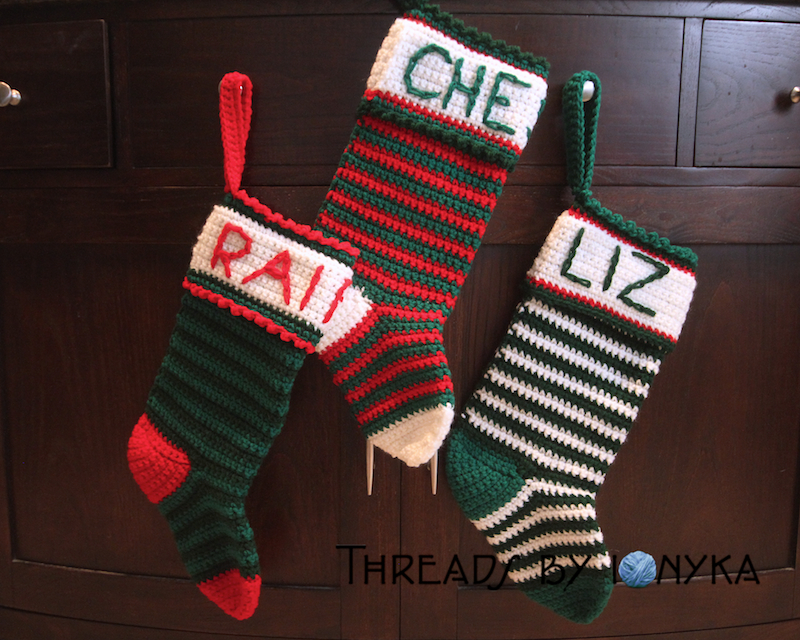
Thanks for stopping by and Happy Holidays!