One of my favorite times during the holidays was decorating the house with snowmen (my mom had a huge collection of them), putting up the tree, and hanging our stockings on the banister of the stairs. My mom had sewn up one for each of the four of us in the family, and even 1 for our dog and cat. Mine had my name embroidered on it with an angel. The stockings were felt and fabric sewn together with thread. Each Christmas morning my sister and I would get up and run down to grab our stockings while we ate breakfast before opening presents. Oranges, nuts and other small trinkets were always customary for stocking stuffers are our house.
When I moved away to go to college and subsequently to Atlanta, and presently California, I did not get to enjoy my stocking unless I happen to be visiting my parents for the holiday (which was not every year unfortunately). So one of my goals when I began to learn how to crochet about a year ago was to become efficient enough to make new stockings for myself and my husband, to use as a new family, and one for Chester Cat of course too!
I decided to give this pattern by Red Heart called Holly & Berry Stockings a try because I liked the cuff part because I wanted to put our names on them. I also wanted to use the Red Heart Super Saver yarn because it will always be available if/when I need to make another one.
The pattern is easy to work up and I followed it as described except for 1 part. When I was putting together the first stocking I made, I felt that after I made the cuff and was stitching it together that the cuff part was a tad too small and I did not want a seam to show at the back of the stocking where you join the sides together. So for the remaining 2 stockings I added 2 stitches to the noted 44 they put down in the pattern. This gave me enough to work with at the back so the cuff fit snug but not too tight. Just me maybe, but I liked it with the extra stitches better.
Before I put them all together I had to learn how to stitch letters into the cuff. I had not done this before so I turned to my trusty YouTube search to find a helpful video and this is the one I used:
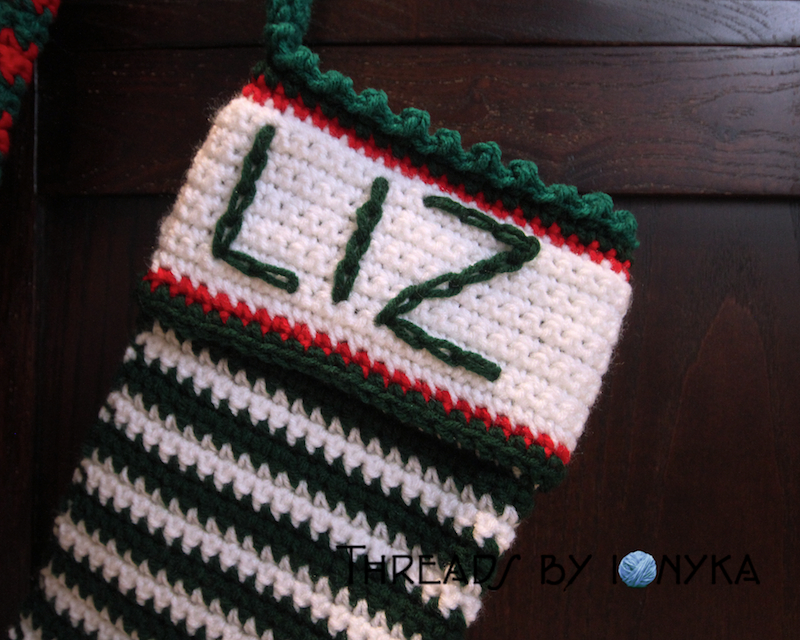
From that video I was able to figure out the basics and started to put the letters of our names onto the cuffs, my husbands name and the cats name are both 7 letters so I started with the middle letter and worked my way out, I did not remember to take a photo of them prior to putting them together so I took some close ups of the finished ones instead to get the idea. My name is short so I put it all on one side since that seemed to make more sense. Here is a closeup of mine to see the letters stitching.

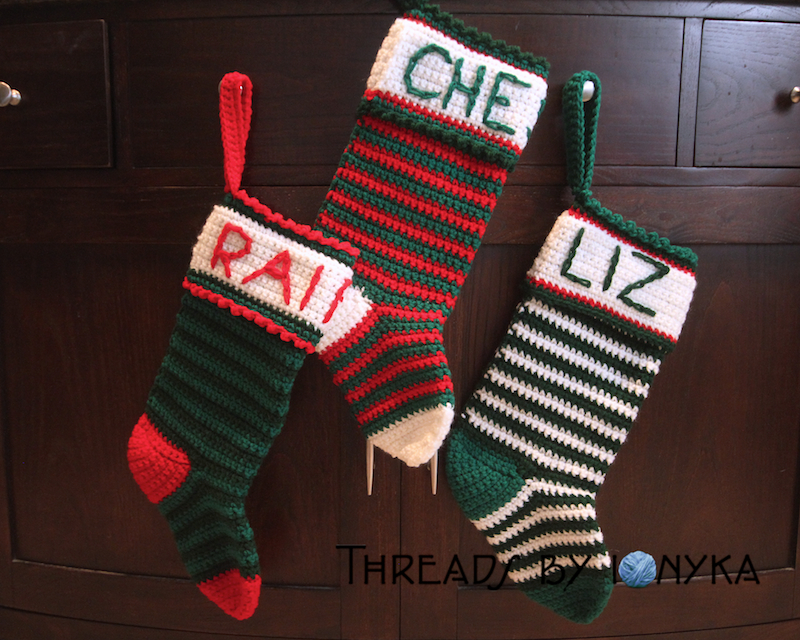
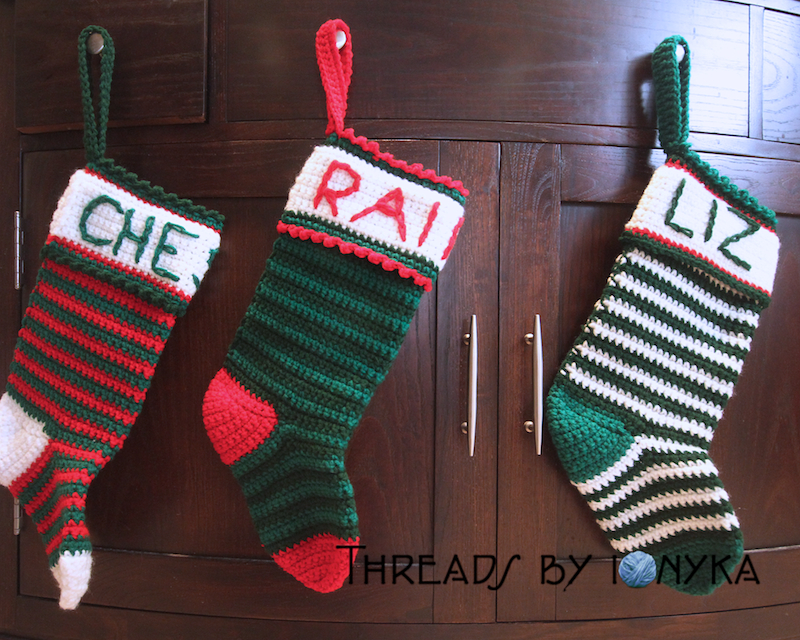
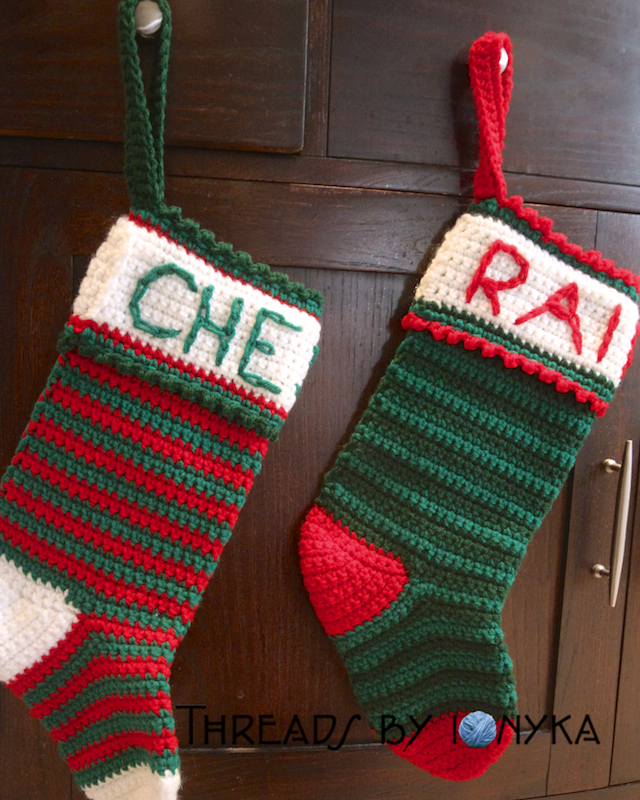
I am thrilled with how they turned out, I hope to get many many years of holiday fun out of these stockings. Here are some more photos of the finished stockings below.


Thanks for stopping by and Happy Holidays!

Adorable!!!! I am making some of these, too, for a friend. They are fun, and I love how yours came out!!!
Thanks Amy! Yeah there were pretty easy to do, look forward to your blog post when you finish them!