Another memorable holiday traditions at our house growing up was taking a drive out to Hozak Farm (I grew up in Pittsburgh, PA) the weekend after Thanksgiving to hunt and cut down our perfect Christmas Tree. *queue opening scene from Christmas Vacation* ok so it wasn’t totally like that, but at times it was really cold and snowy, others chilly with no snow, just depended on the year. The event included a wagon ride into the tree farm to spend what seemed like forever trying to decide as a family which type of tree we wanted and which one of that type we were going to select.
Eventually we would decide and my dad would saw it down and would get it trucked back, wrapped in twine and put on the top of the car. After that we were pretty hungry so luckily the barn there is set up for great sandwiches and soups along with hot cocoa. We would bring the tree home and put it straight into the tree stand and wrap my moms quilted tree skirt around it. I found a rather old photo but you can see the skirt in it fairly well.
So again, I knew another fun holiday accessory I wanted to crochet was a new tree skirt for us to use. Since I moved out I have not always been able to have a real tree, most apartments did not allow them and I initially did not approve of fake ones. This year we may end up going the way of artificial but either way our tree will have an authentic homemade tree skirt at the very least!
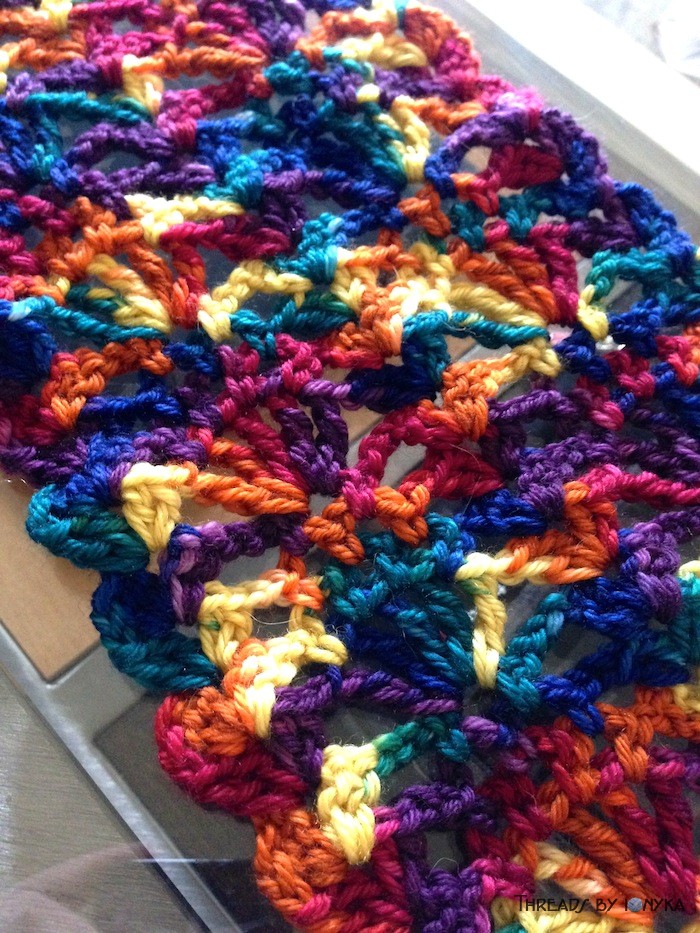
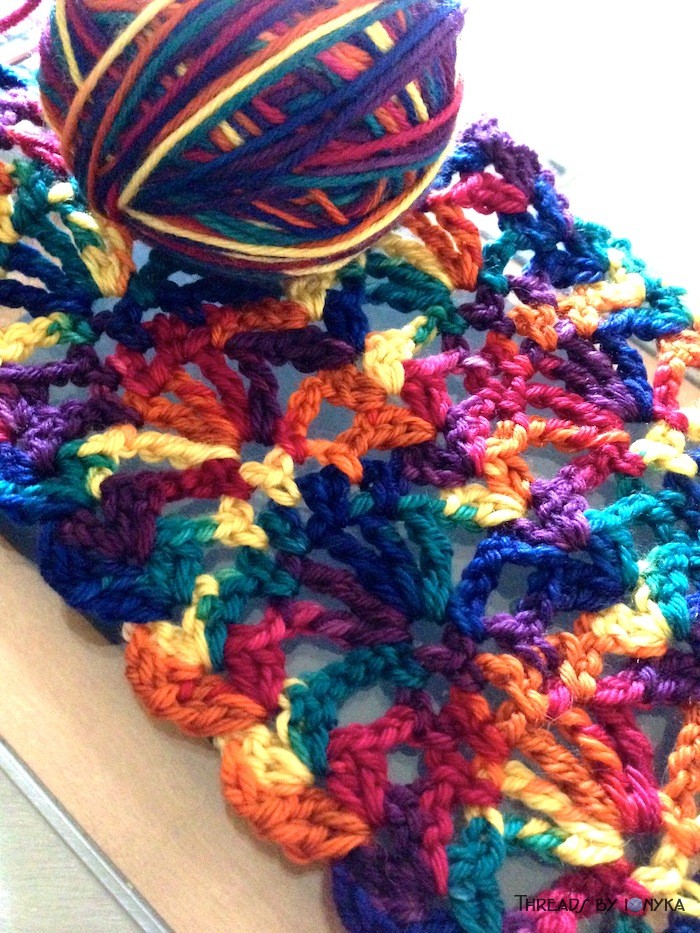
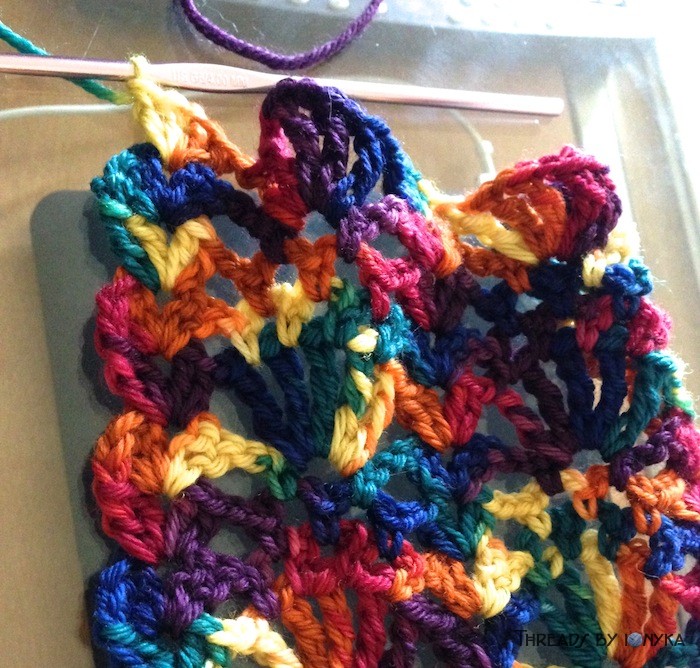
I browsed a bunch of options and decided on this one called SmoothFox’s Christmas Tree Skirt. I liked it for the versatility of the stripes and the basic shape.
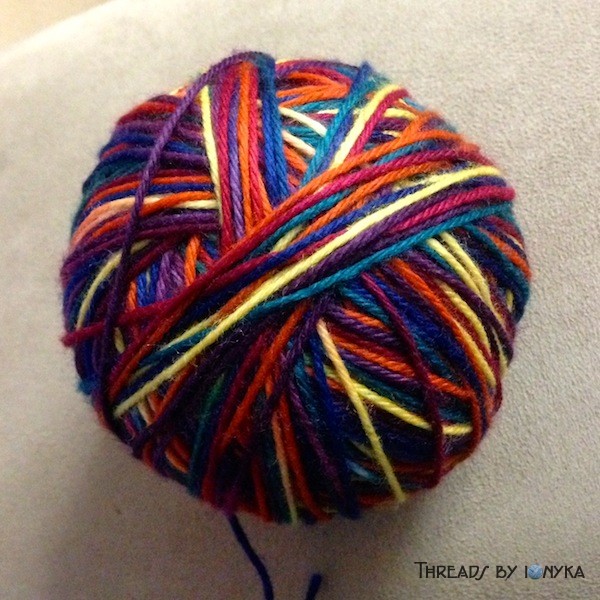
I used a random stripe generator I found thanks to a tip in a comment because I had 4 colors to use and wanted to mix up the colors a bit. Here is what I came up with.

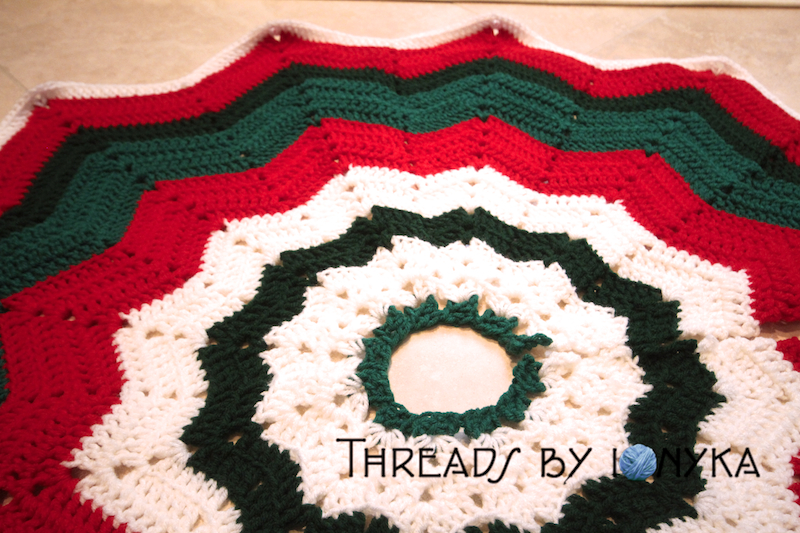
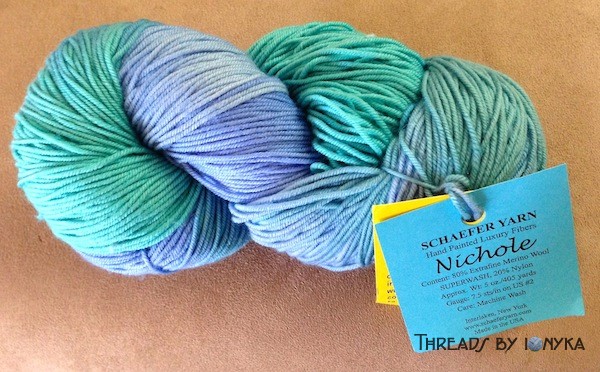
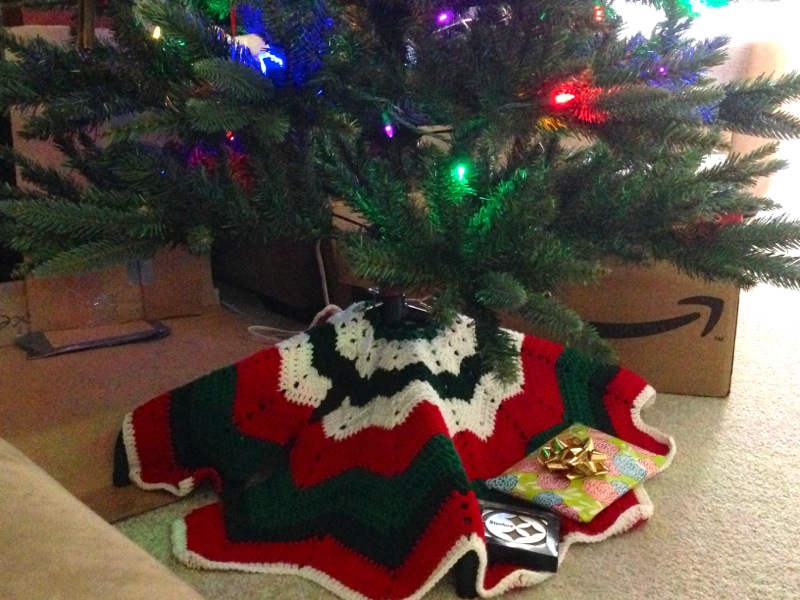
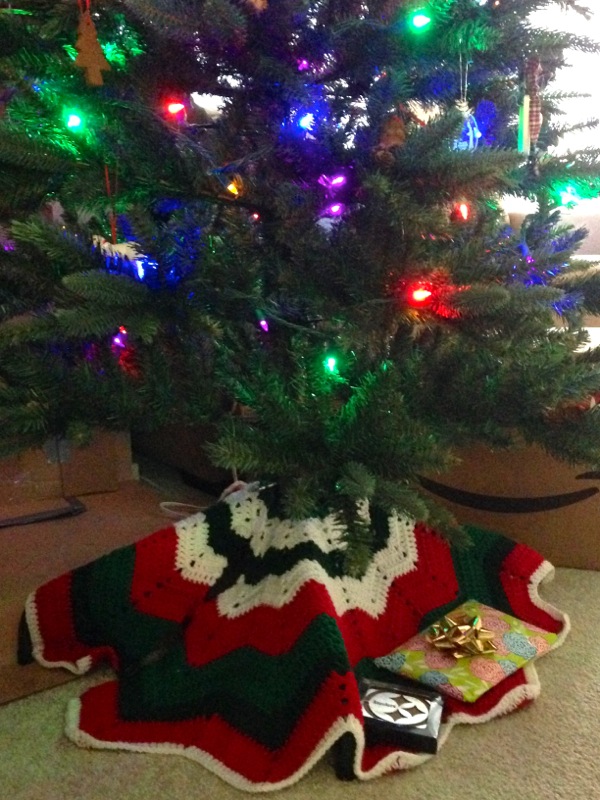
I used 4 colors of Red Heart Super Save yarn so it can be easily washed if needed, and since I had a bunch left over from the stockings, it made sense to make them all match a little too.
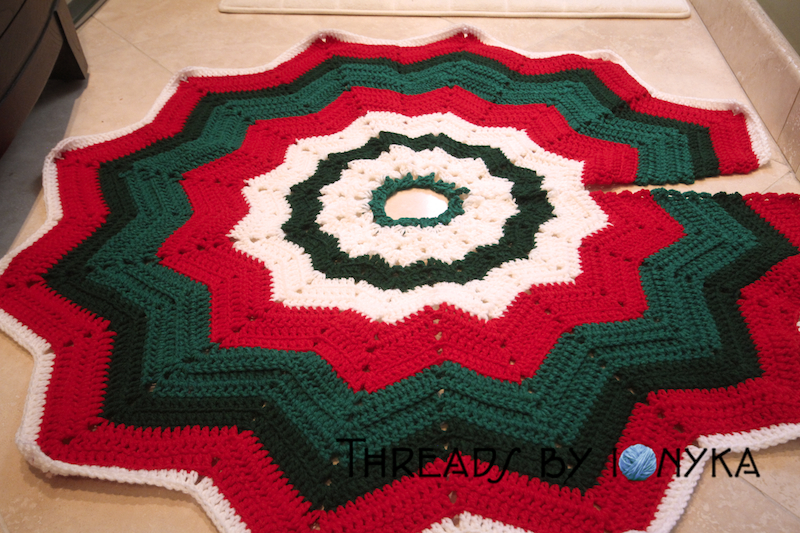
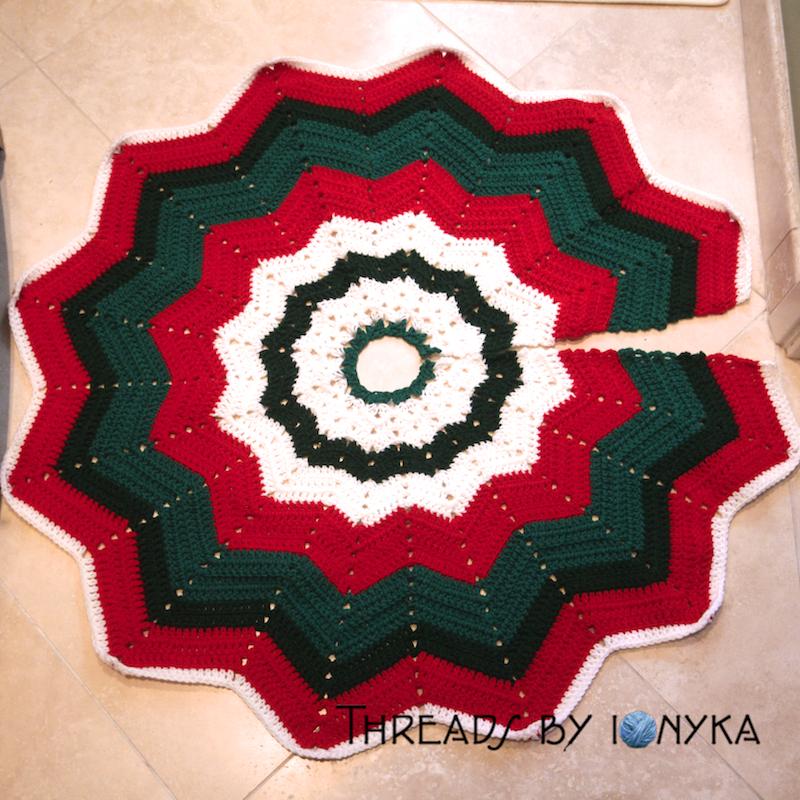
I purposely did not make it super large yet to see how it fits with the tree we get, I can always add a few rows if I need to. Once we have a tree I will get a few pictures of it when the new skirt on. I am very pleased with how it came out, the patter was easy to follow and takes shape nicely.
Post Update: 12/21/13
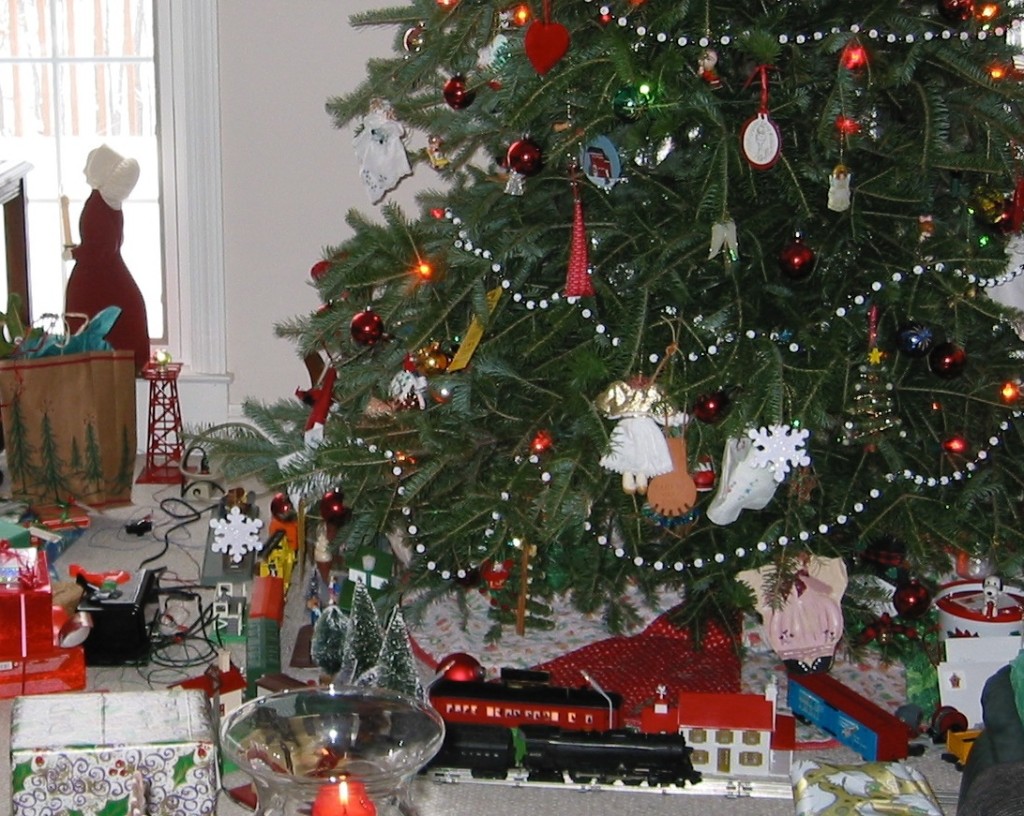
We finally got our new tree up and decorated last weekend so here is a photo of the tree skirt.
When I get time, likely after the holidays, I need to add about 5 or 6 more rows to it so it is a bit wider, it barely covers the tree base right now. I did add 3 buttons to the closures so it stays closed better. I attached a chain 5 to the edge of 2 rows like a button hole and attached the button on the other side. I will get close up pictures of that once I finish adding some rows later on. I do like how it looks though!
Thanks for stopping by and Happy Holidays!